When we were re-building our home a few years ago, I envisioned built-in bookcases in our living room with cabinets below, and space in the middle for our tv and bookcases above. After receiving a few quotes for over $5k for unpainted bookshelves, we quickly realized they were out of our budget. And honestly, rebuilding our home after the fire was very mentally exhausting and we weren’t up to taking on the job our painting the bookcases. Then a few months later I came across my beloved vintage Campaign dresser at an antique store, refinished it and eventually added two black iron and glass bookcases during the photo shoot for HGTV Magazine, the idea of built-ins didn’t seem necessary. Regardless I’ve always loved the look of built-in bookcases with cabinets; they bring so much character into a room and provide a ton of hidden storage. Plus I love endless styling opportunities!
One of my house-goals this year is to stylishly incorporate more storage into our home and being a small home dweller savvy storage solutions are crucial. My home mantra is style + function. As I shared last week, we’ve recently added wall to wall shelves in our bedroom, in an underused nook (read more about the project) We’re super close to being finished, I’ll share an update soon.
After talking about our house needs + vision for our living room, we’ve decided to add built-in bookcases in our living room, where our dresser is in our living room and create a focal point. Since our living room is also our family room, I’m excited about bringing in our bookcases that will provide more storage and draw the eye up and out making our small living room feel more spacious and work hard for our family. I’m so excited about this project, its years in the making!! Having built-ins in living room is a dream come true! For our built-in bookcases, we’re doing a mix of off the shelf kitchen cabinets + DIY to create a custom look that won’t break the bank.
I've found so many inspiring bookcase styles that helped me narrow down the look we wanted in our home. I love the bookcases that have modern, clean lines that also feel timeless. I consider my style Modern California Casual for me it means modern, clean lines that feel effortless and classic.
Built-in Bookcase Inspiration
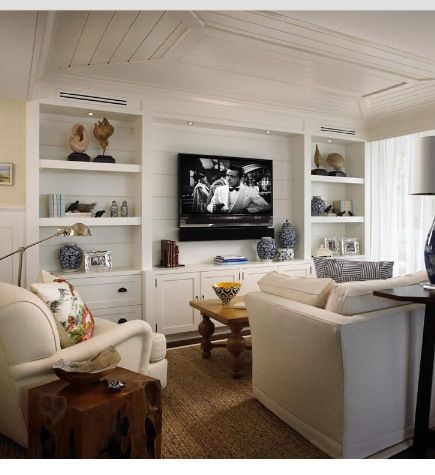
I adore the built-in bookcase below, it looks fantastic in the living room and feels modern with classic elements. I like that the TV floats and on the wall and that there’s room around the TV, so it doesn't feel too boxed in + there’s room to place books and plants.
image via Pinterest (source unkiwn)
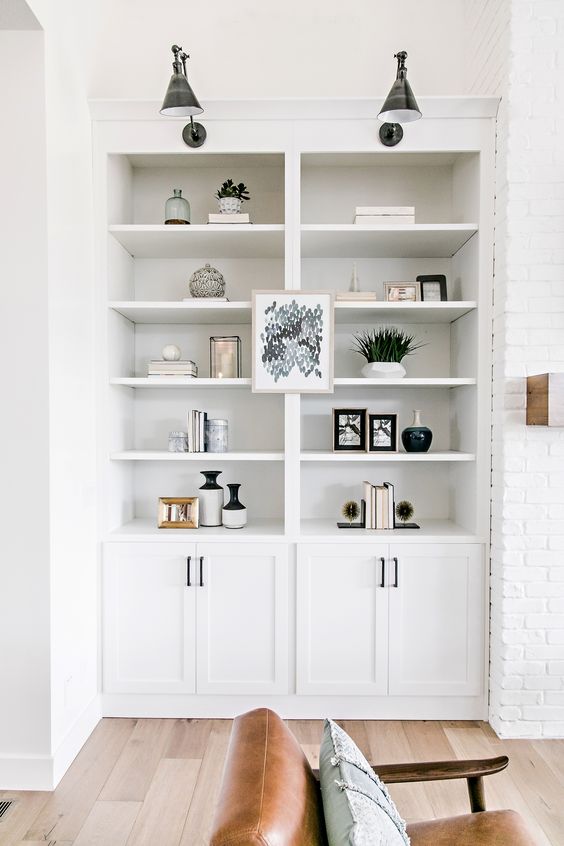
image via Studio McGee
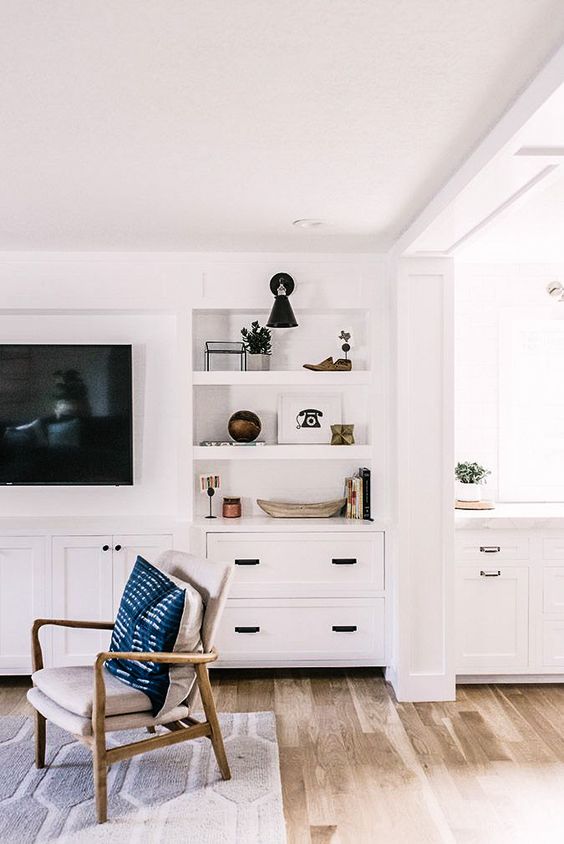
image via Sita Montgomery Interiors and Pinterest (source unkown)
I’m obsessed with the DIY Built-in Bookcases Sarah Sherman Samuel created using Ikea Upper Kitchen wall cabinets as the base cabinets and then built the bookcases above. The styling is impeccable, and I love how they turned out! These bookcases helped inspire us to tackle our built-ins for our living room.
image via Sarah Sherman Samiel
Built-in Boockases Getting Started
If you follow me on Instagram, then you may have seen a few sneak peek few videos of us working on our built-ins, if not check the videos out here. You may need an IG account to view. With every DIY Project there’s going to be differences in style and execution, I’m sharing the overview and steps we took to build our built-in bookcases. For our bookshelves, we’re using all cabinets below and building the bookcases above with the tv in the center. After going back and forth over style, we decided to leave the area above the TV without cabinets adding crown molding to the top of the cabinets so they tie-in with the rest of our living room.
For the cabinets, we’re using upper kitchen wall cabinets that are 12 inches deep, since our living room is small we didn't want cabinets to impede into our living room too much. The cabinets are still deep enough to hold movies, games, books, magazines and decor items. I'm so excxited to have a desingnated spot to store my candles and vases! When looking for cabinets for the lower portion of the bookcases, I wanted cabinets that would be similar in style to our kitchen cabinets which are white shaker.
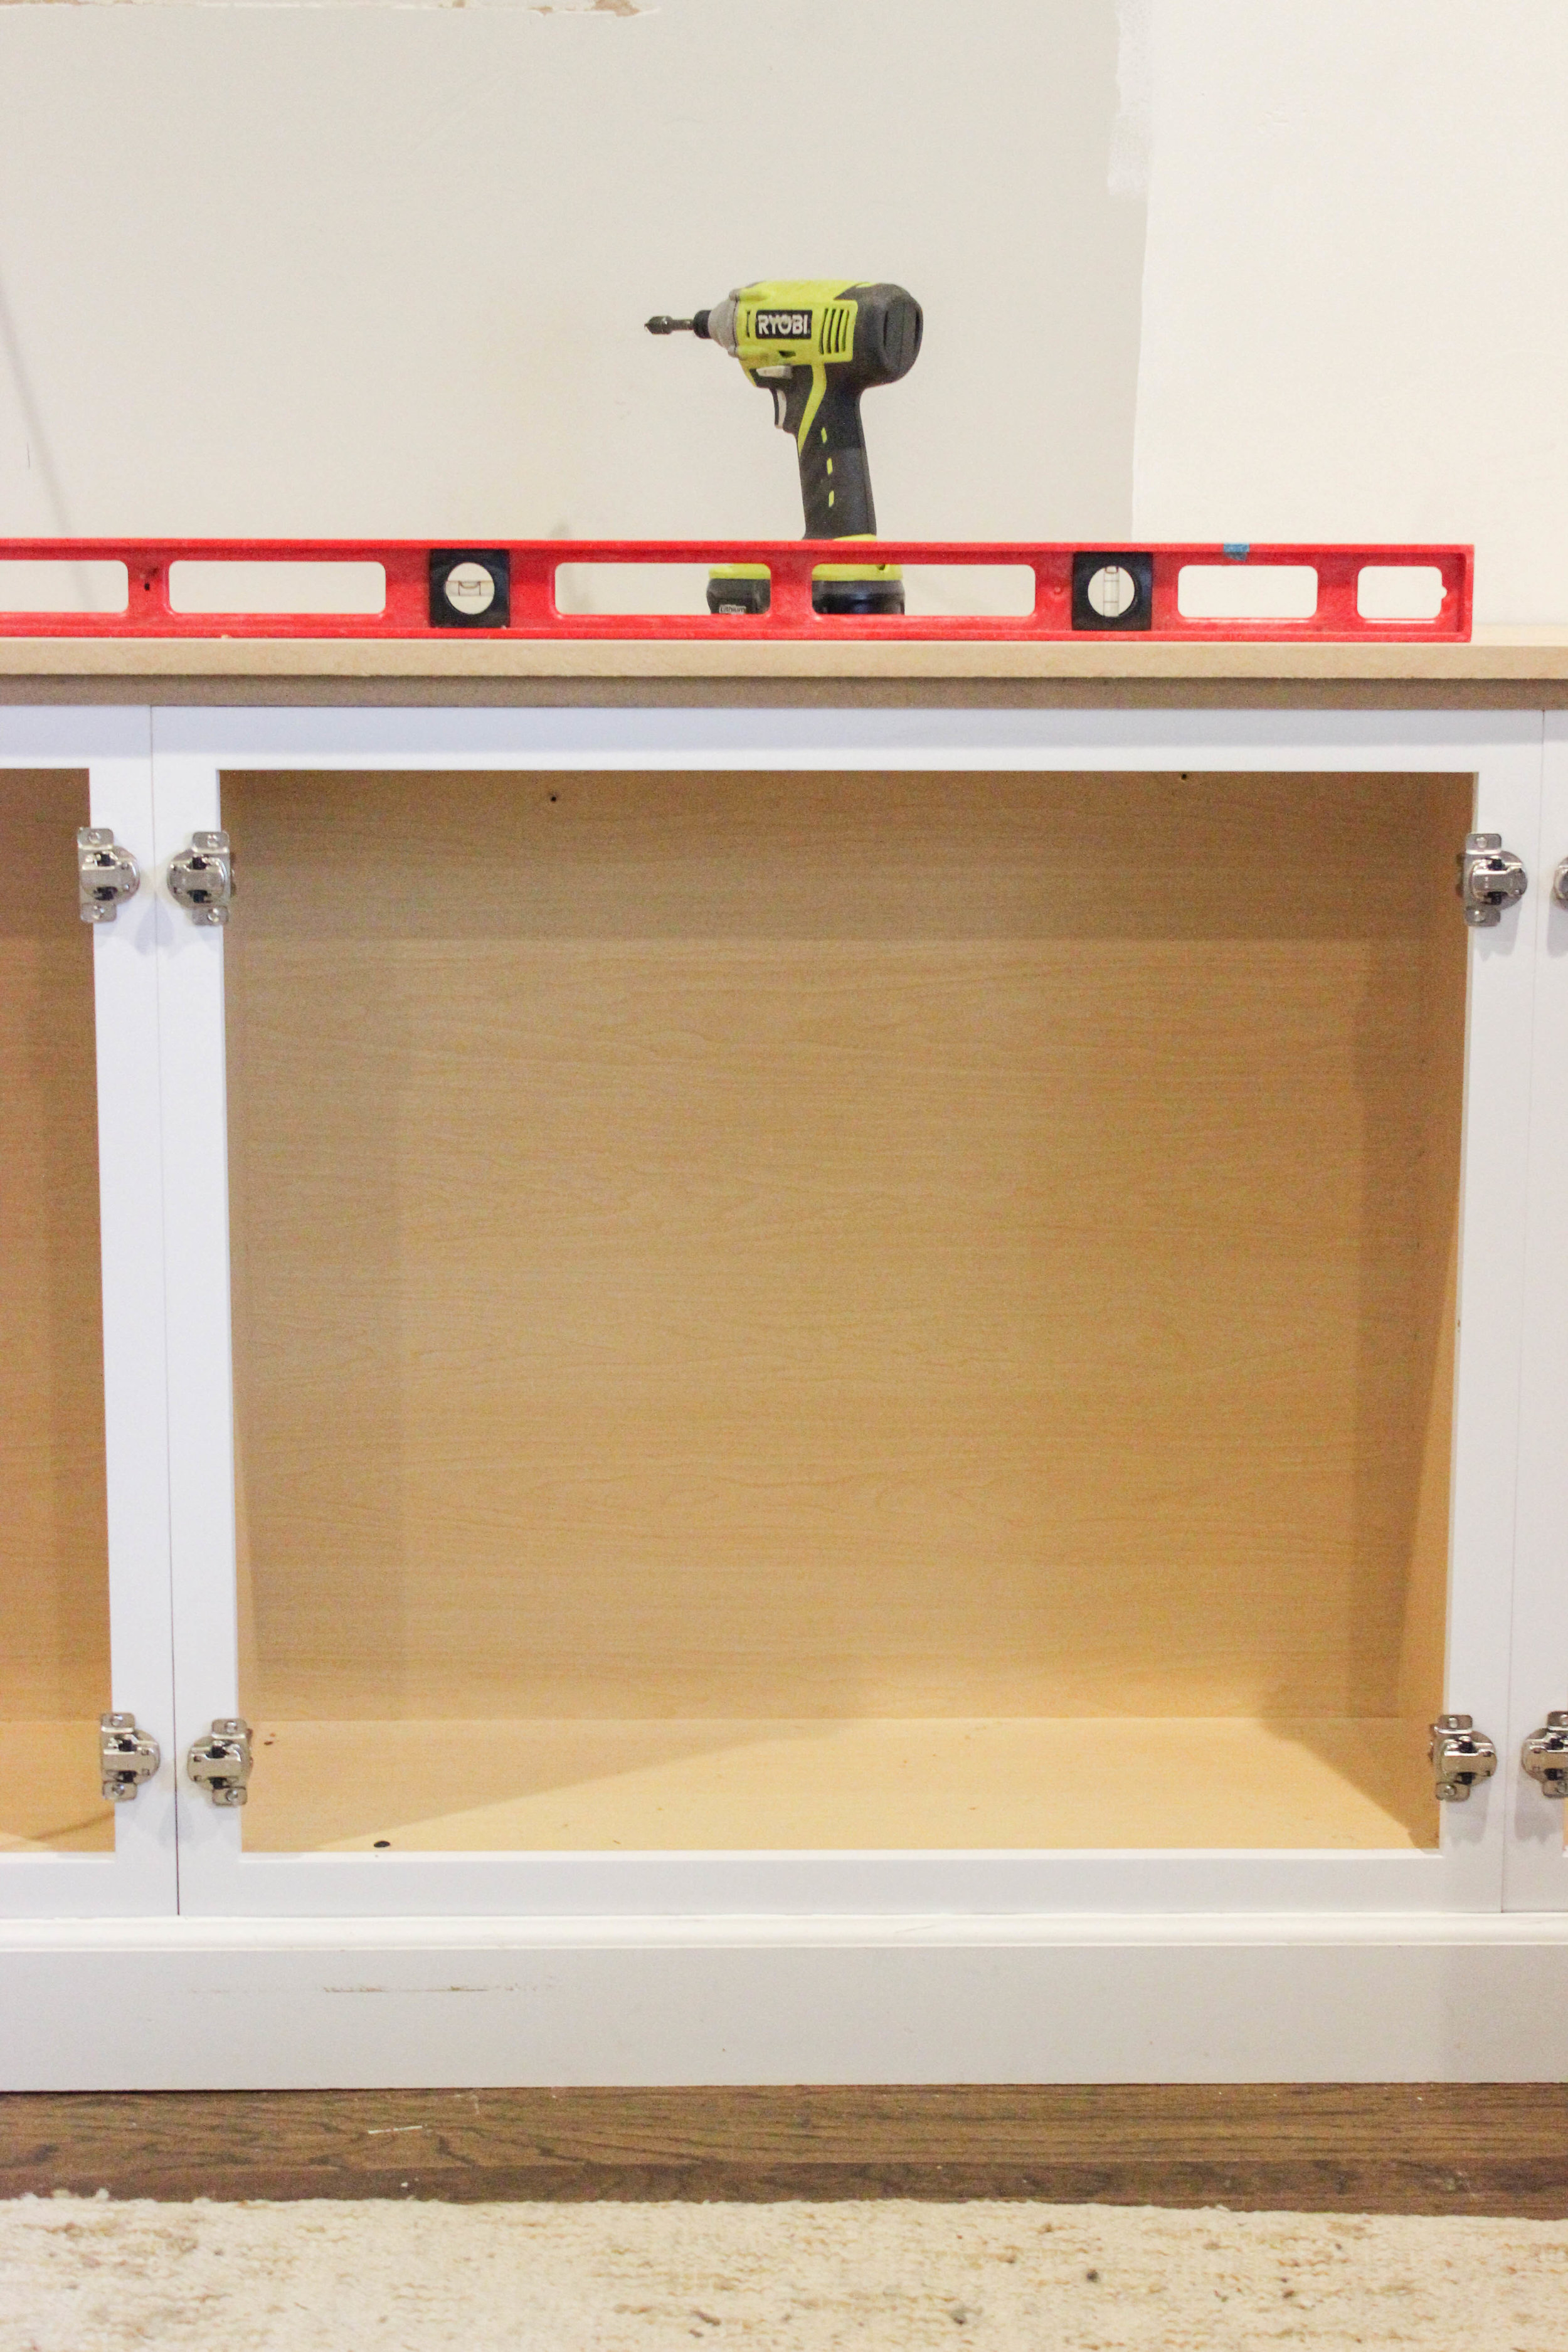
I was so excited when I found cabinets that were very similar to our kitchen cabinets at Lowes and bonus there were already painted white! The cabinets were in-stock off the shelf from Diamond NOW Arcadia; we bought them at the end of December where they were 25% off. PSST! They're currently running the sale until Feb 2018. The wall we’re building the bookcases is just shy of 12 feet wide; we used two 36 inch cabinets and two 33 inch cabinets, we wanted them to feel seamless like they’ve always been apart of our home.
Here's how our living looked a few months ago, our vintage dressed was centered on the wall with Ikea boockases on either side. While I loved how my living room looked, I'm excted to take the bookcases the full width of the wall and all the way to the ceiling to create a spacouis look that utlizies every sqaure of the wall space. See my mantra Style + Function.
To begin our project we cleared a portion of our living room out and removed the back baseboard, and then using 2x4s created a platform for the cabinets to sit on, we screwed the platform into the studs to secure it to the walls. We liked the continuous look of the base boards wrapping the front of the cabinets and added 1x2s on top of the platforms raising the cabinets up, so the baseboard is just below the cabinets. We were able to save the boards we removed from the back wall, YAY!
Next, we did a quick dry-fit to ensure everything was fitting correctly and then attached the cabinets to the wall and the platform and then connected each cabinet to each other. We found this How-to video from Lowes helpful. Also removed all the cabinet doors from the frame to make the installation easier.
We decided to use ¾ inch MDF board to build the counter that’s above the cabinets and for the bookshelves. We decided to use MDF because its super smooth making painting a breeze, affordable and easy to cut. We glued two 14 inch wide MDF boards together to make our counter for the top of the bookcase.
Materials & Tools Used
- ¾ MDF Boards (for shelves and counter)
- 1x2 MDF Trim Boards
- 1x5 MDF Trim Board (for upper bookshelves)
- 2x4 Wood for Platform
- DAP All-purpose Interior Caulk + Caulking Gun
- Miter Saw for Cuts
- Impact Drill and Regular Drill (we pre-drilled as needed)
- Levels - both small and large to confirm everything was level
- Measuring Tape with Fractions
- Ryobi Crown Molding Nail Gun - love this!
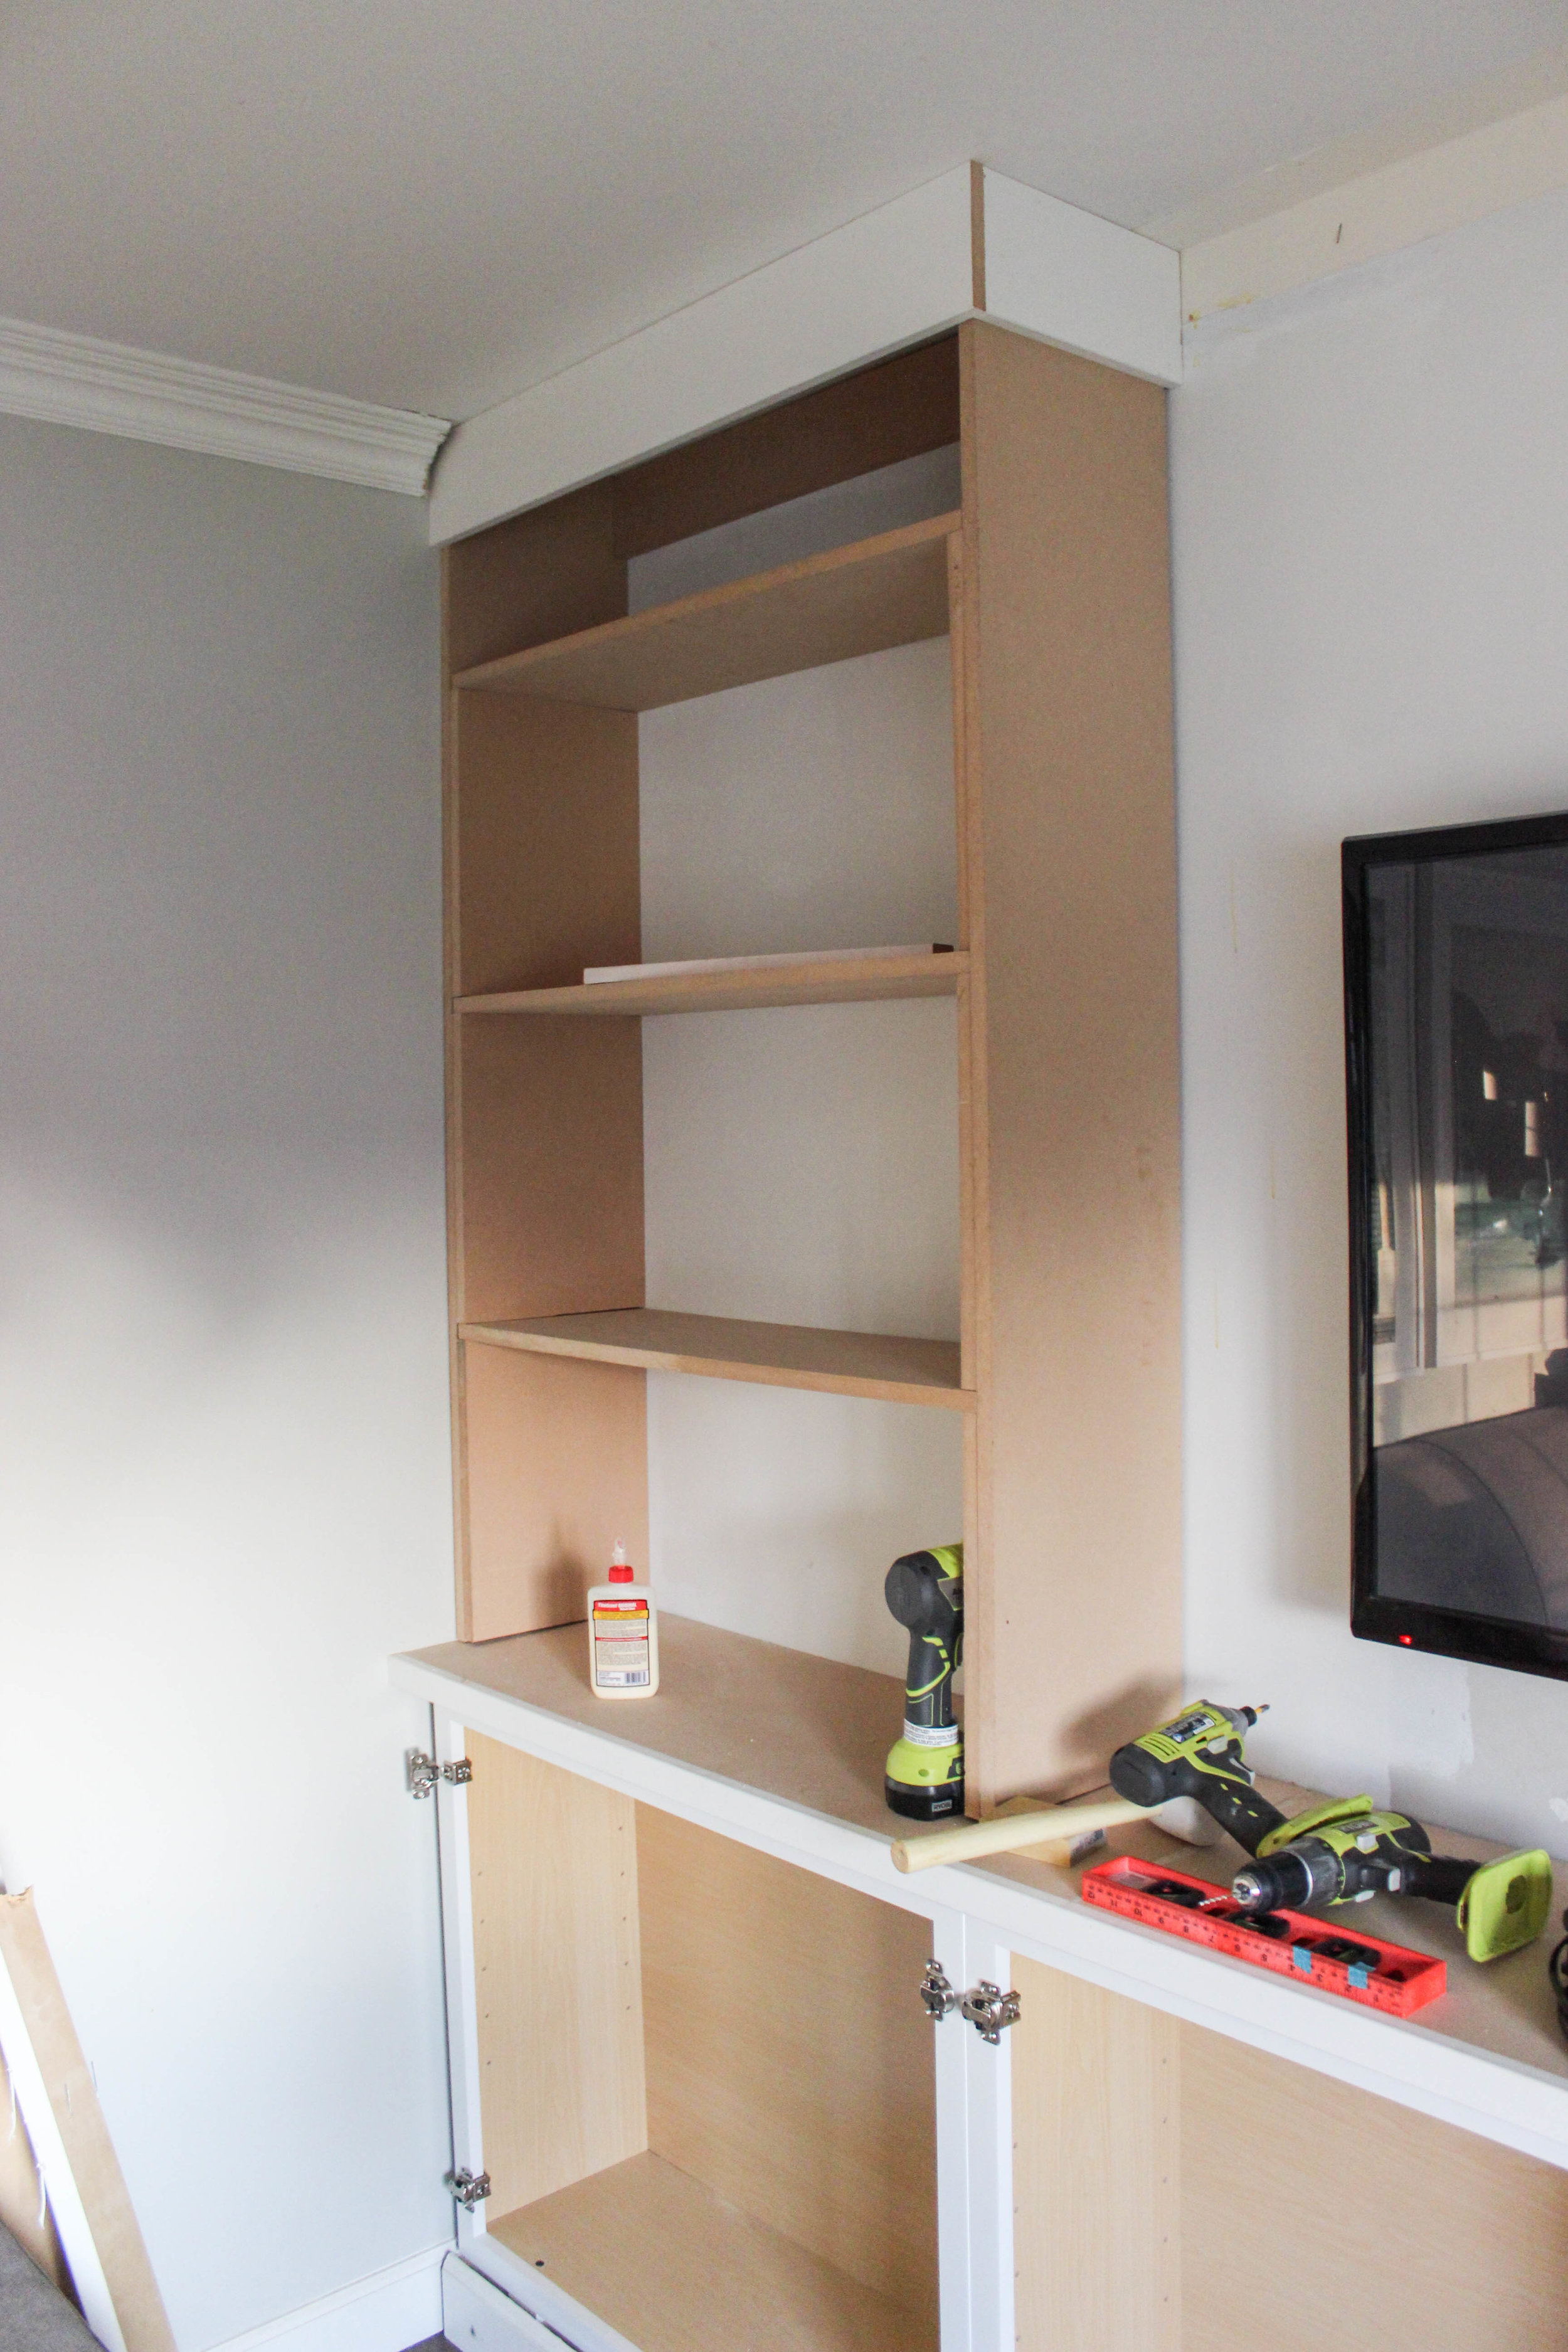
Next, we built the bookshelves; we found this video from withHeart and blog post from Young House Love very helpful when making the upper bookshelves. The top bookshelves are 11 inches wide, we attached the first panel to the wall and secured it with screws and nails, then added upper inside trim and then attached the other panel. We really liked Jen’s method of making the shelves extra thick and secure. We added a small trim underneath the first shelves on both sides to help support the shelves.
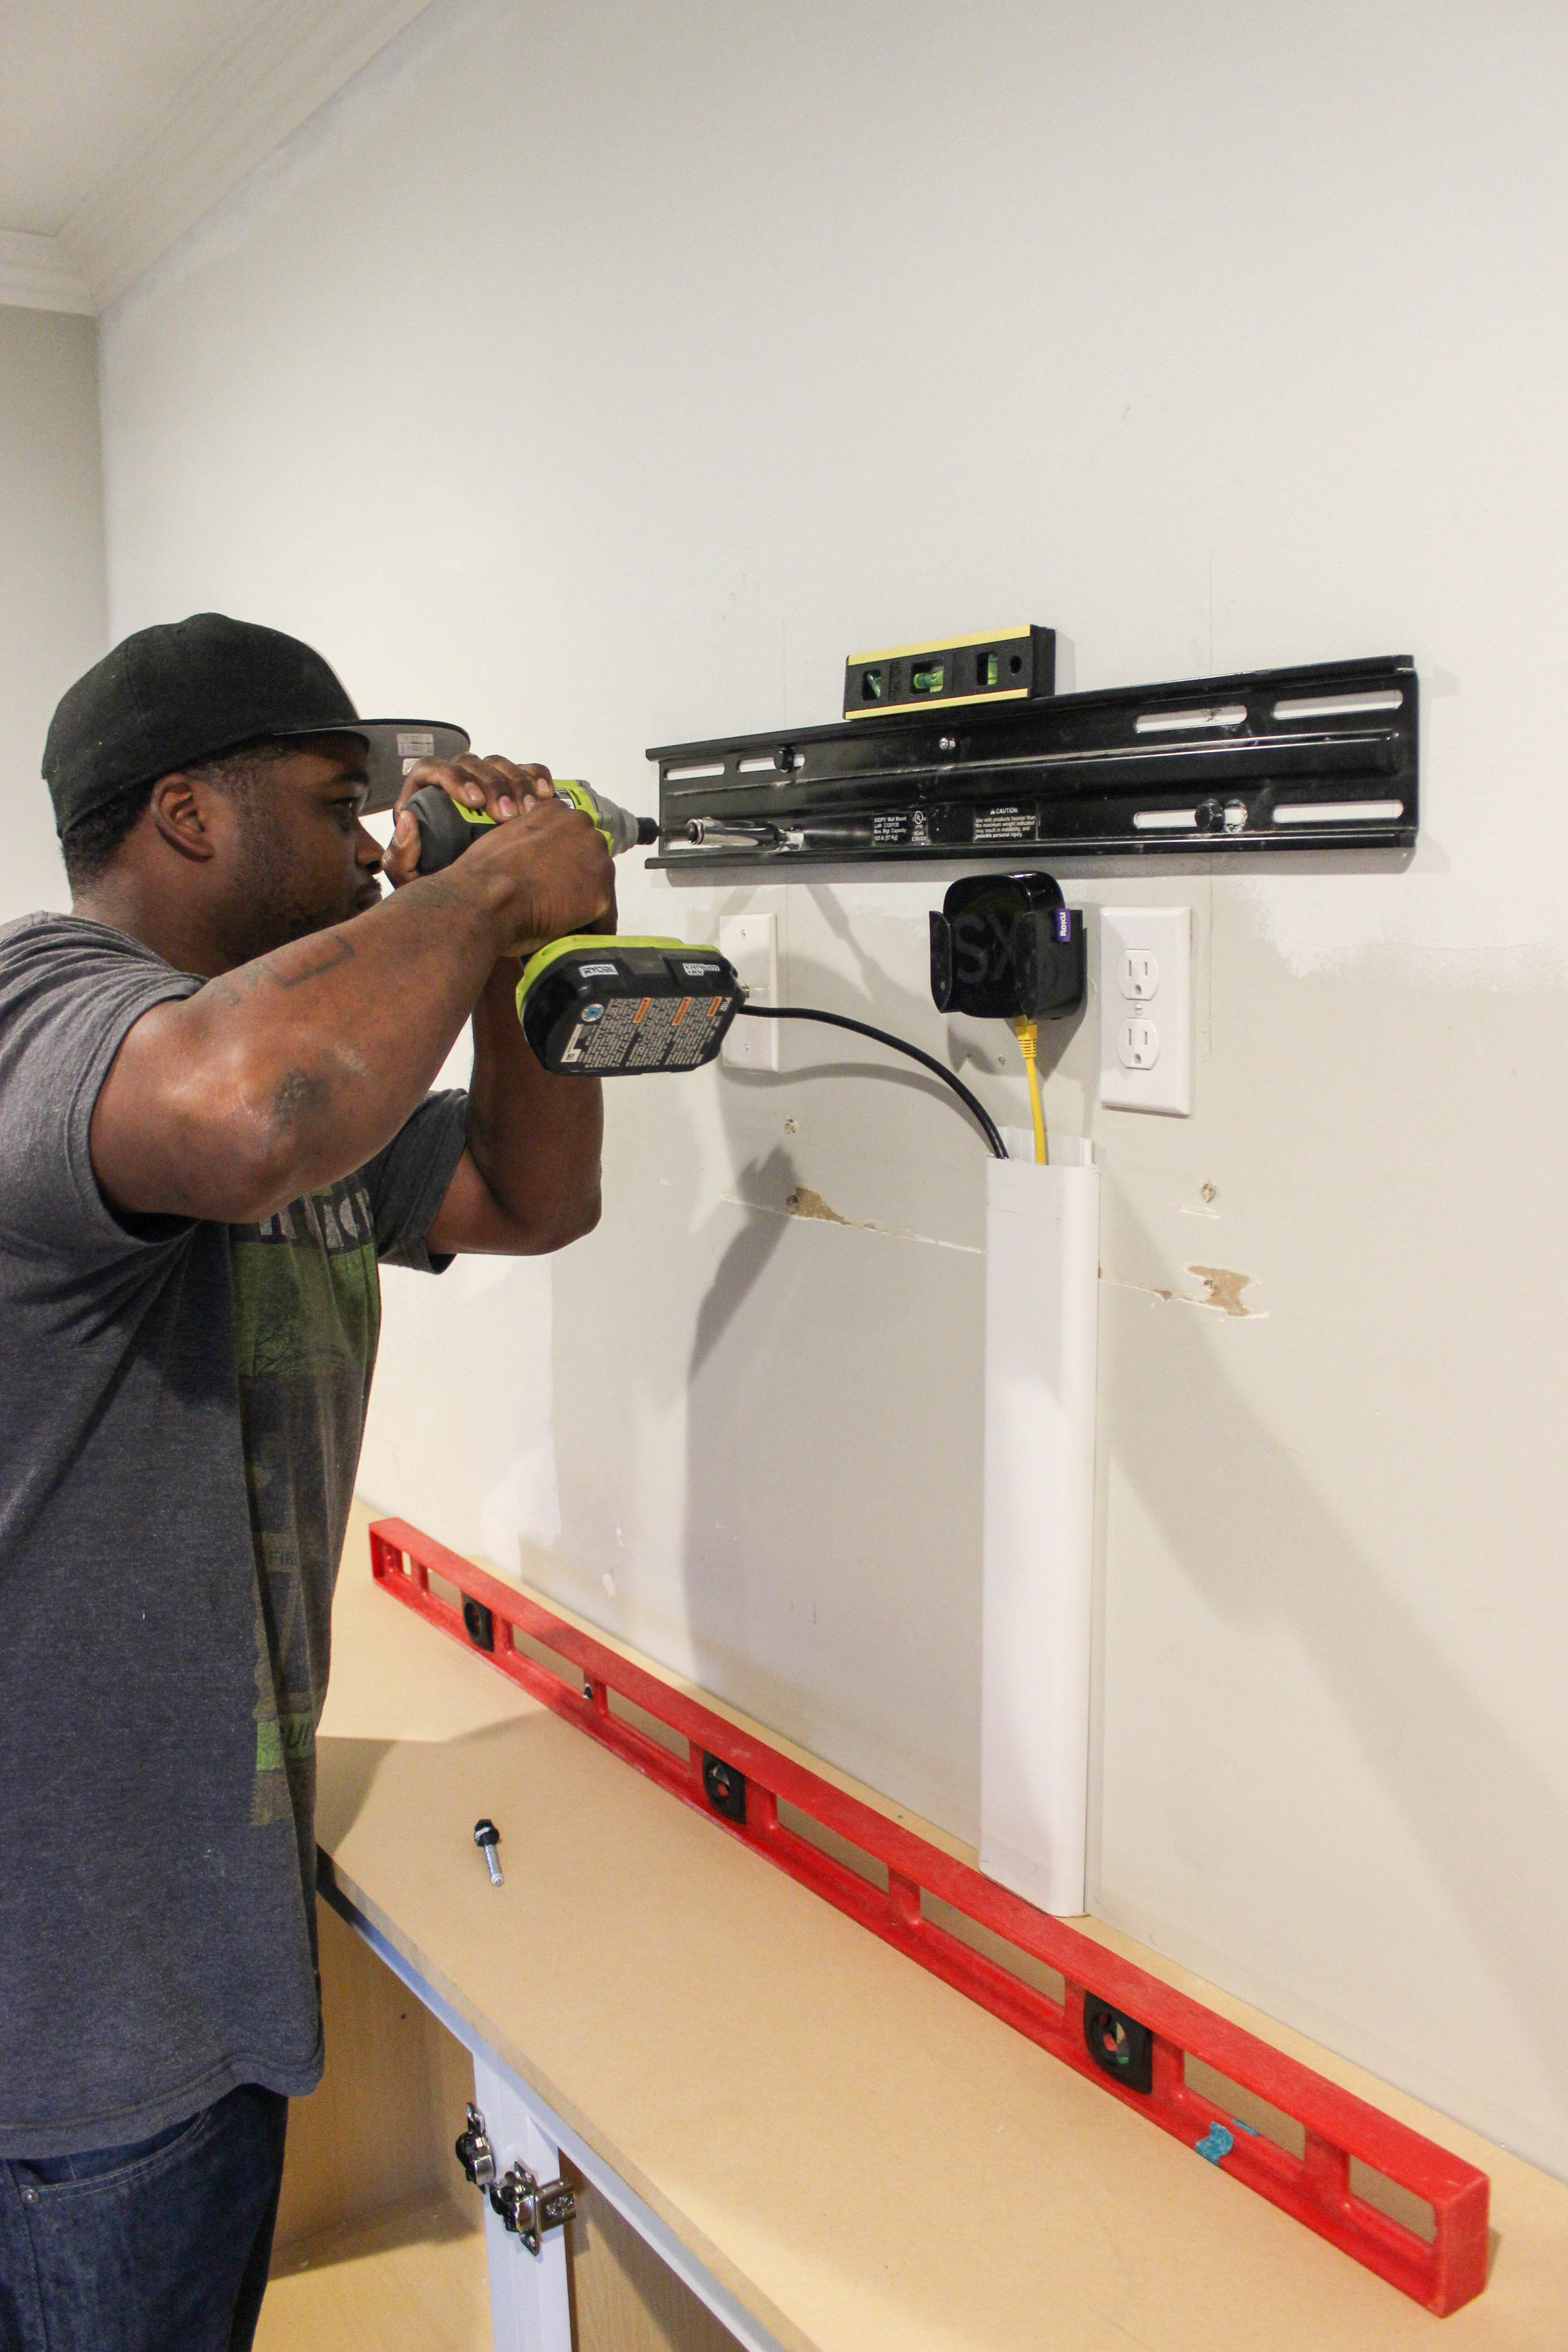
Also we also temporarily took down our wall mounted TV and raised the TV up to its new height, we have a wall plug behind the TV which is fantastic. But we have a router for our internet that’s on the big side, and we didn’t want it visible. So we decided used a cable cover to hide the cords that lead down to the plug vs. hiding the wires in the walls, which isn’t an option since our cabinets are permanently in place, and there is no direct outlet directly under the TV on the wall. I hope that makes sense? I think once everything is fully painted the cord cover will blend into the wall.
Below, my husband Hasani is installing our TV wall mount bracket, we also hid our Roku Player behind the TV, remember we're cable free!
The first part of the project took three days to complete, Day One Purchasing all MDF & tools for the project and installing the Cabinets, Day Two Building the upper bookshelves. Day Three attaching the trim to the front of the bookshelves and counter and creating mini templates for the crown molding. We still have a list of tasks to complete before this project is finished.
Built-in Bookcases To Do List
I begin caulking last night, but we still need to finish caulking all the gaps, so everything is seamless and fill in small nail holes with spackle, paint the bookshelves, finish painting wall behind TV area and install crown molding. We’re saving this step for last, over the weekend we began creating templates for our Crown Molding and boy was it rough. #LearningCurve. We studied lots of DIY Videos on Youtube and did lots of practice cuts, so much math and knowing the difference between a right inside and left outside cut is crucial. Ugh just thinking about Crown Molding is giving me PTSD. If you know of a good tutorial on installing, please feel free to leave the link in the comments. I plan to tackle some of the task mentioned above this week, crossing my fingers it’s all painted by Friday.
Next Wednesday on the blog, I’ll share more progress of the built-in bookcases. Hopefully, all finished including the Crown Molding. Along with a few hardware options, I’ve been thinking about for our cabinets. All total we’ll have eight cabinet doors that will need either pulls or knobs.
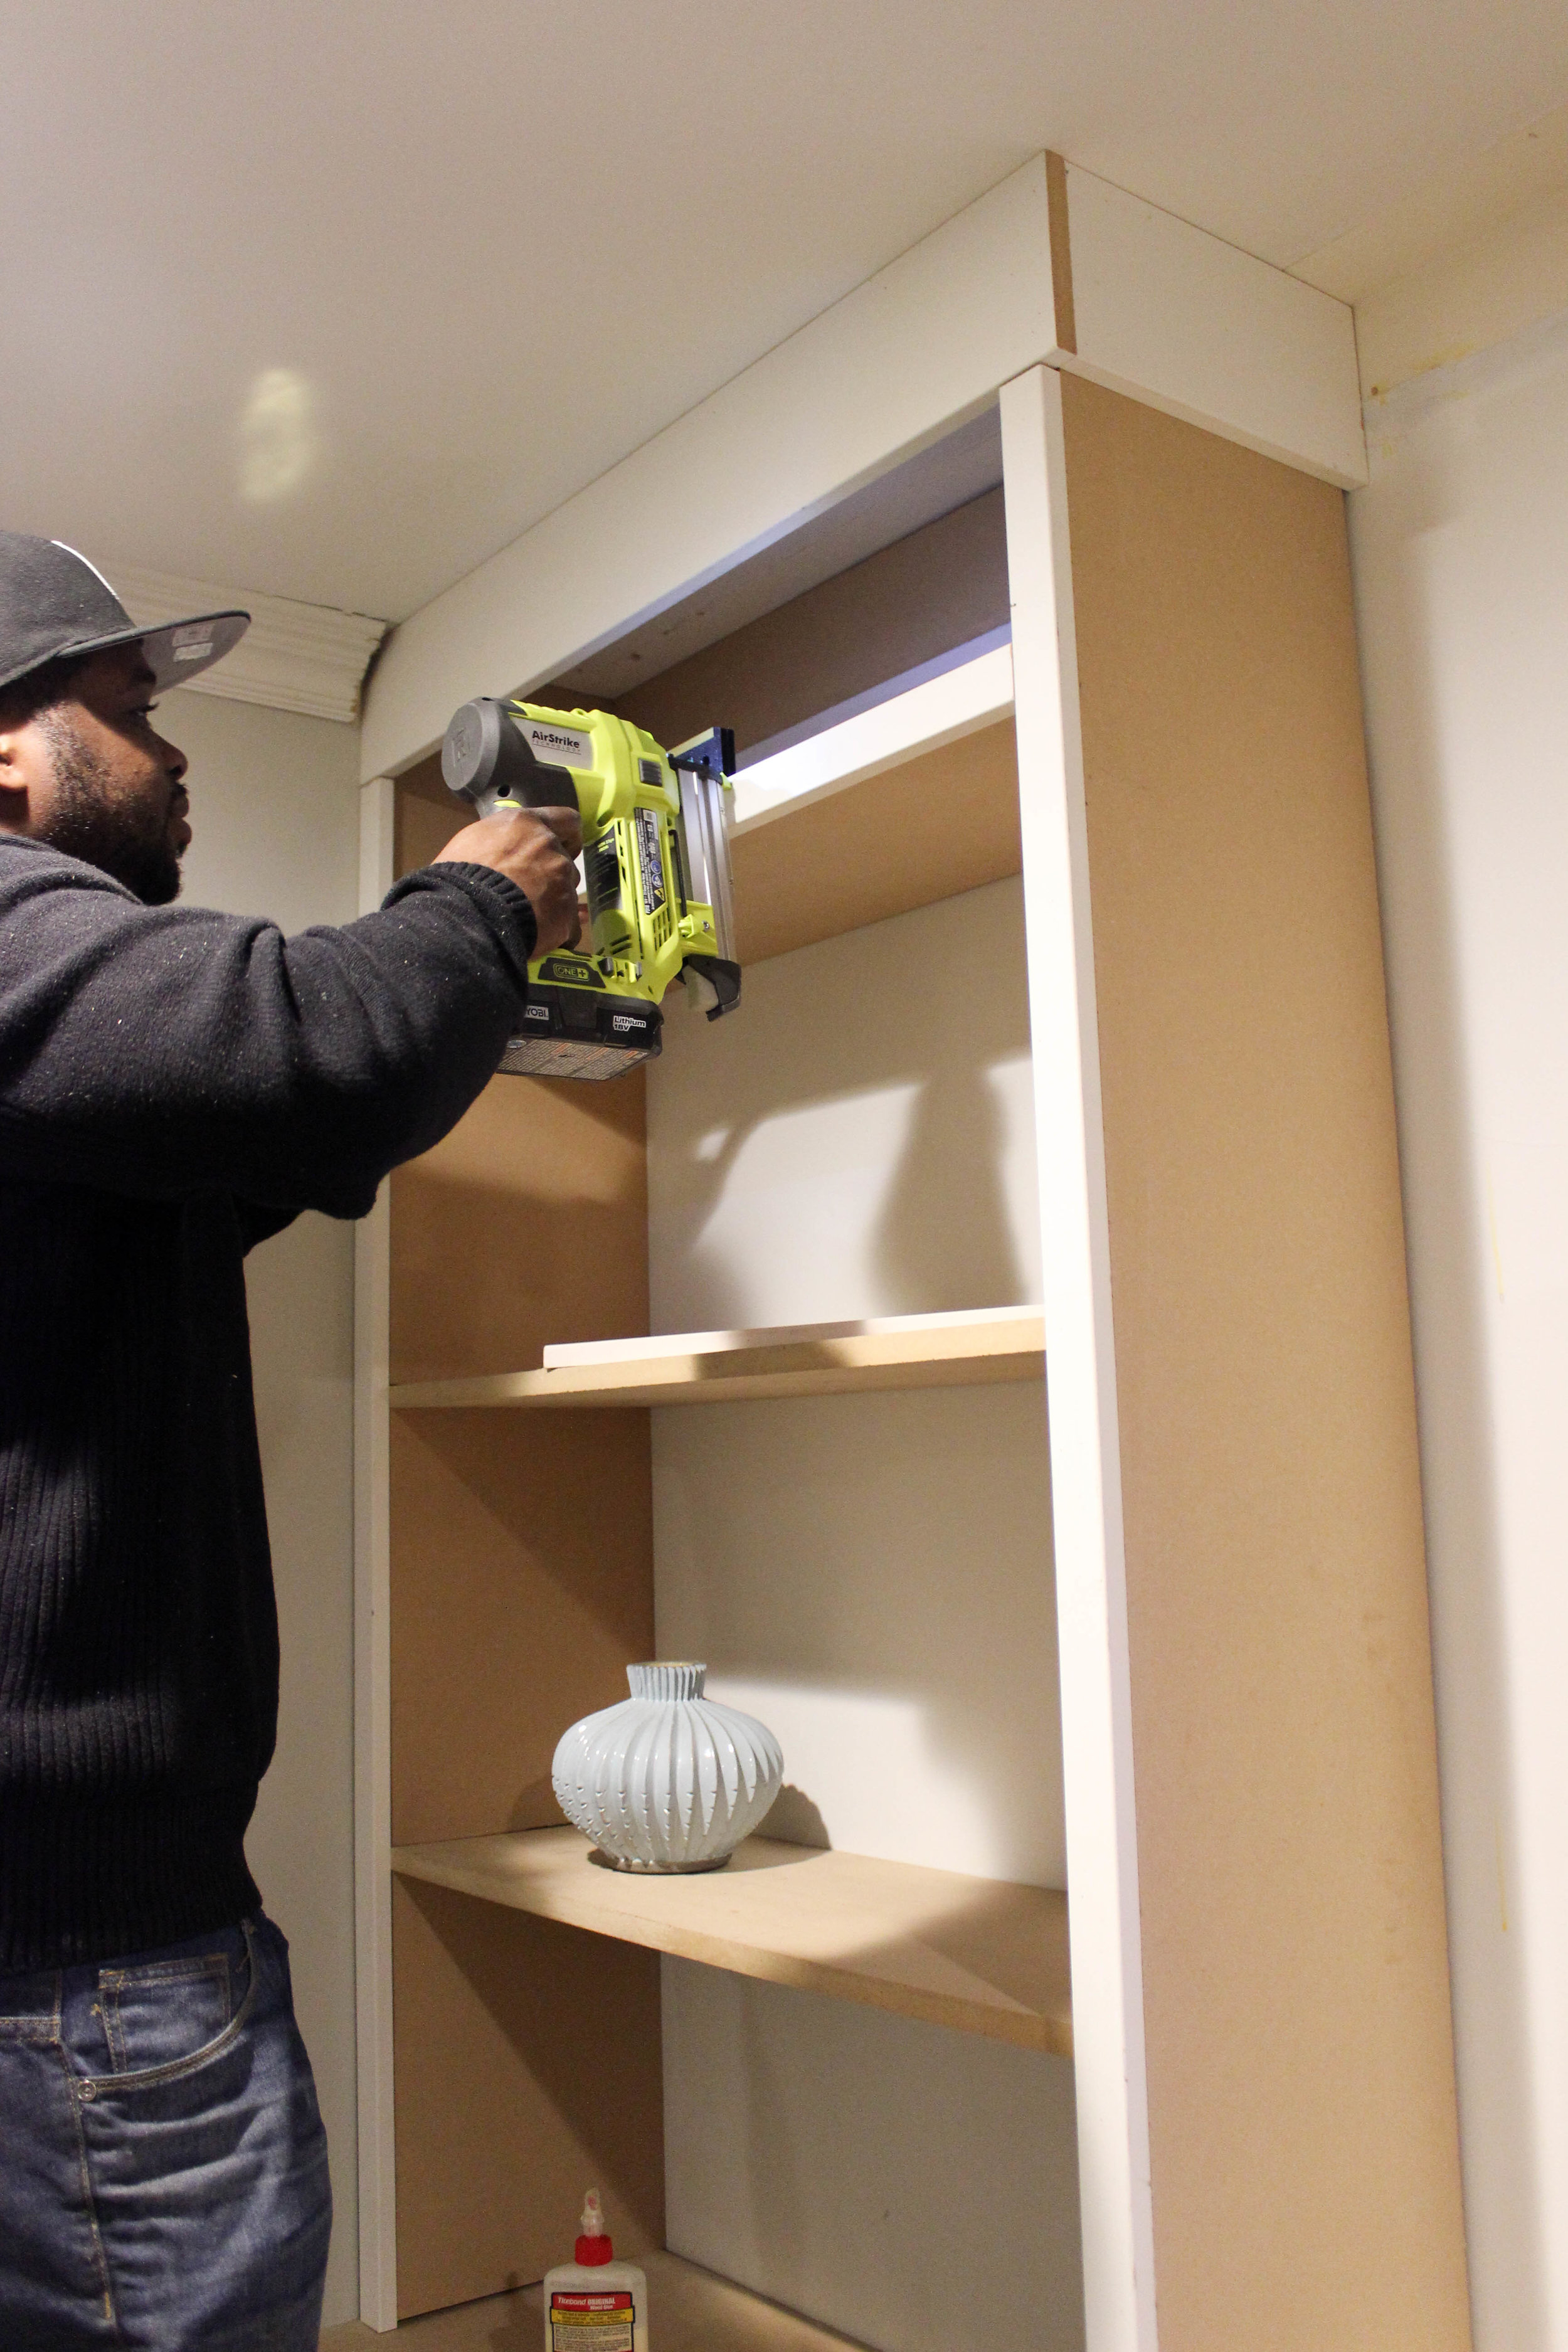
Below Hasani is adding the 1x2 MDF Trim to the front of the shelves, adding the trim to the front of the shelves helps hide all the seams and gives the each shelf a nice thicke look. Using a nail gun, really helped speed the process along.
What do you think of our built-ins so far? I'd love to hear your feedback! Please let me know if you have any questions and I’ll do my best to answer them.


