Creating a Potting Zone

Over the years I’ve gotten into gardening, there’s something special get your hands dirty digging in the dirt and seeing the vines you planted the year before take off and bloom. I love learning about what plants will thrive in my climate even with 100-degree temps. I’m also a massive fan of container gardening; I like having the ability to move plants around as needed and love creating a lush feeling patio with the addition of plants. This post is in partnership with Gardeners Supply, all words and opinions are my own. 

When it comes time actually to plant, that's when things fall apart. Because, I don’t have a dedicated planting spot in my yard to keep my small yard tools, extra soil, empty plant containers and misc gardening gear I’m usually looking all over the garage for everything. One of the things that have been lacking in my backyard is a dedicated planting spot. 

IMG_5241.jpg

I love keeping my old plant containers from nurseries to store extra dirt in, or start seedlings, however with the addition of our puppy it's been a challenge, an empty plant container stacked discreetly next our house quickly becomes Oliver's chew toy! 

One of my plans this Spring is to create a potting zone in my backyard, I love the idea of having a dedicated area in my yard to clean posts, hold soil, and a spot for my planting tools. This season we’re planting a veggie garden, which made the need for my potting area important. I have visions of myself checking on my little backyard crop daily and then washing off my goodies before bringing them inside. 

As I‘ve gotten more into gardening, I’ve been on the hunt for a potting bench that would hold all my gardening gear and give me ample area to replant. 

I recently added the CedarLast Potting Bench to my backyard. I placed the potting bench in our larger flower bed, it's the perfect spot and adds a pretty element to the yard. I also love that its near the outdoor faucet. 

IMG_5231.jpg

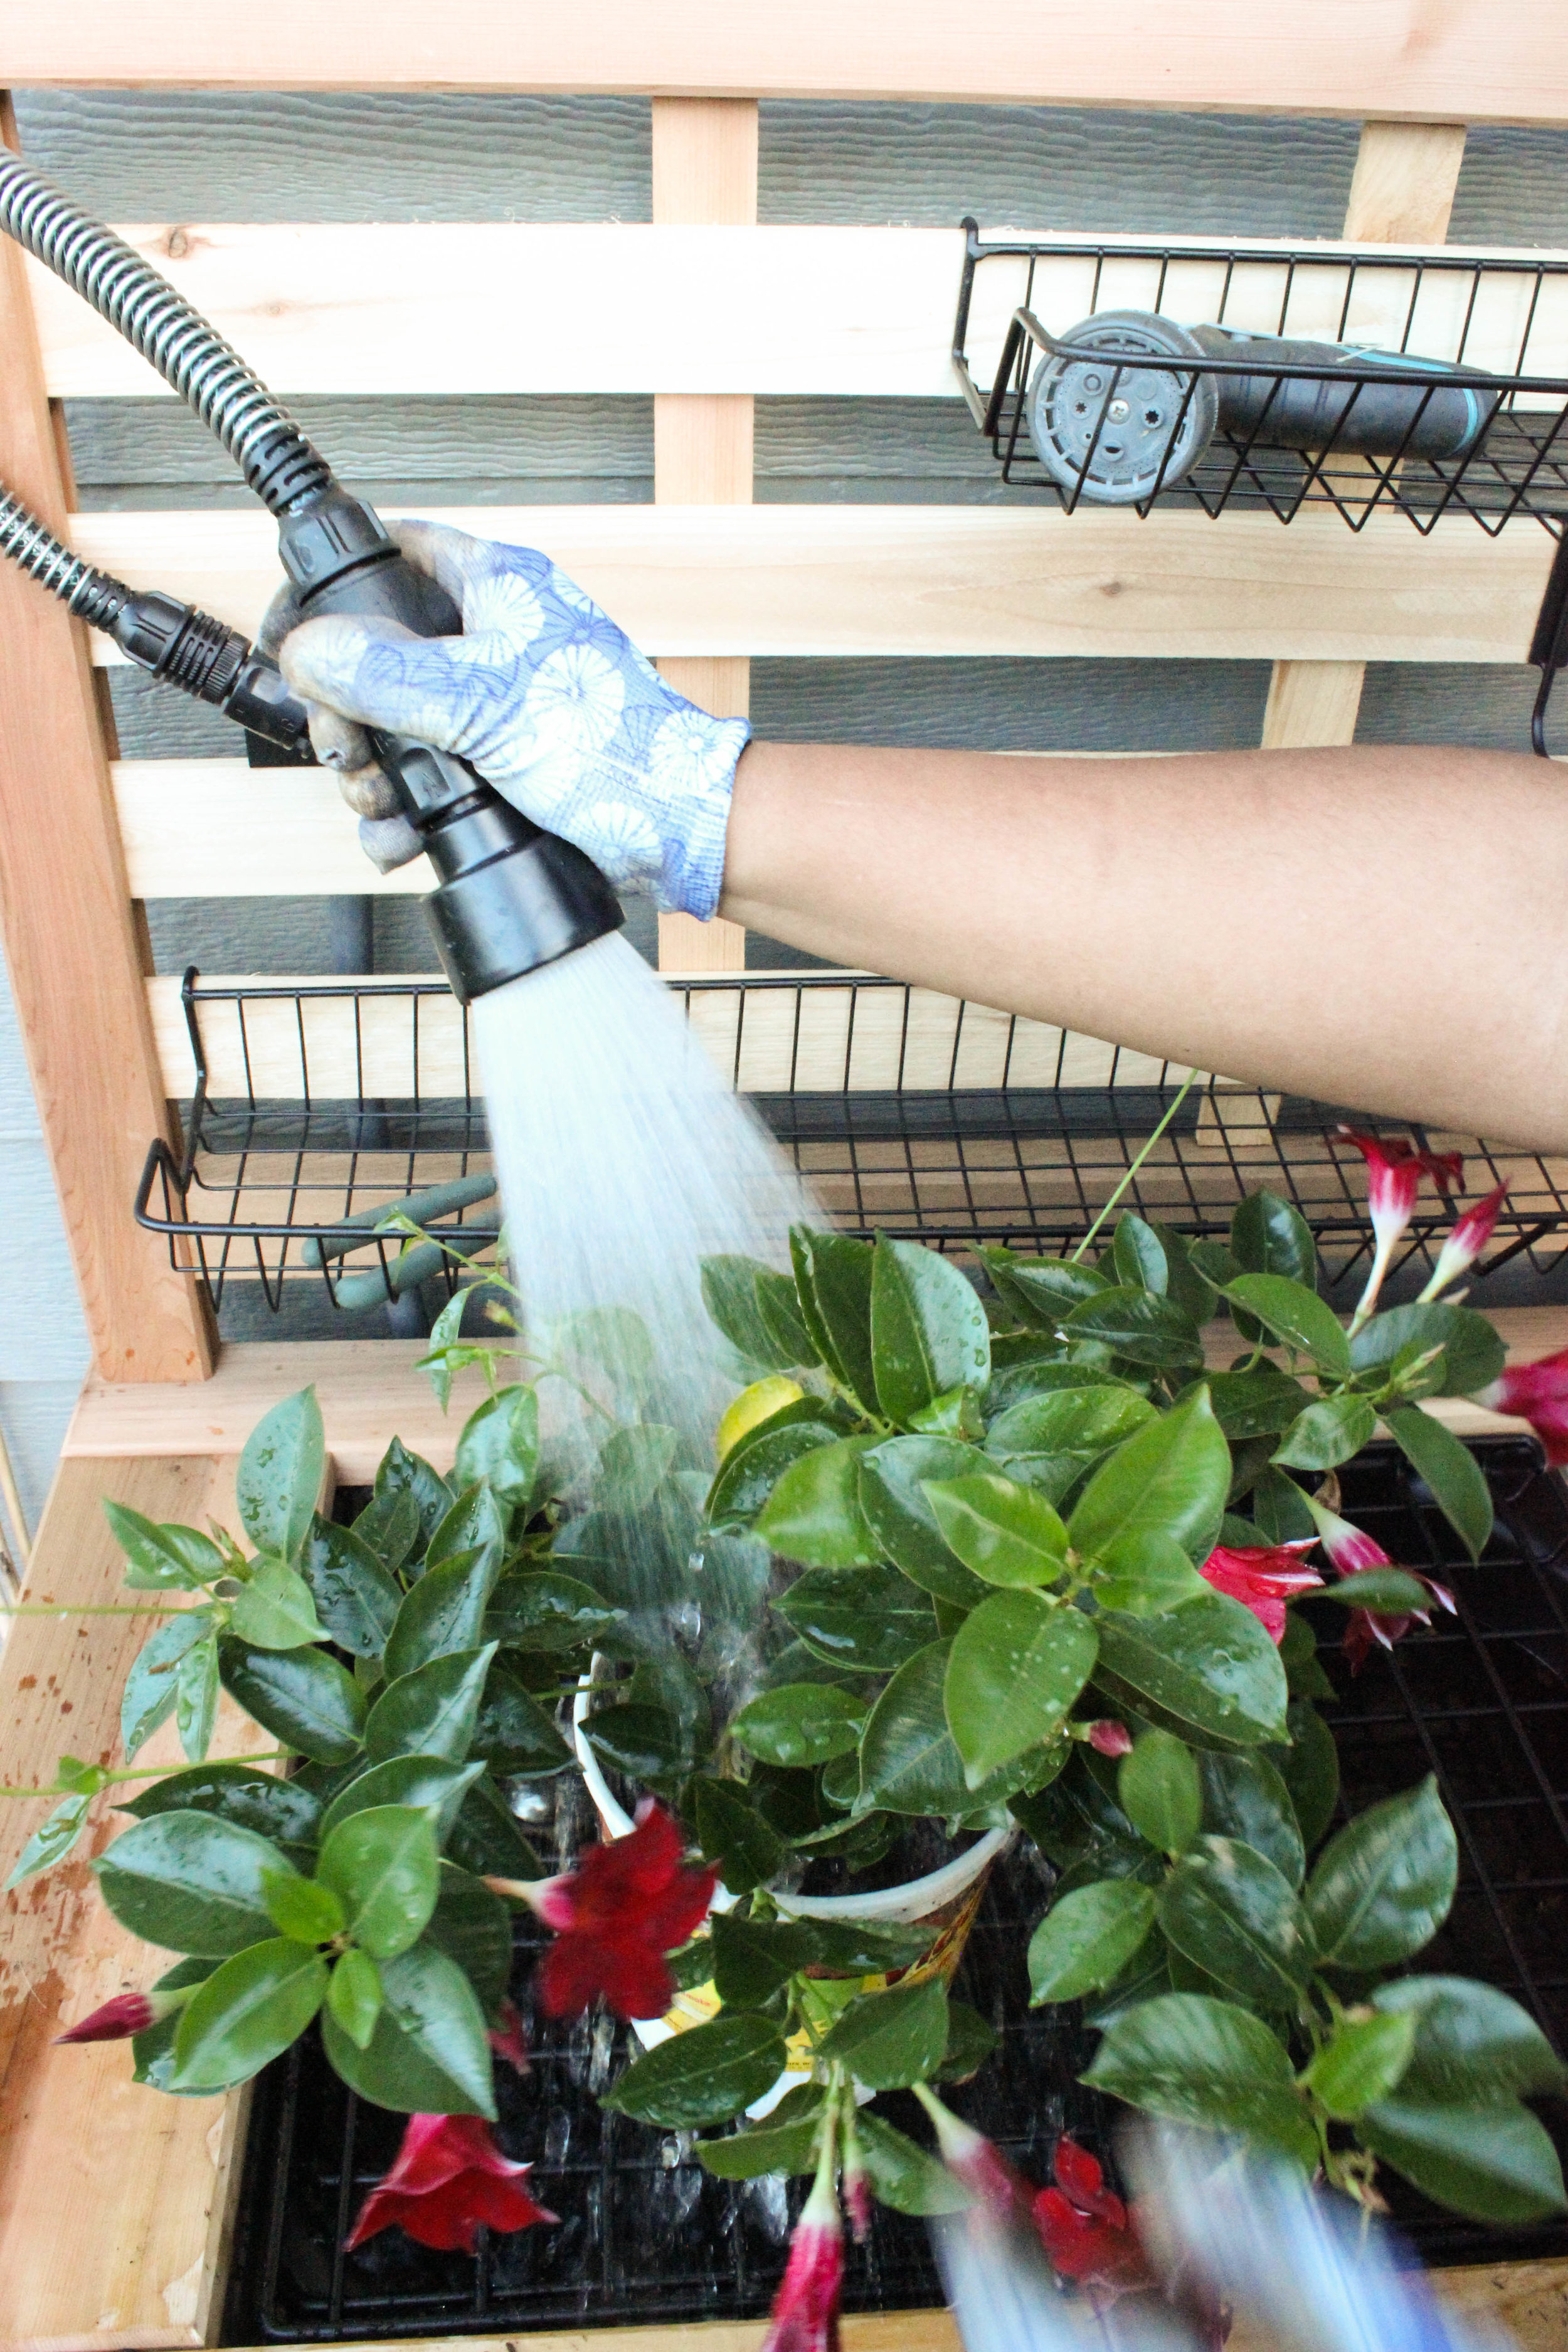
This potting bench is an incredible addition to our yard and checks off all the boxes: looks fantastic, perfect for holding all my gardening goodies and best of it has a sink and faucet! Yes friends, I now have an outdoor working faucet and sink! The faucet is attached to my garden hose; the water output is INCREDIBLE! 

I love the large sink, I’m able to rinse off planters and water plants before planting them. The large sink even has a drain and plug! Once our vegetable garden is growing lots of produce (putting it out in the universe we'll have a big crop!), I'm excited to rinse off our veggies in the sink before bringing them in the house. I also love all the storage on the bench; I'm able to hang my garden tools on the hooks. The bottom shelf on the garden bench has plenty of room to hold soil, containers and garden products. 

IMG_5234.jpg
IMG_5244.jpg

What do you think of my new potting bench? 

DIY Makeup Brush & Jewerly Holder with Upcycled Containers

This post is in partnetship with Aveeno, but all opinions are my own. 

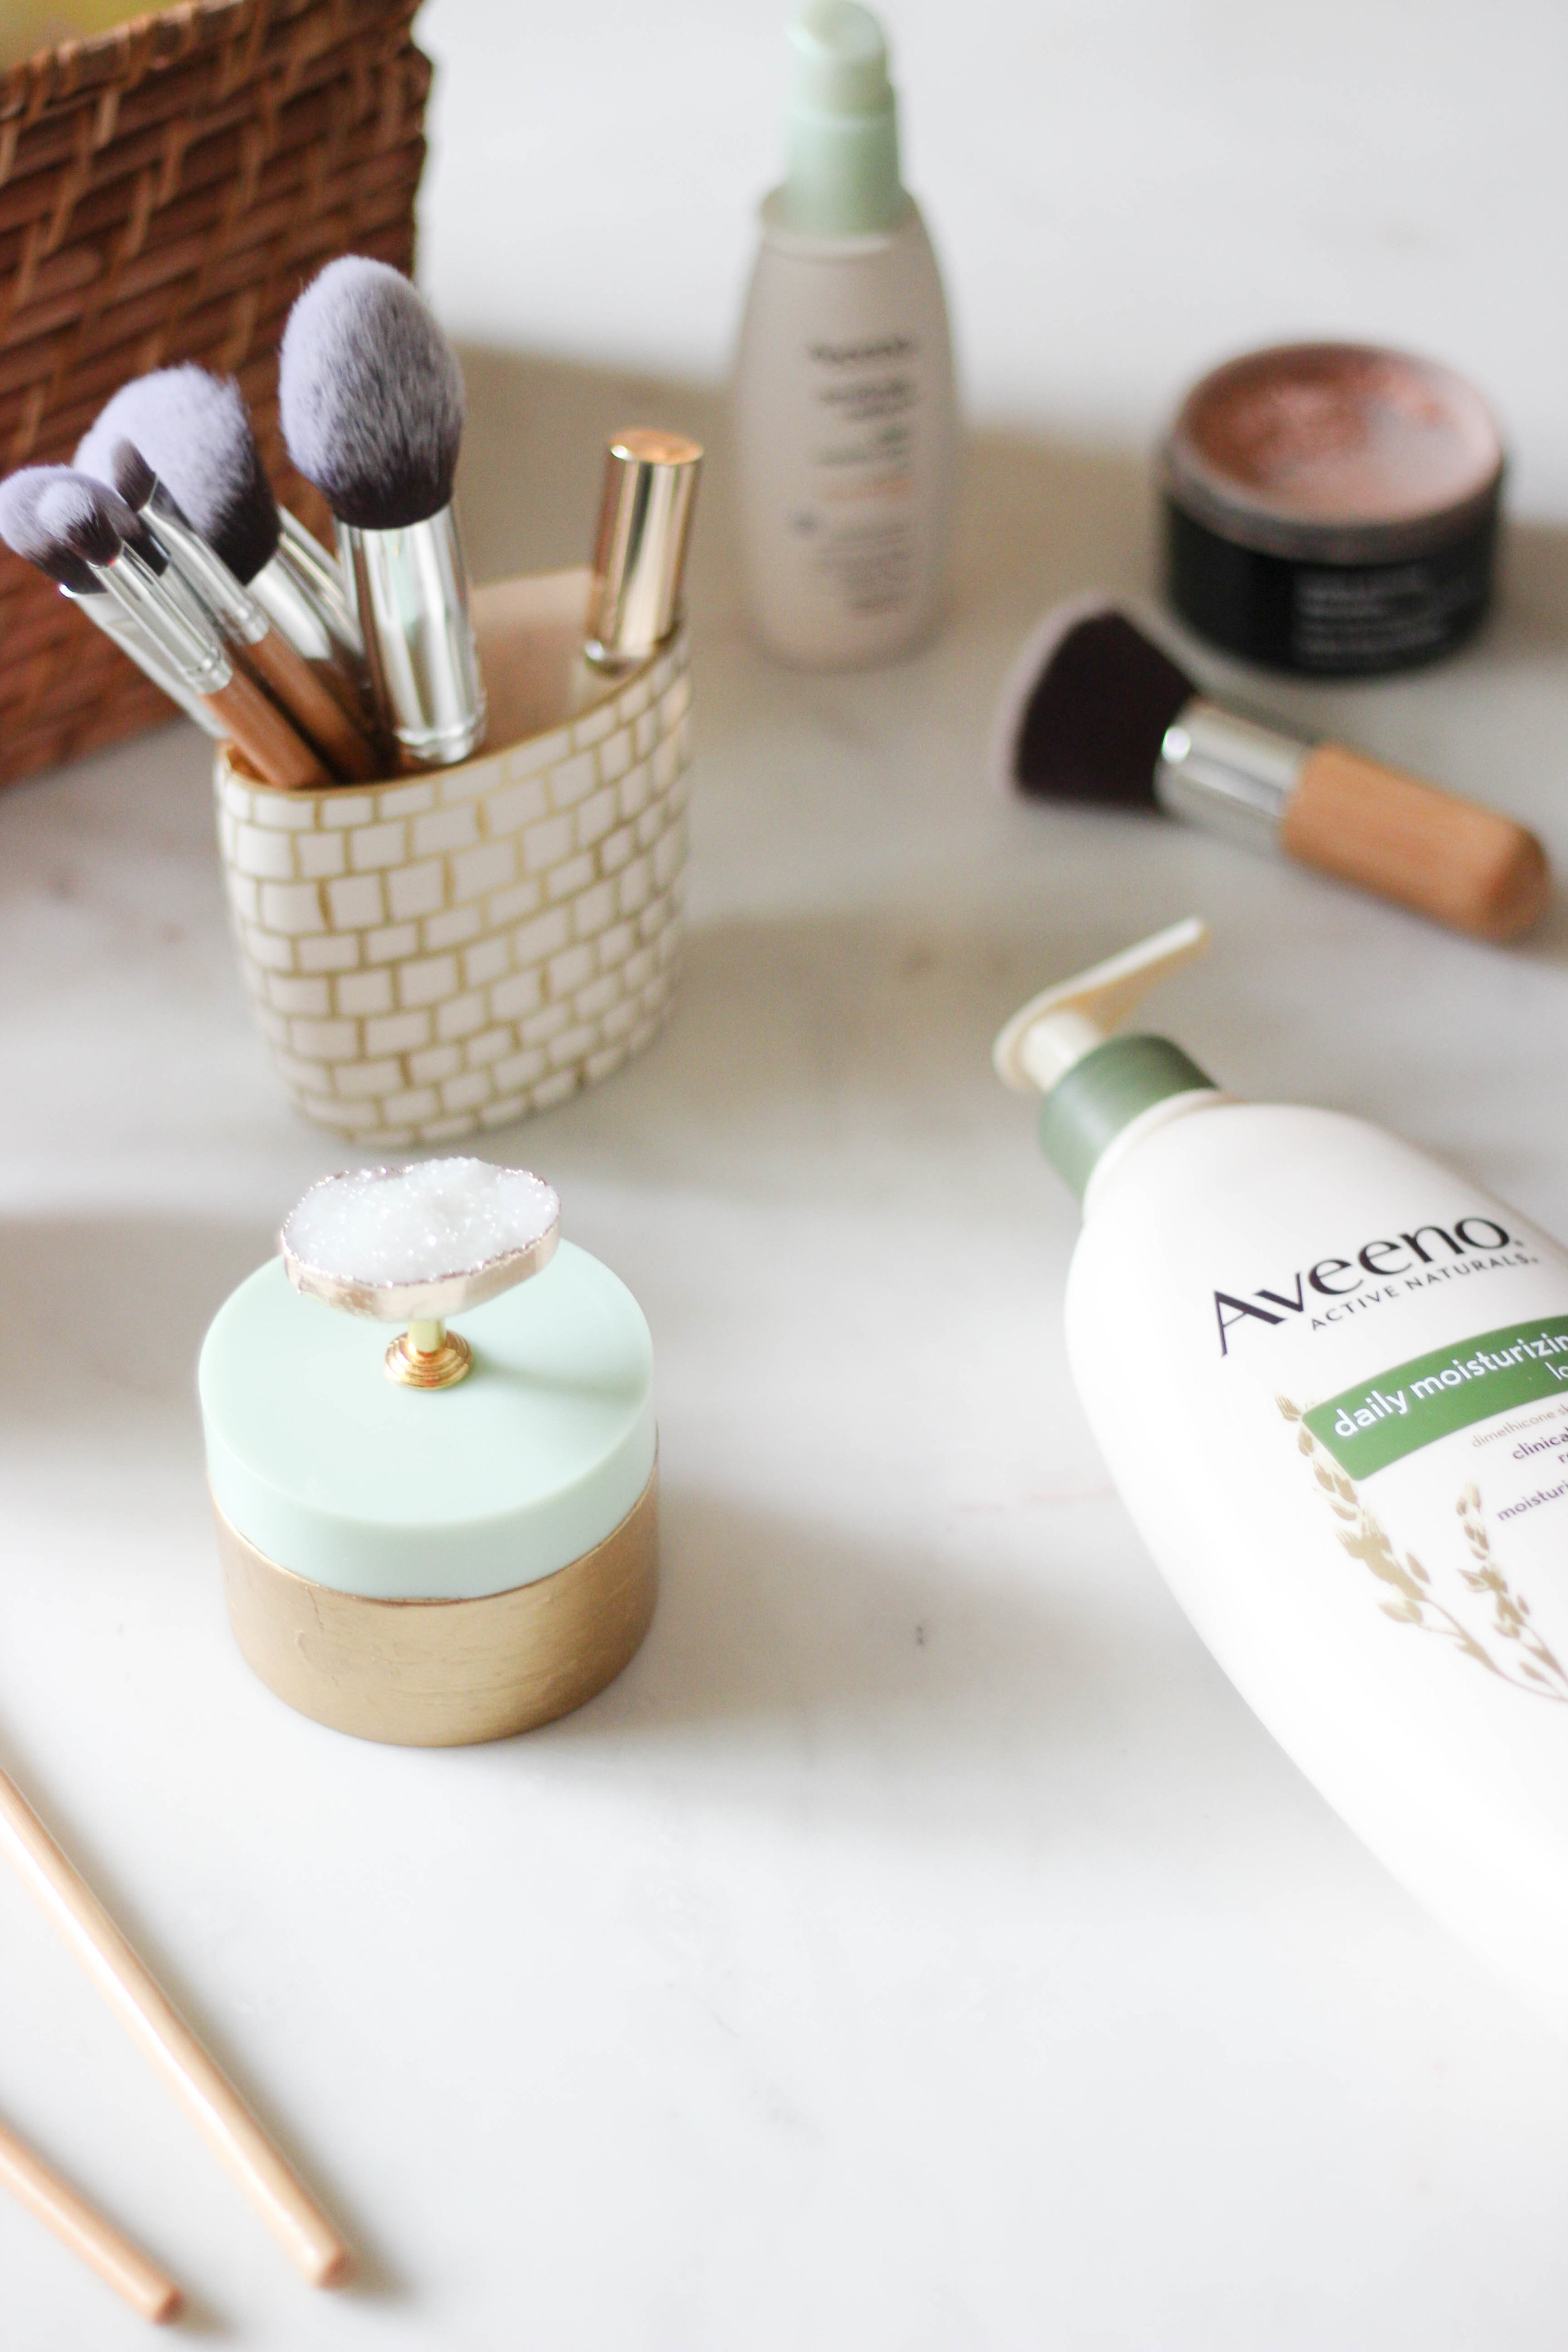
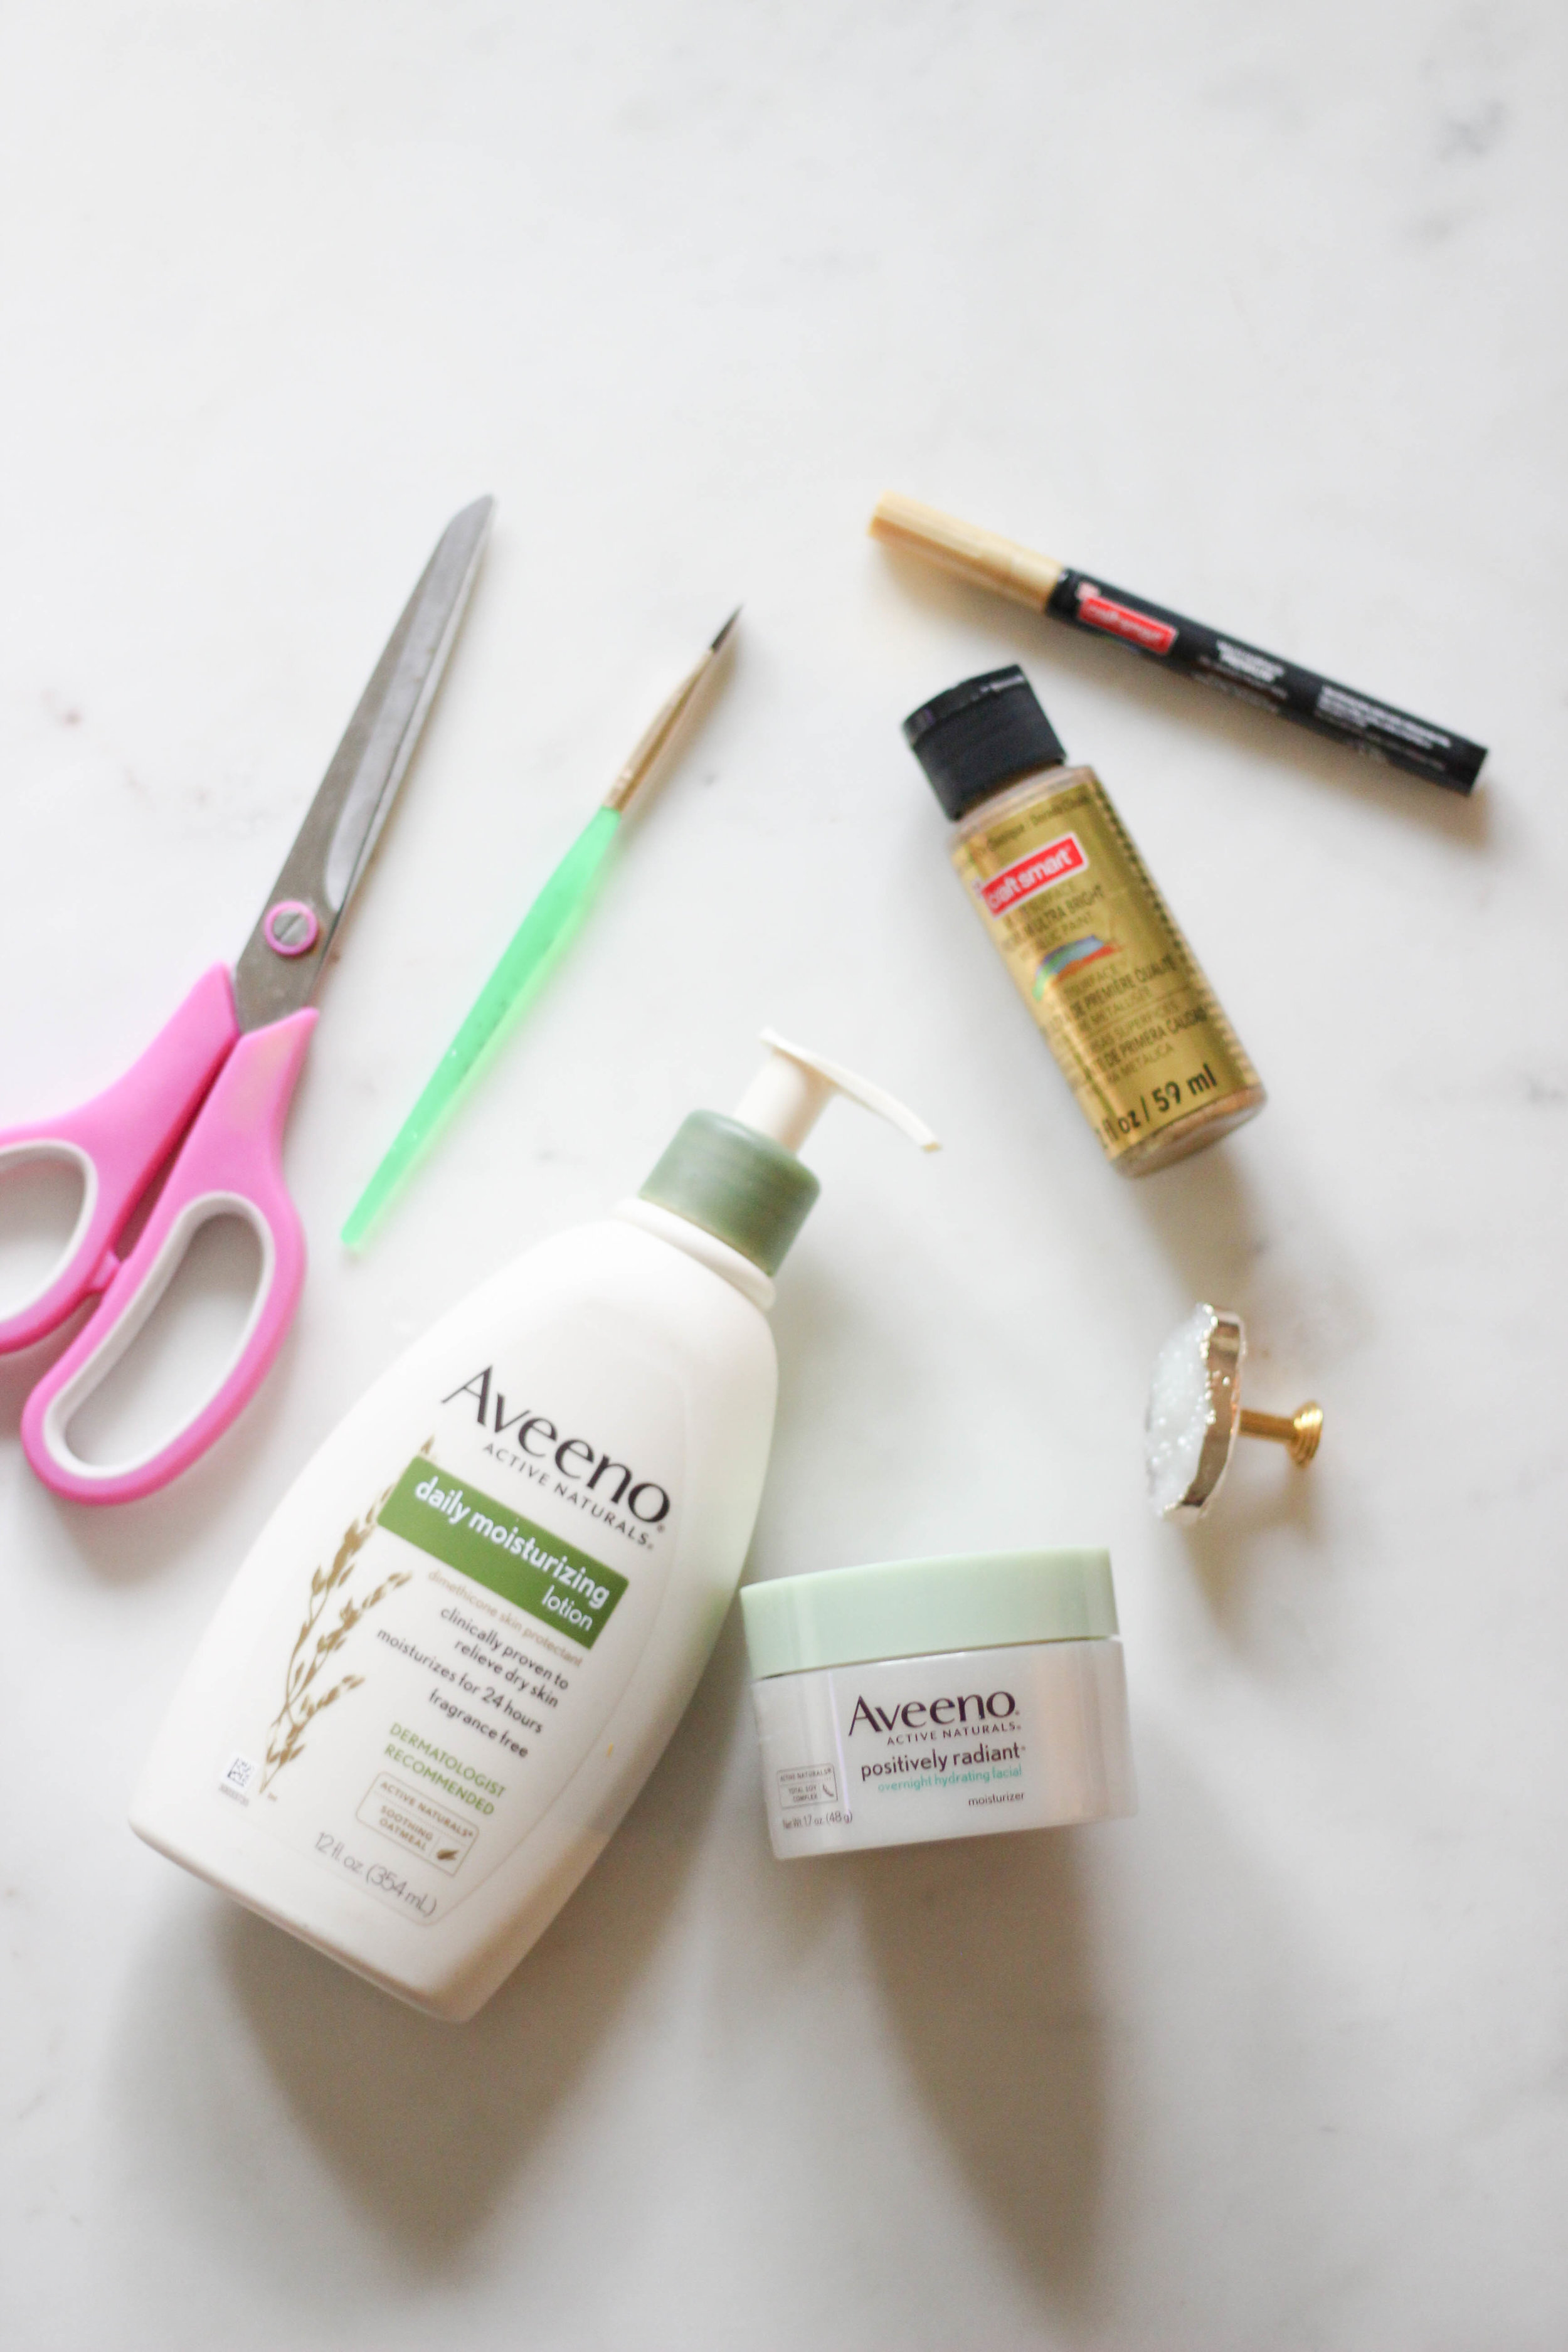
Have you ever tossed a lotion container and wondered if there was a better way to recycle or re-purpose it? In celebration of Earth Day this Sunday, April 22, I collabrated with Aveeno to share ideas on how to upcycle your containers once they’re empty. Every day, I strive to make sure my family and I are being conscious and doing our part to recycle and reduce and reuse. Today I’m sharing two creative ideas to transform your Aveeno Daily MoisturizingLlotion bottle into a makeup brush holder and the Aveeno Positively Radiant Overnight Hydrating Facial jar into a jewelry holder. 

IMG_5087.jpg

I’ve been a huge fan of Aveeno products for the past year. They’ve been a game changer in improving the clarity of my skin and helping give it a glow. My favorite is the Aveeno Positively Radiant Overnight Hydrating Facial, I use it 2-3 times a week and wake up the next morning with super soft skin. It’s a must try! I love Aveeno’s commitment to using high-quality  ingredients sourced from nature. Their products are available instore and online, at retailers like Amazon.com. 

DIY MAKEUP BRUSH HOLDER

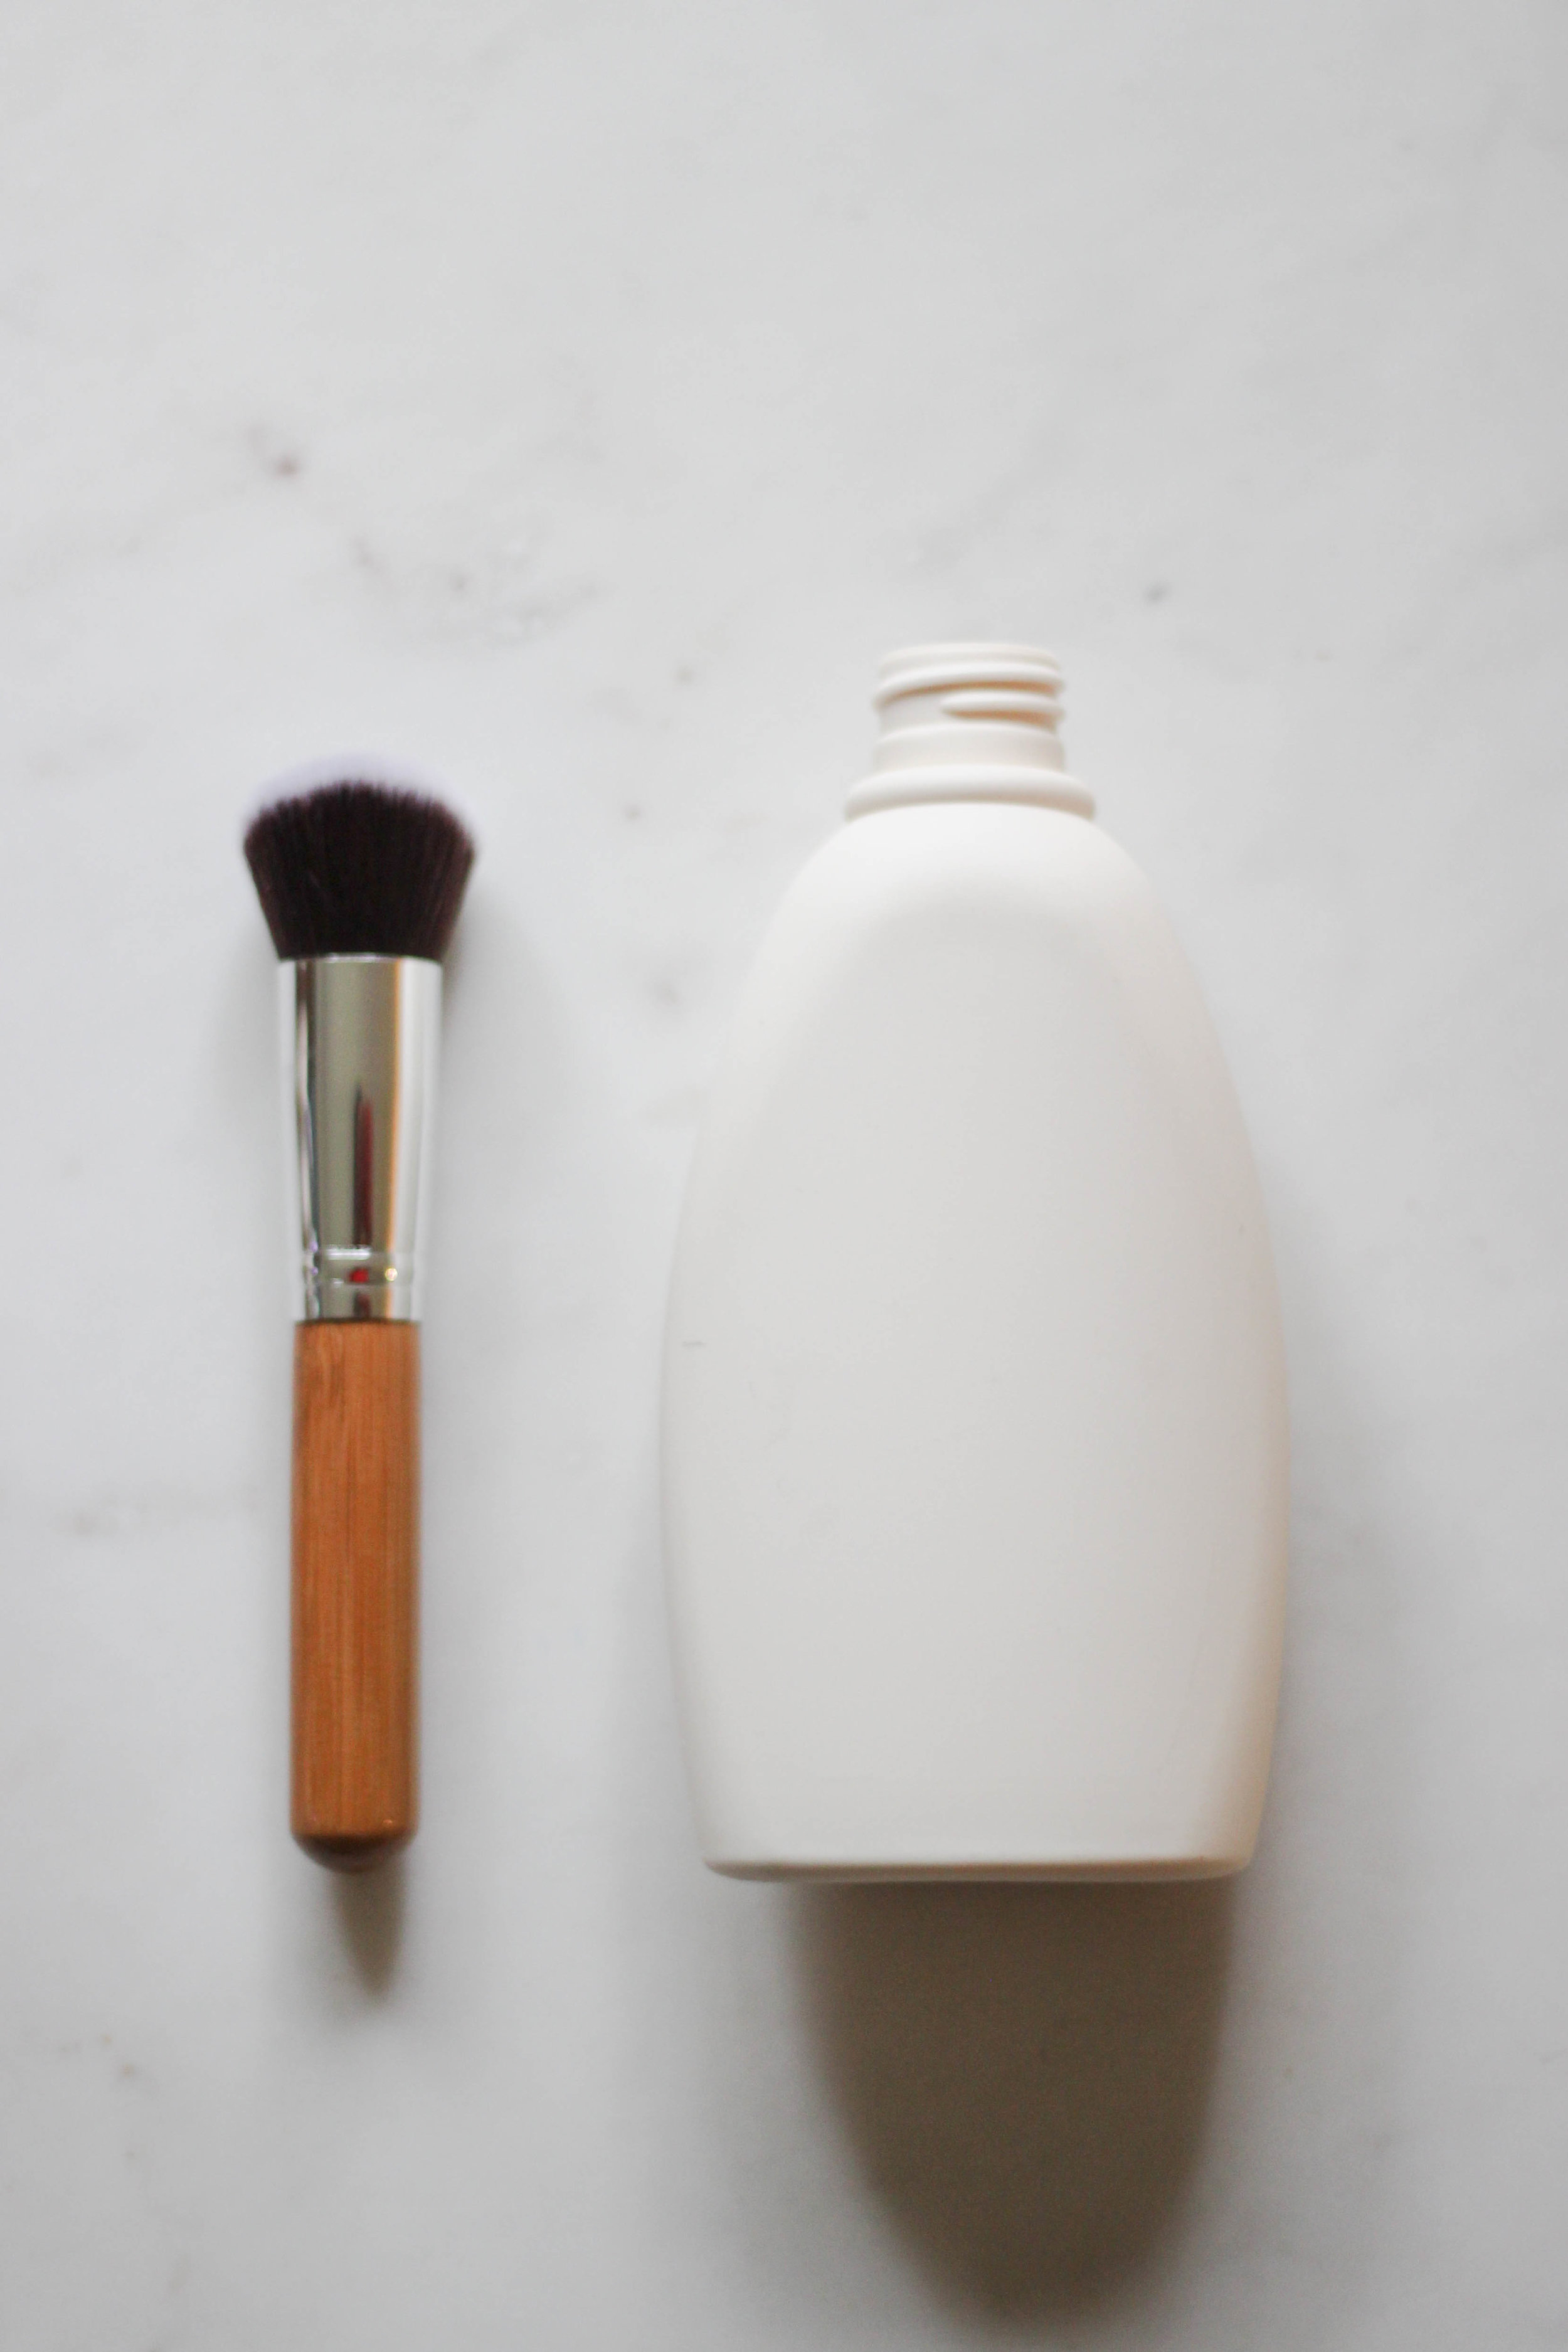
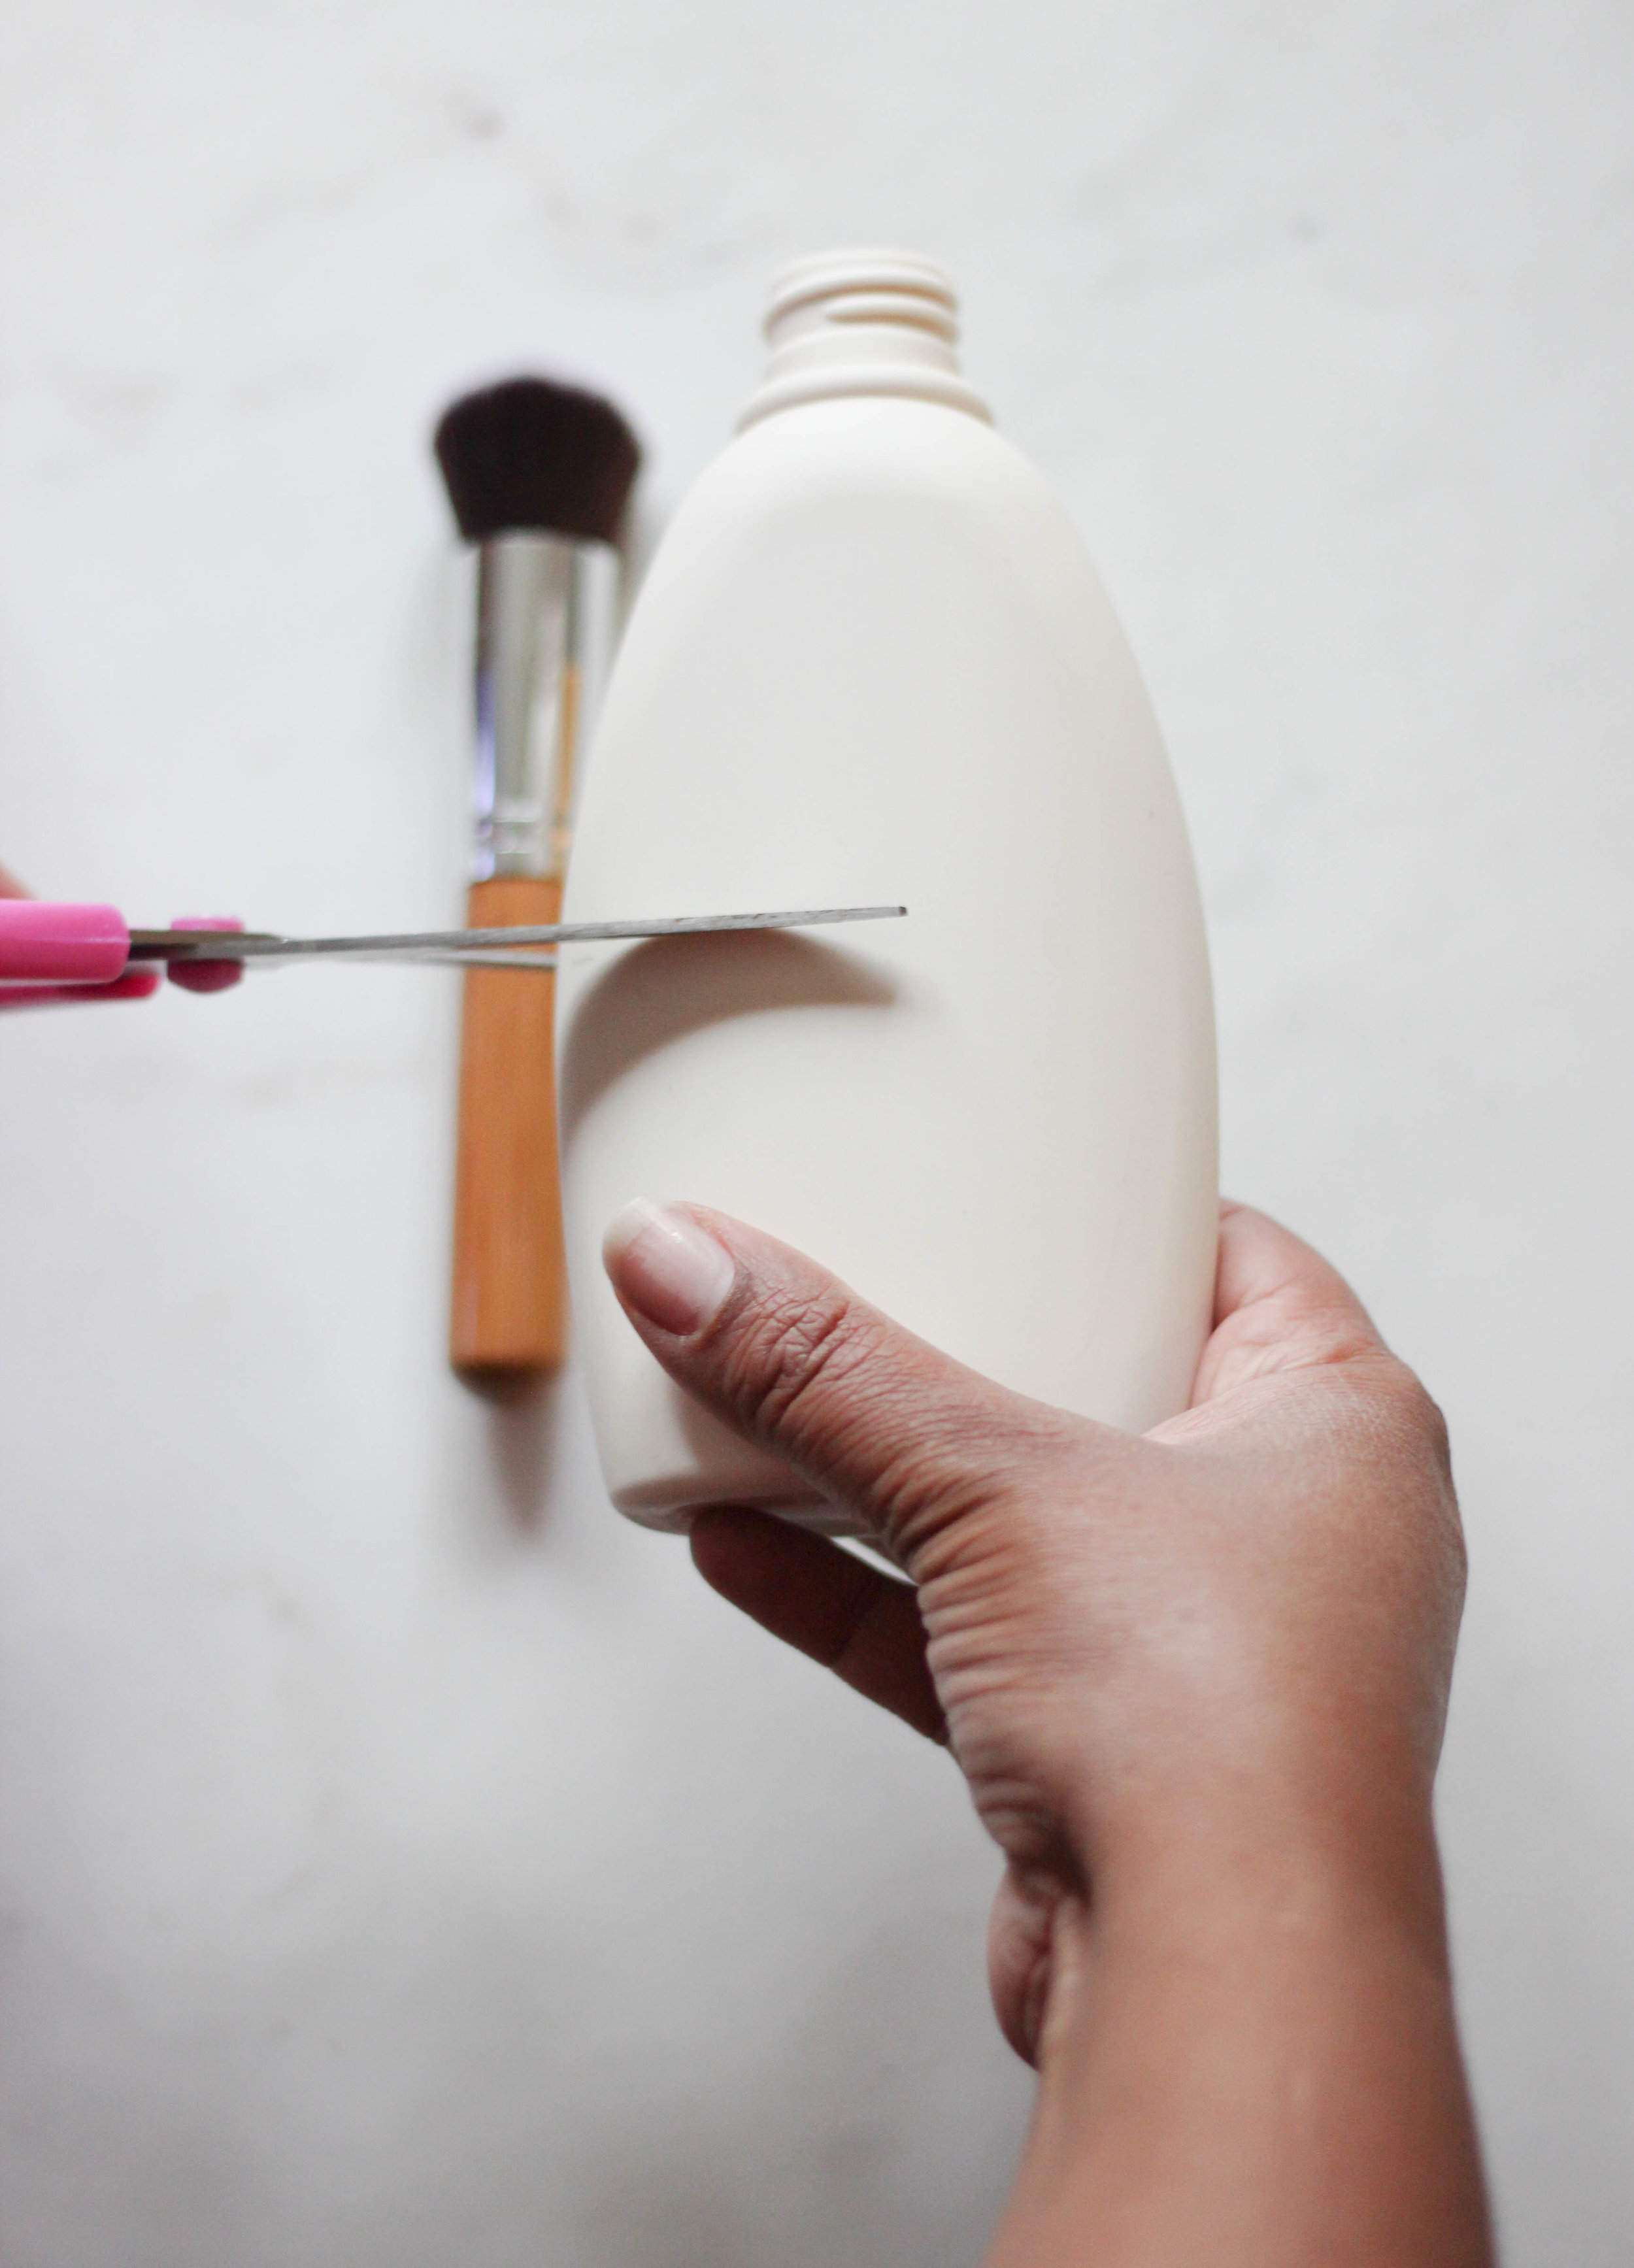
ONE. Once your Aveeno Daily Moisturizing lotion bottle is empty, remove the lotion pump and decide the height you want your makeup brush holder. I place my tallest makeup brush next to my bottle to help to determine the height and then mark a line with a pencil. Next, carefully peel off the sticker on the bottle front and back and discard.  

TWO. I used scissors to cut the bottle in half. I was surprised how much lotion I still had in my container, so going forward I’ll never toss a bottle without cutting it in half. It's crazy how wasteful I’ve been all these years! Using a spoon and funnel, I topped off my new Aveeno Daily Moisterizing Lotion bottle with the remaining lotion of my old bottle. Rinse the container out with soap and water and dry. 

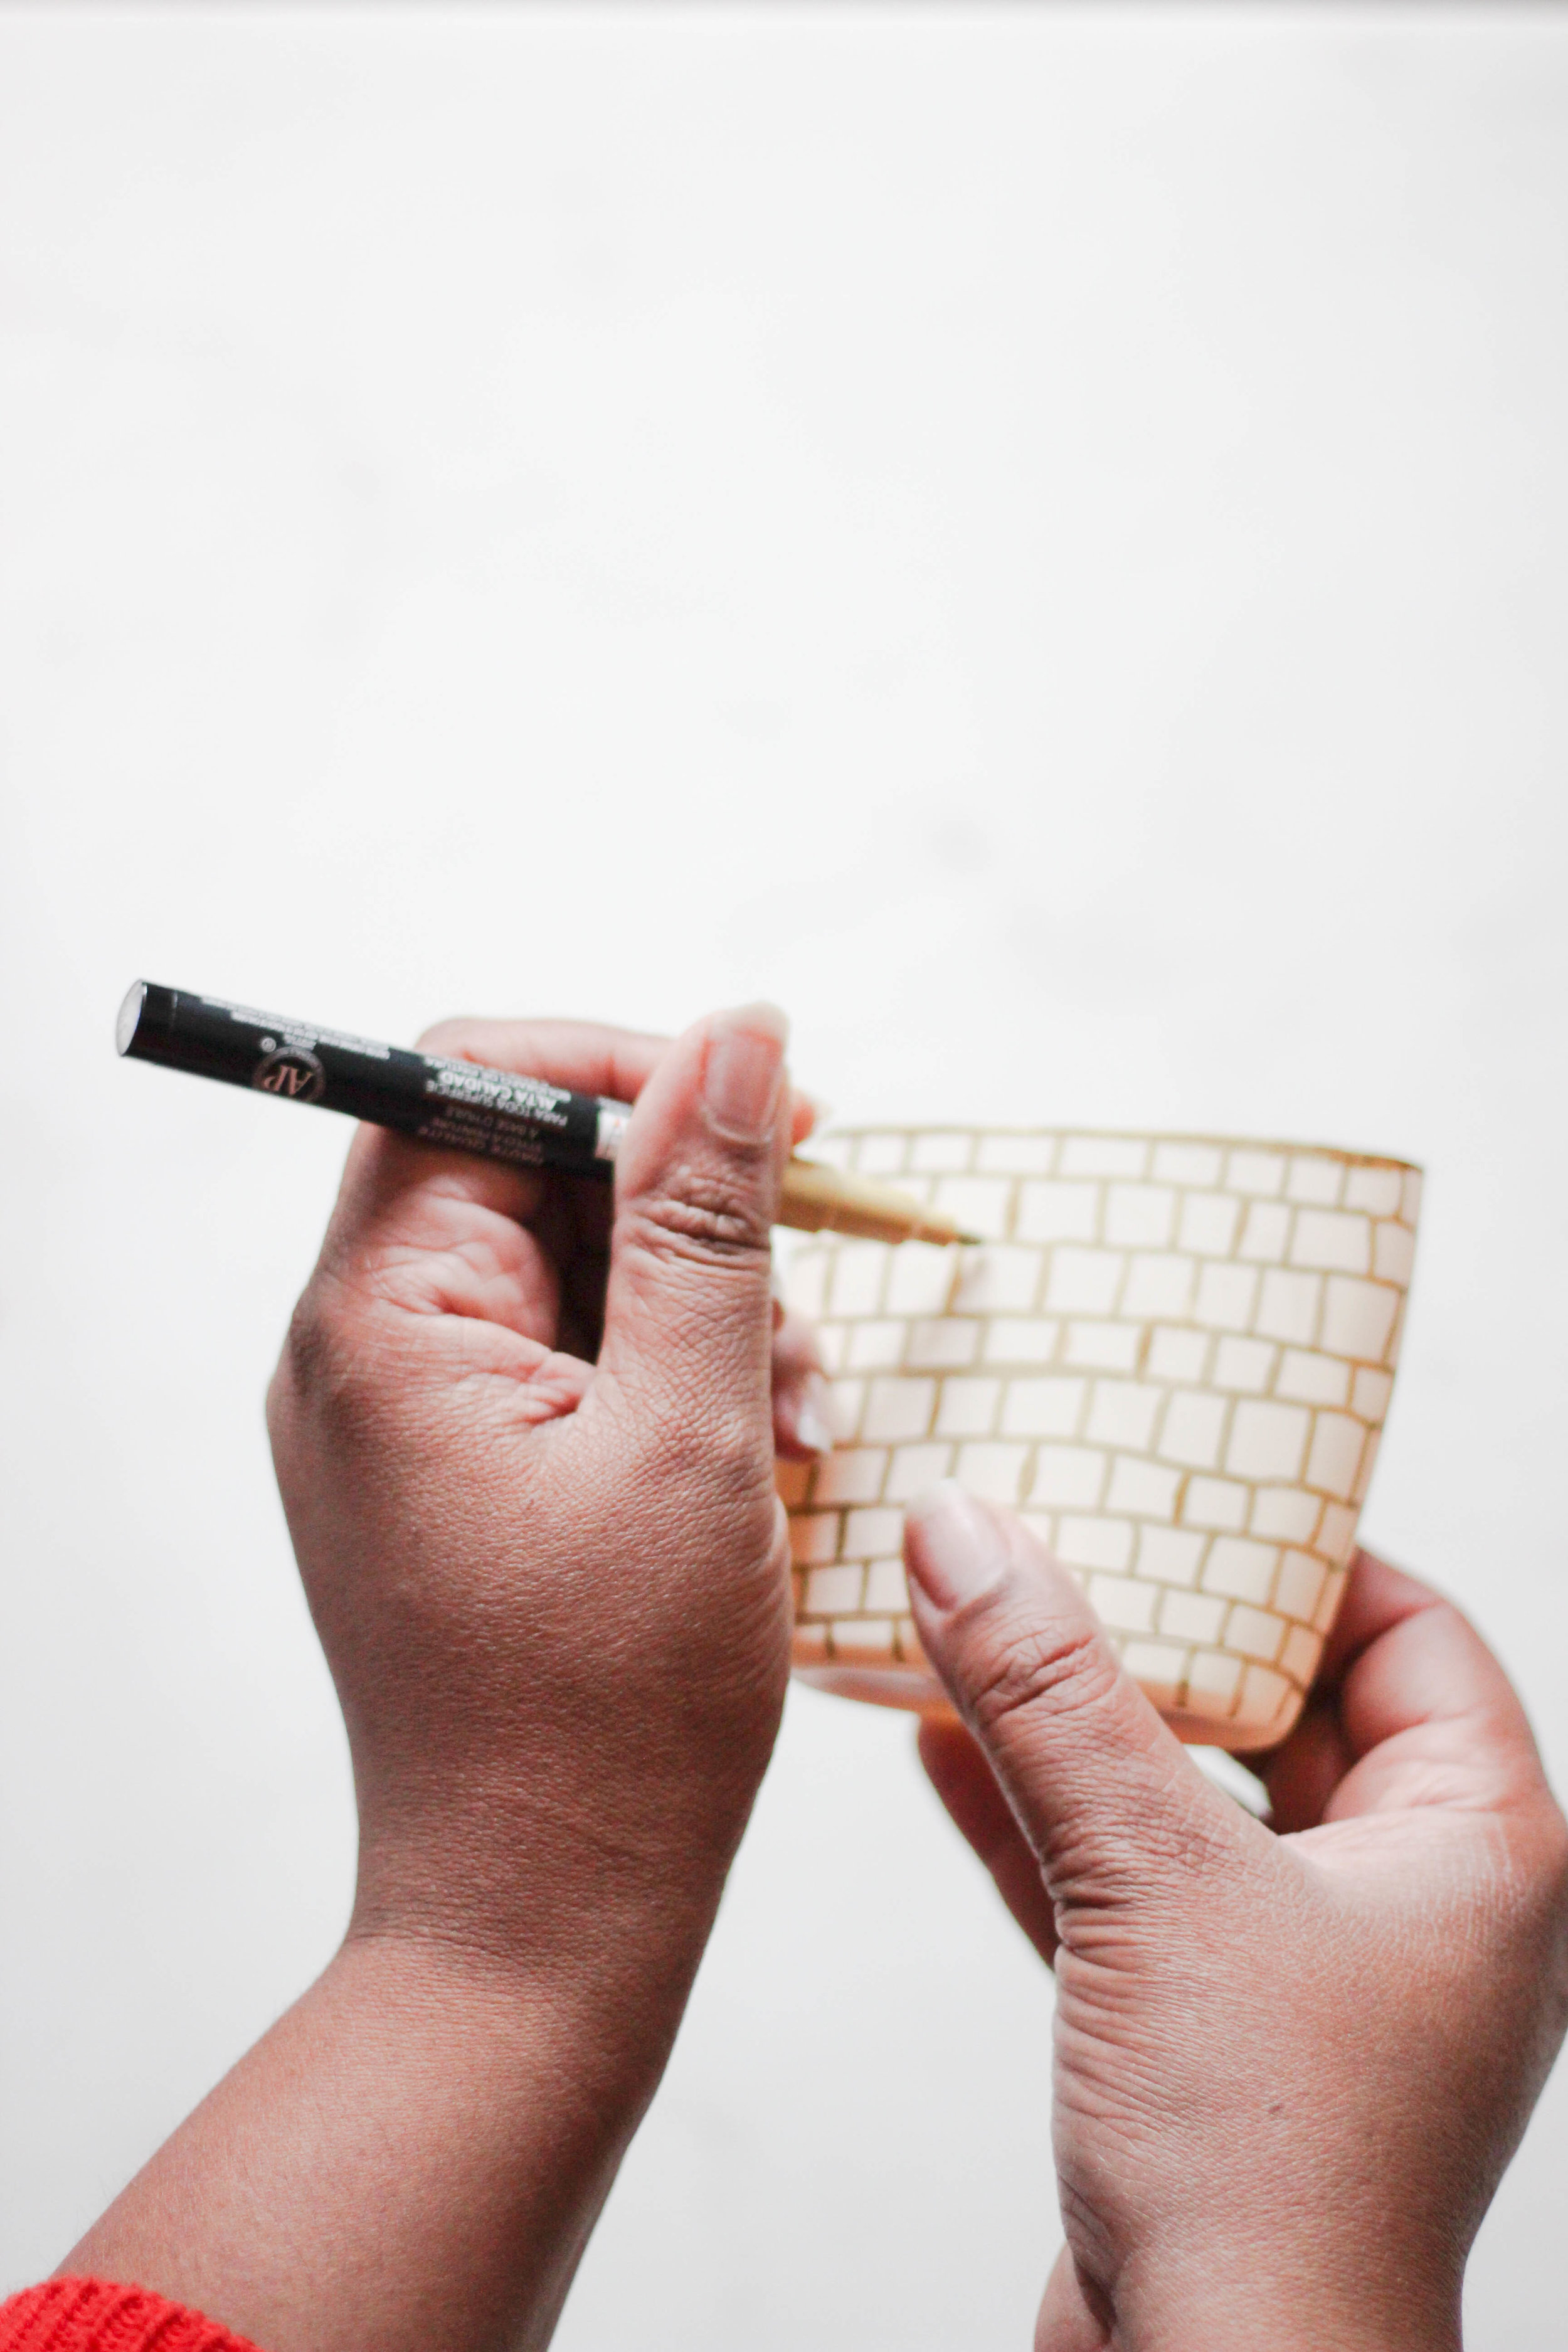
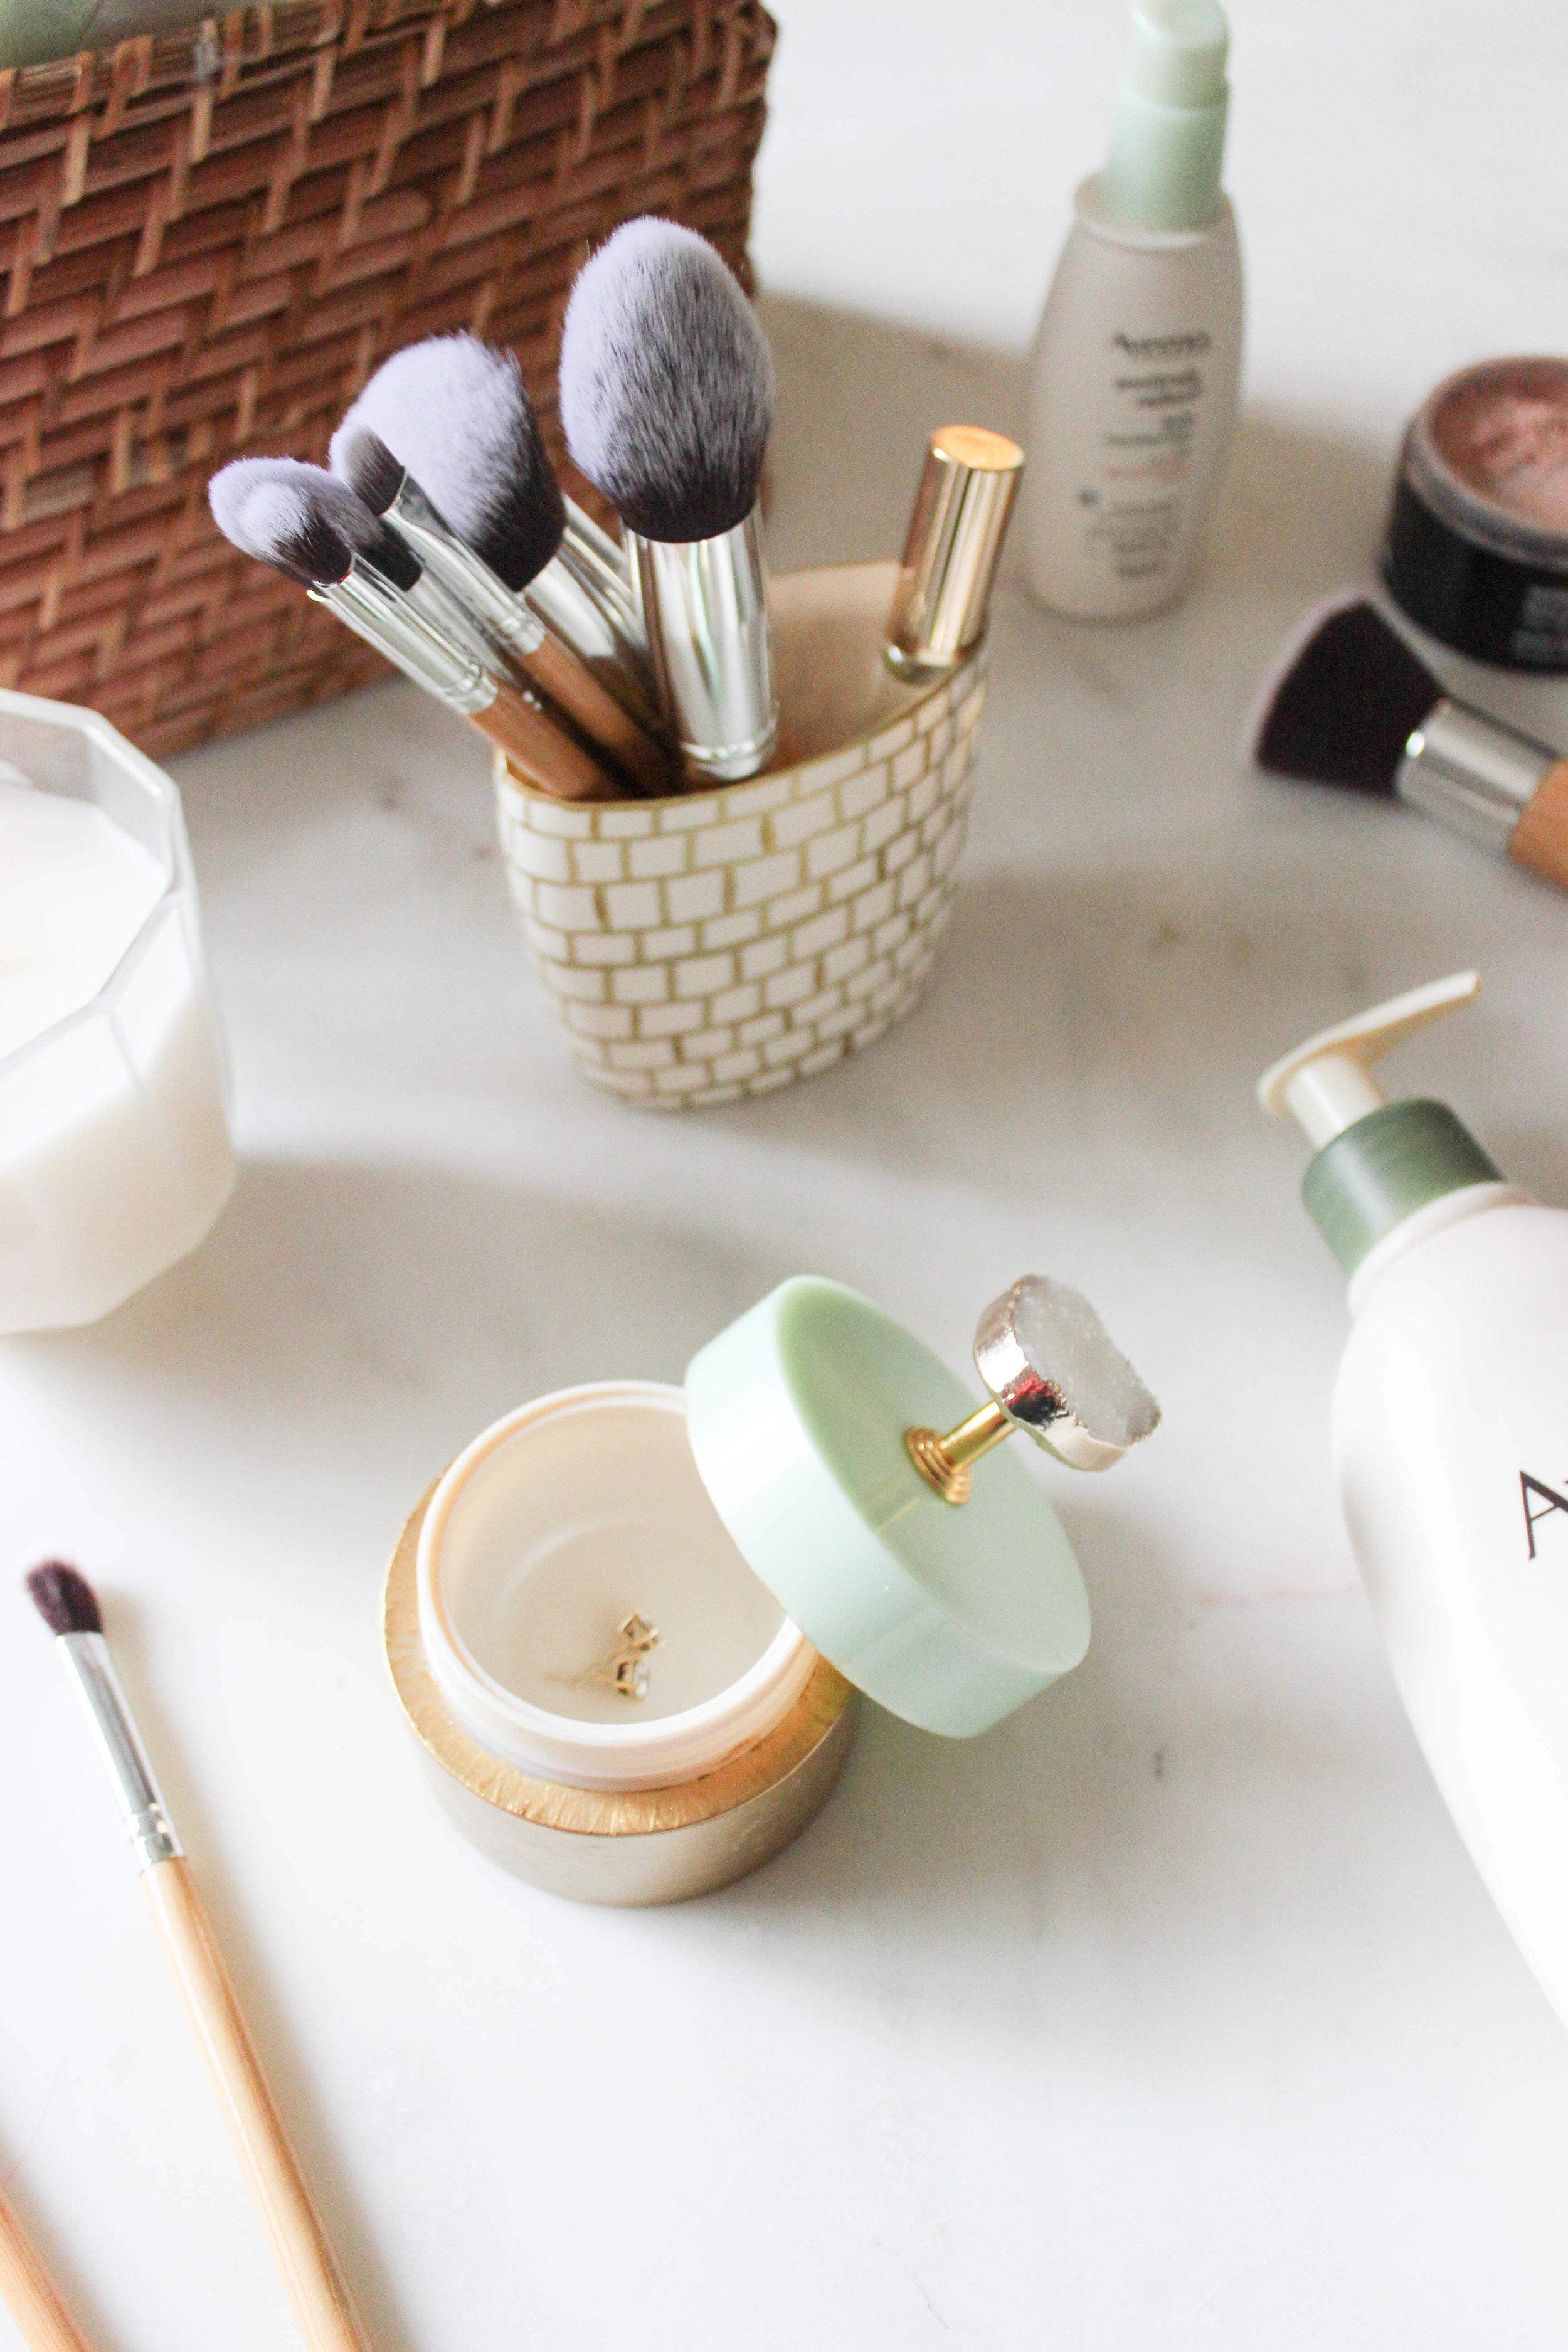
THREE. Using a gold leaf pen, I created a block design on my bottle to give a hand painted look. I love how the makeup holder turned out, simple and elegant. It's the perfect size and shape to hold my collection of makeup brushes.

IMG_5075.jpg


DIY JEWERLY HOLDER

ONE. I loved the look of the jar and knew it would make a great jewelry holder for the bathroom. Once the container is empty, rinse it out with soap and water and dry.

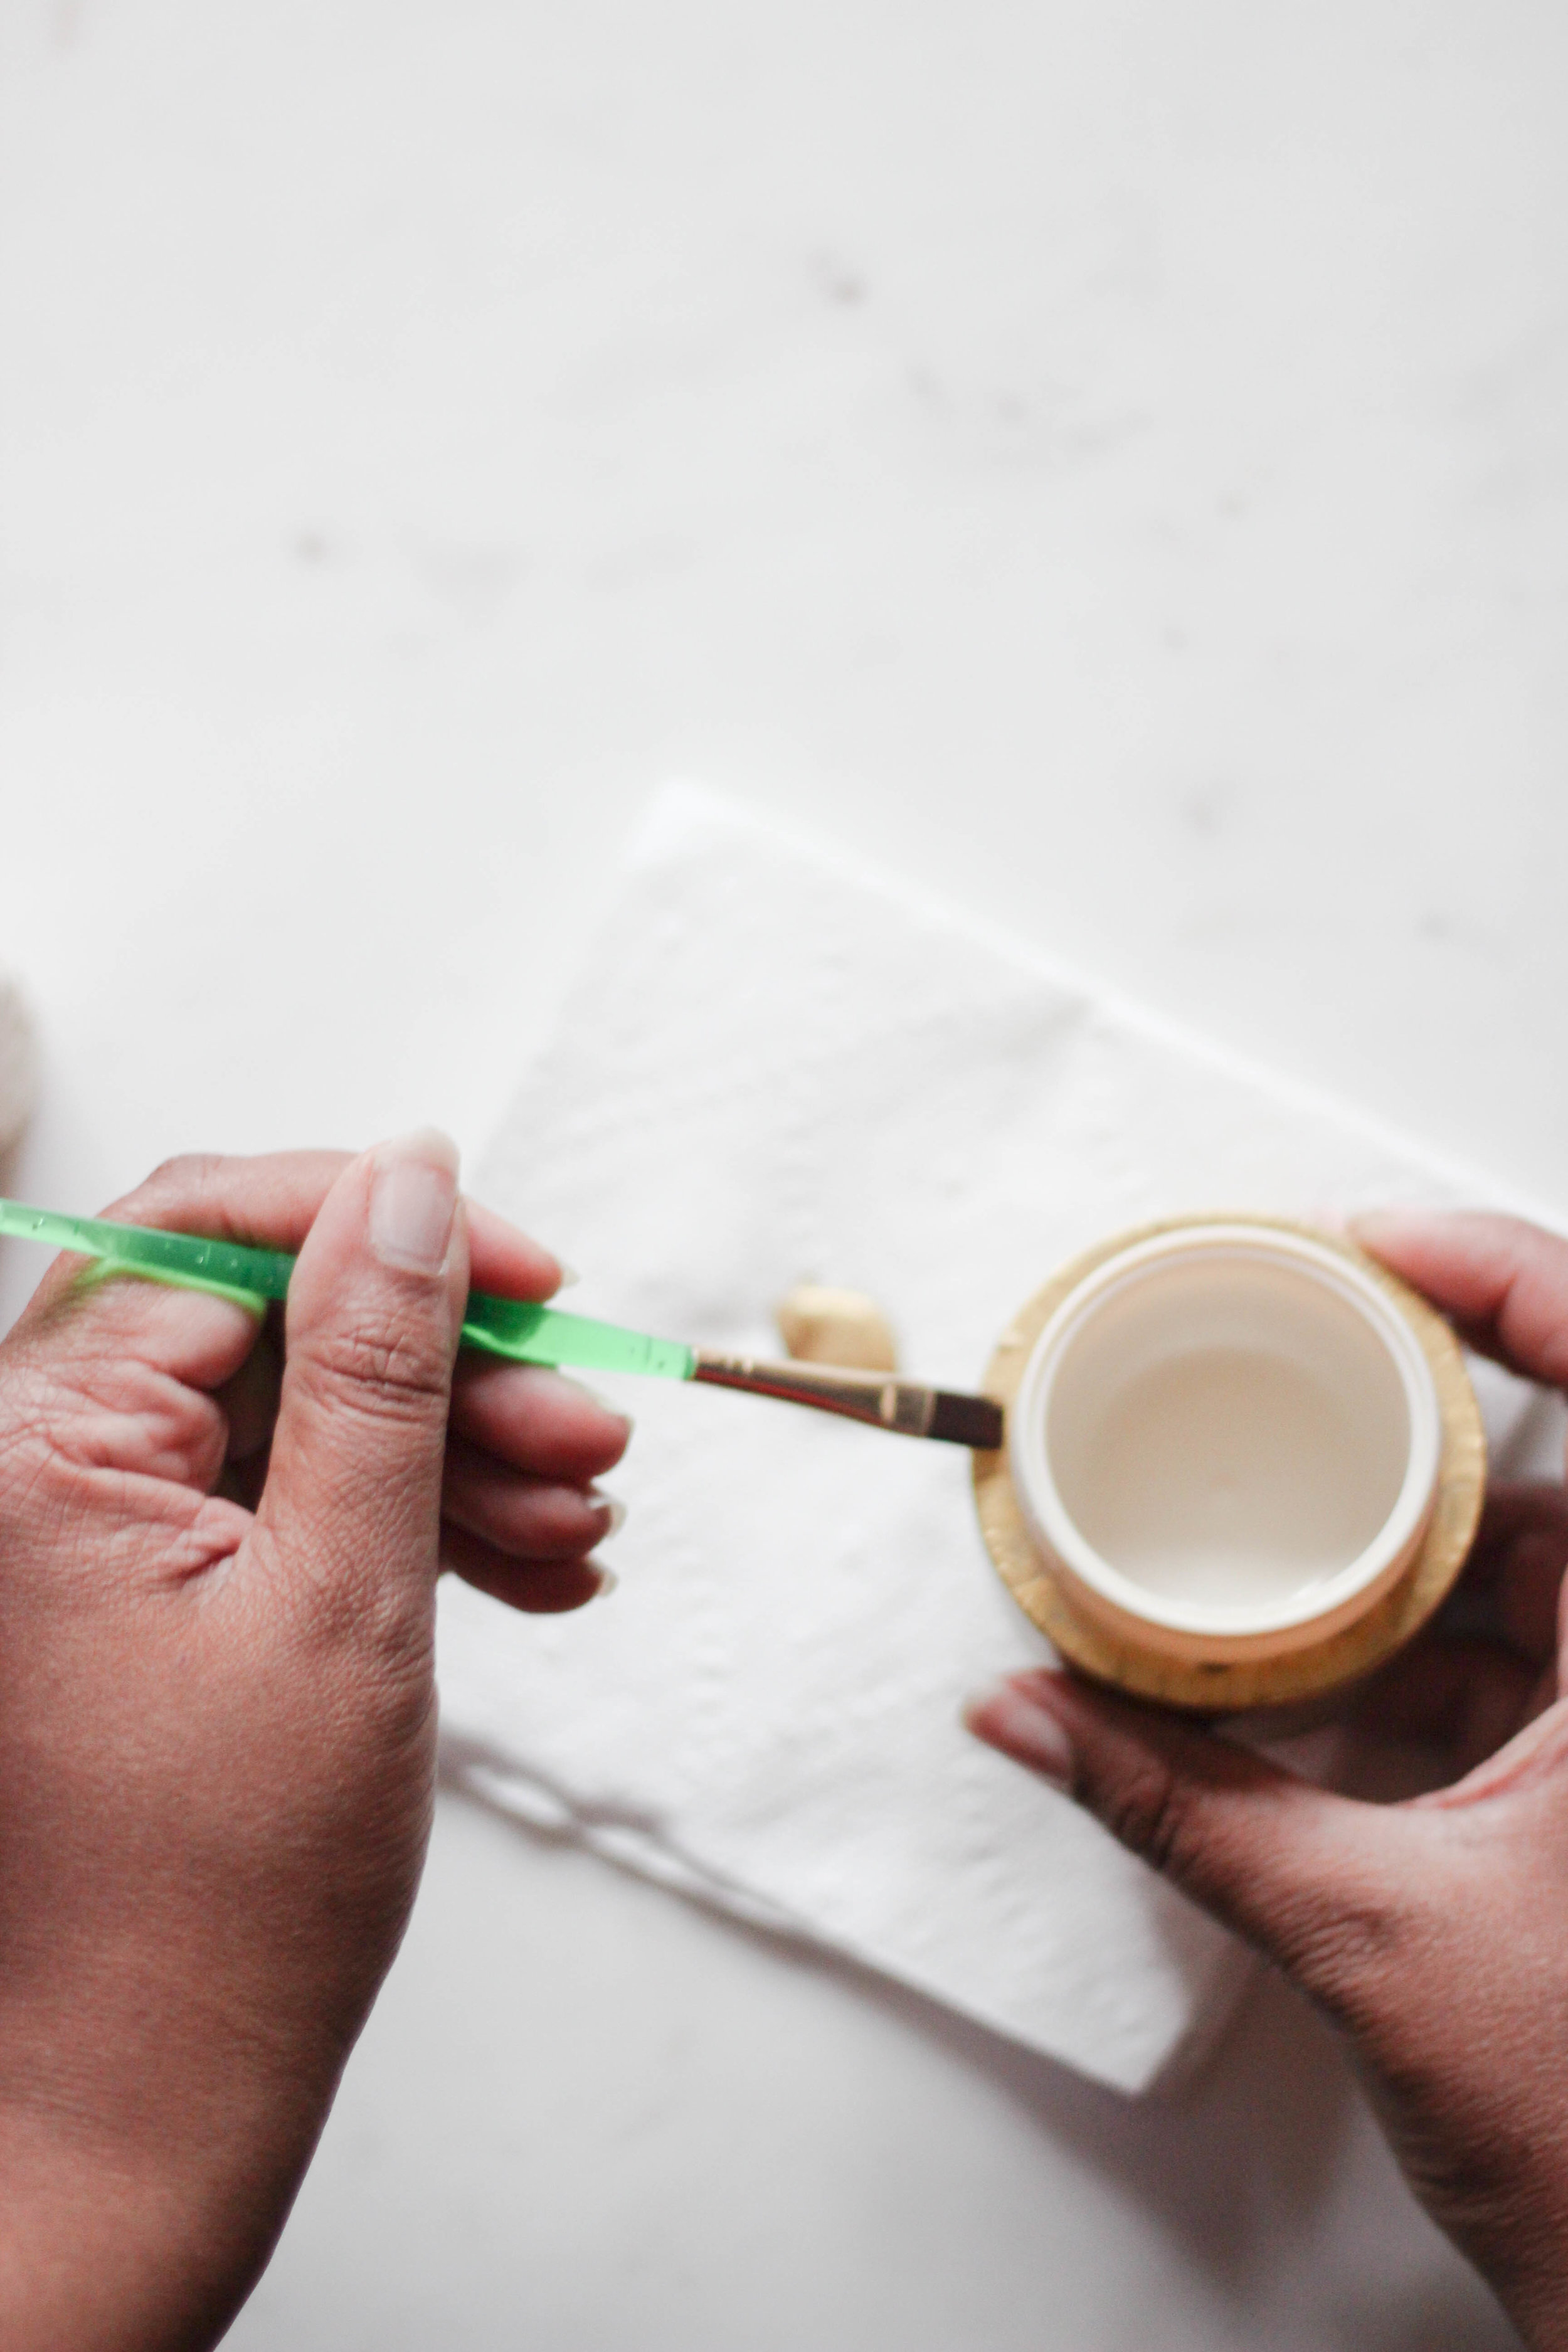
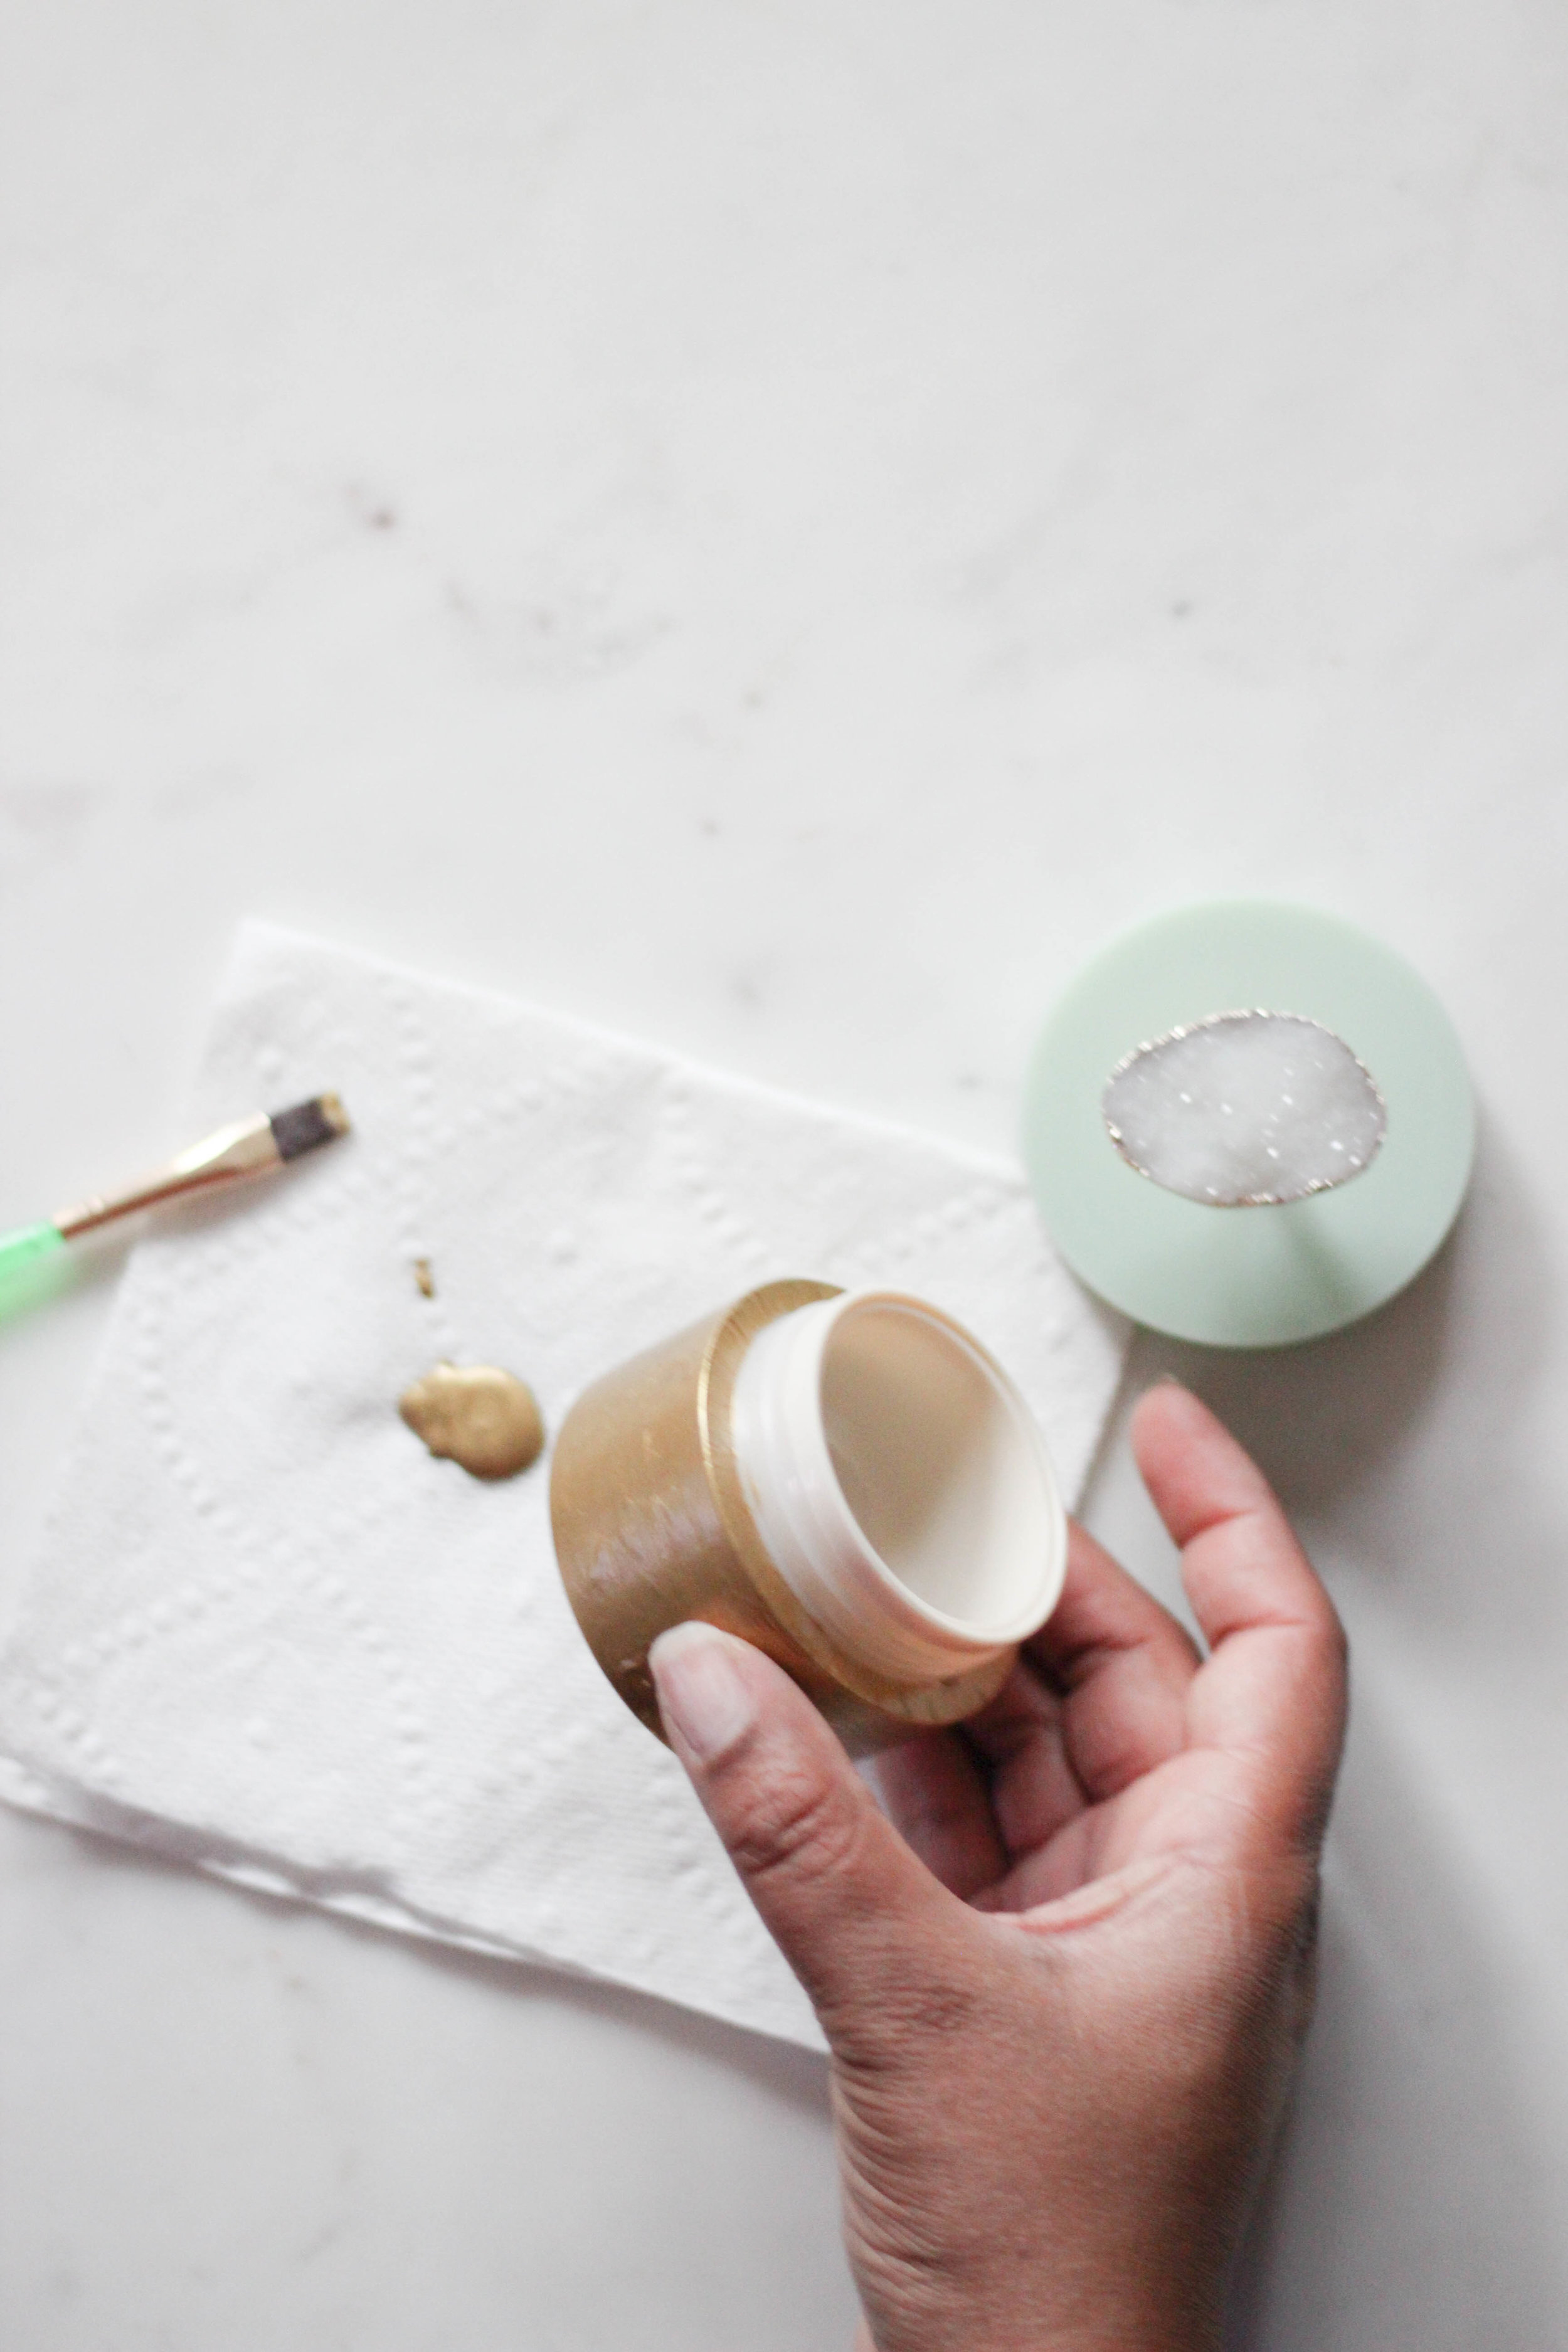
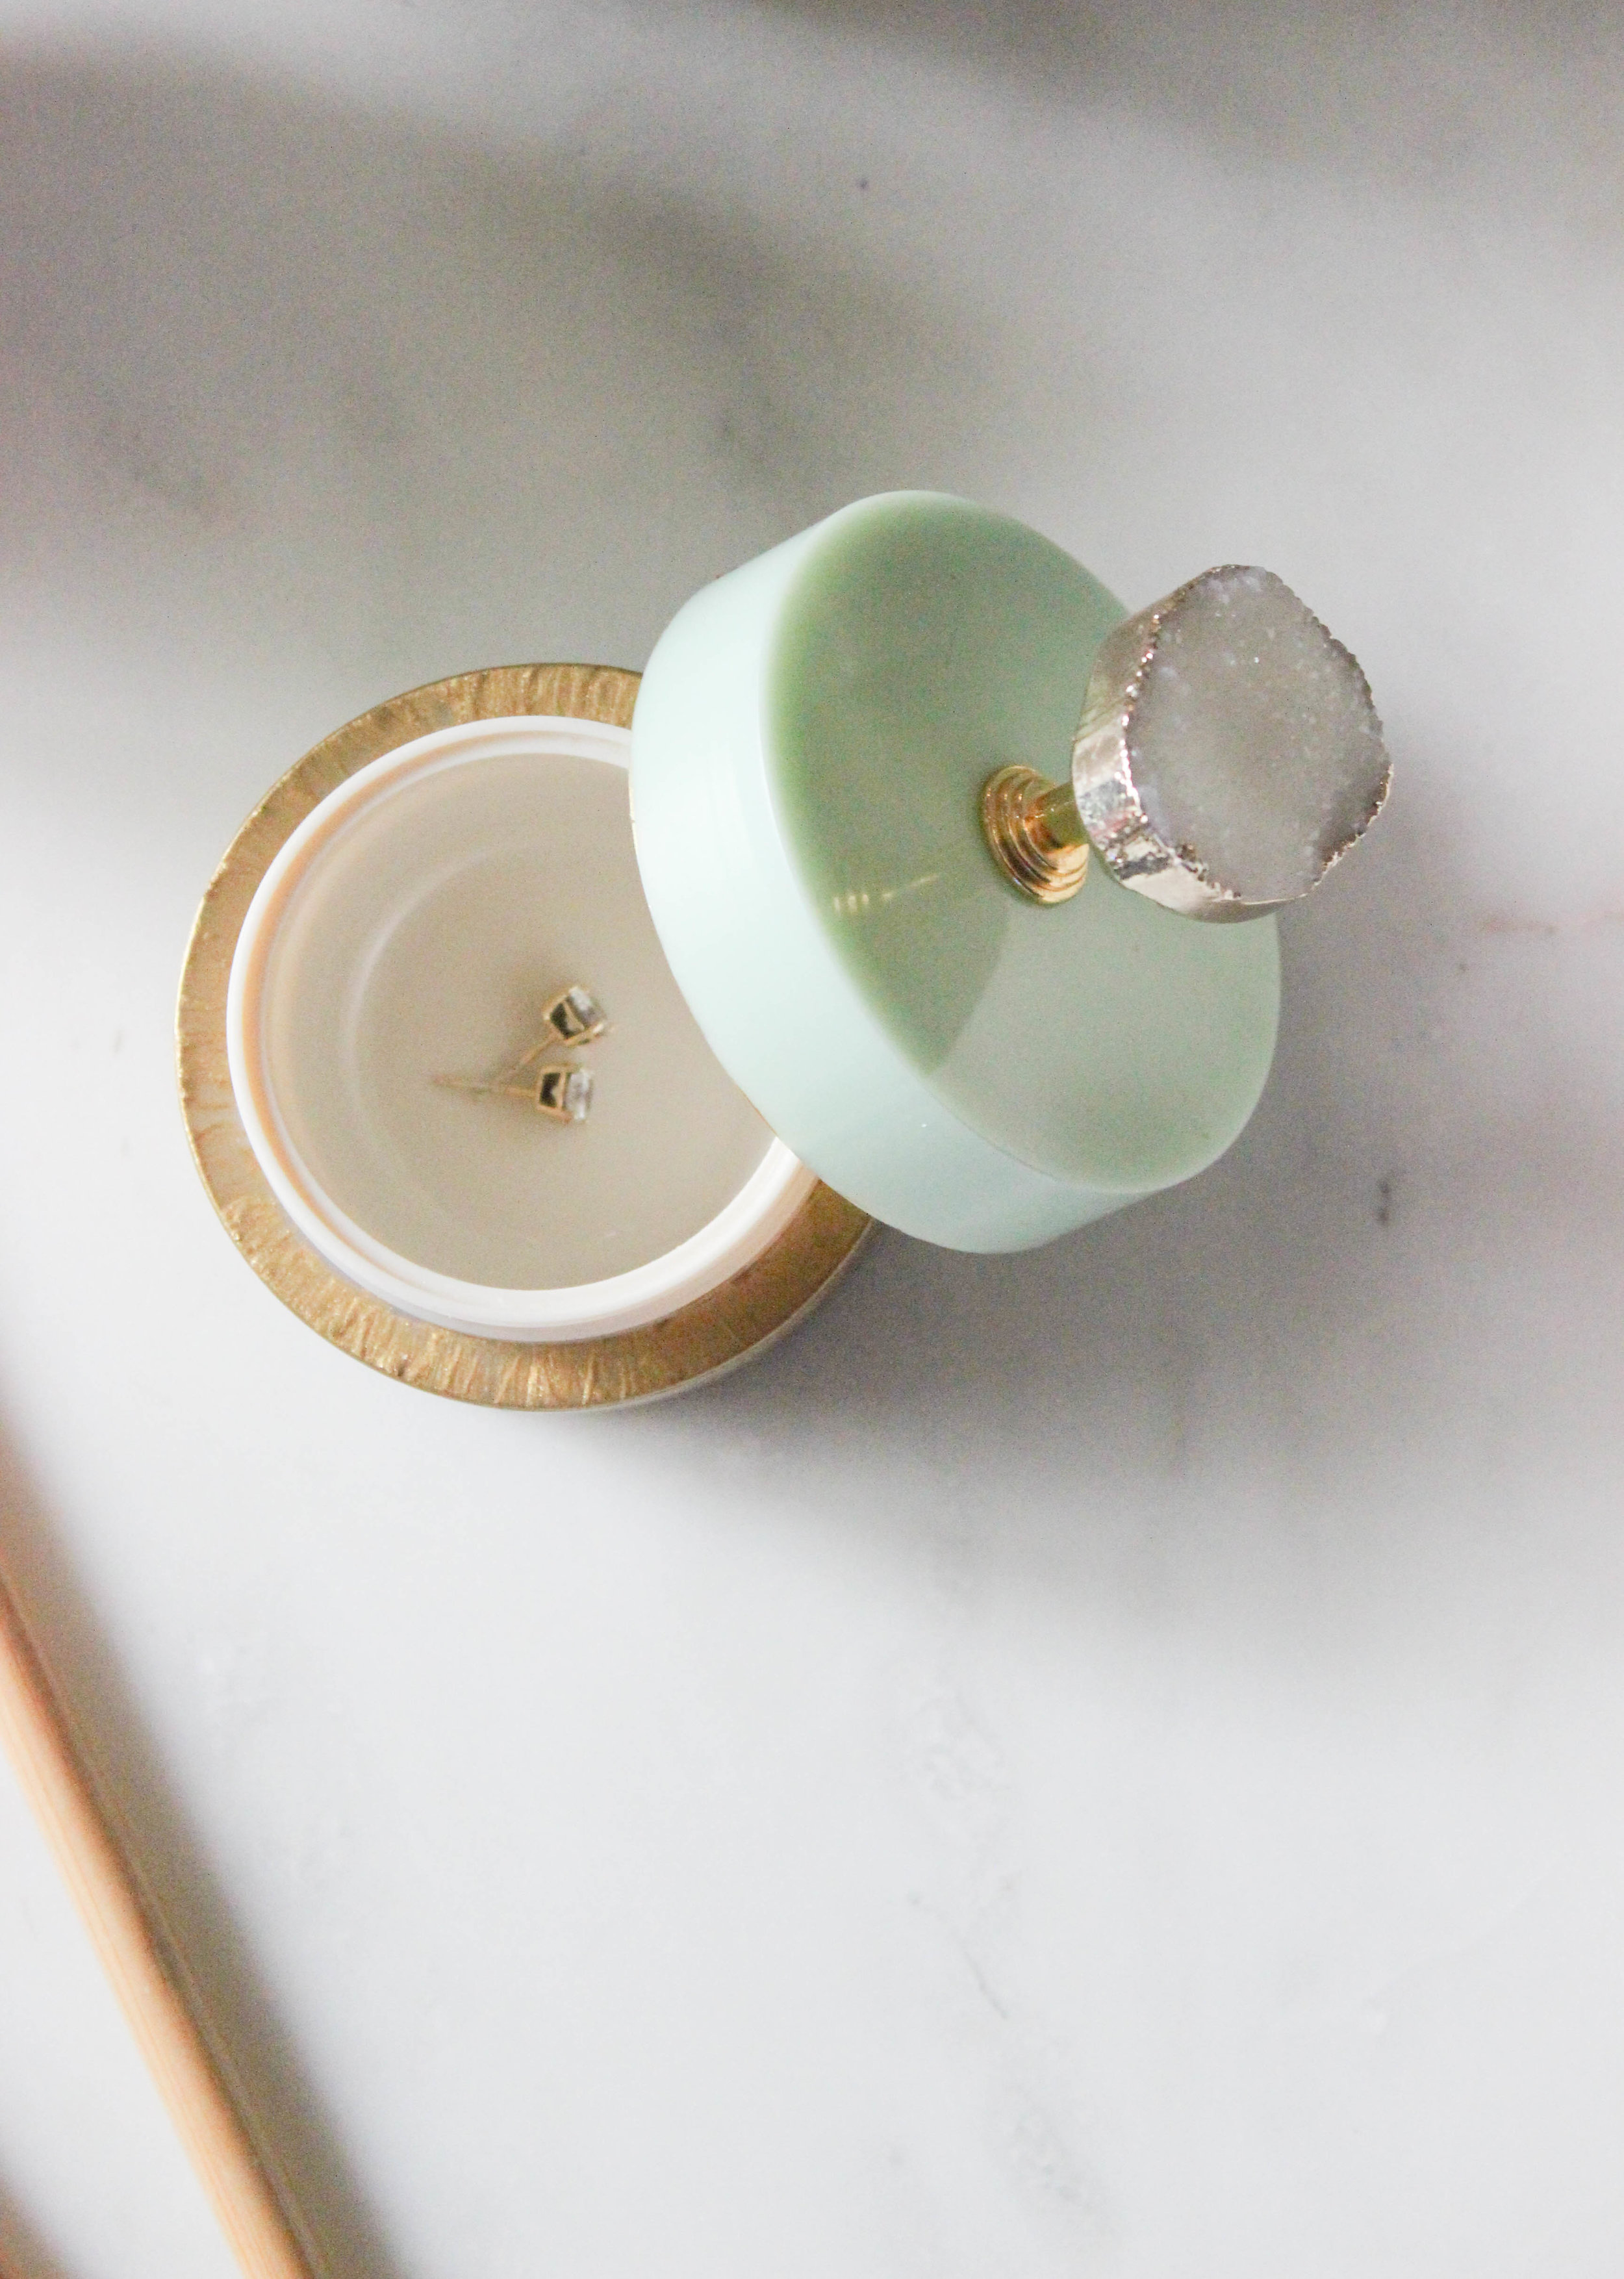
TWO. I used gold paint that adheres to plastic to paint the outside of the container with a small brush. It took three coats to get full coverage and cover-up the lettering on the jar. 

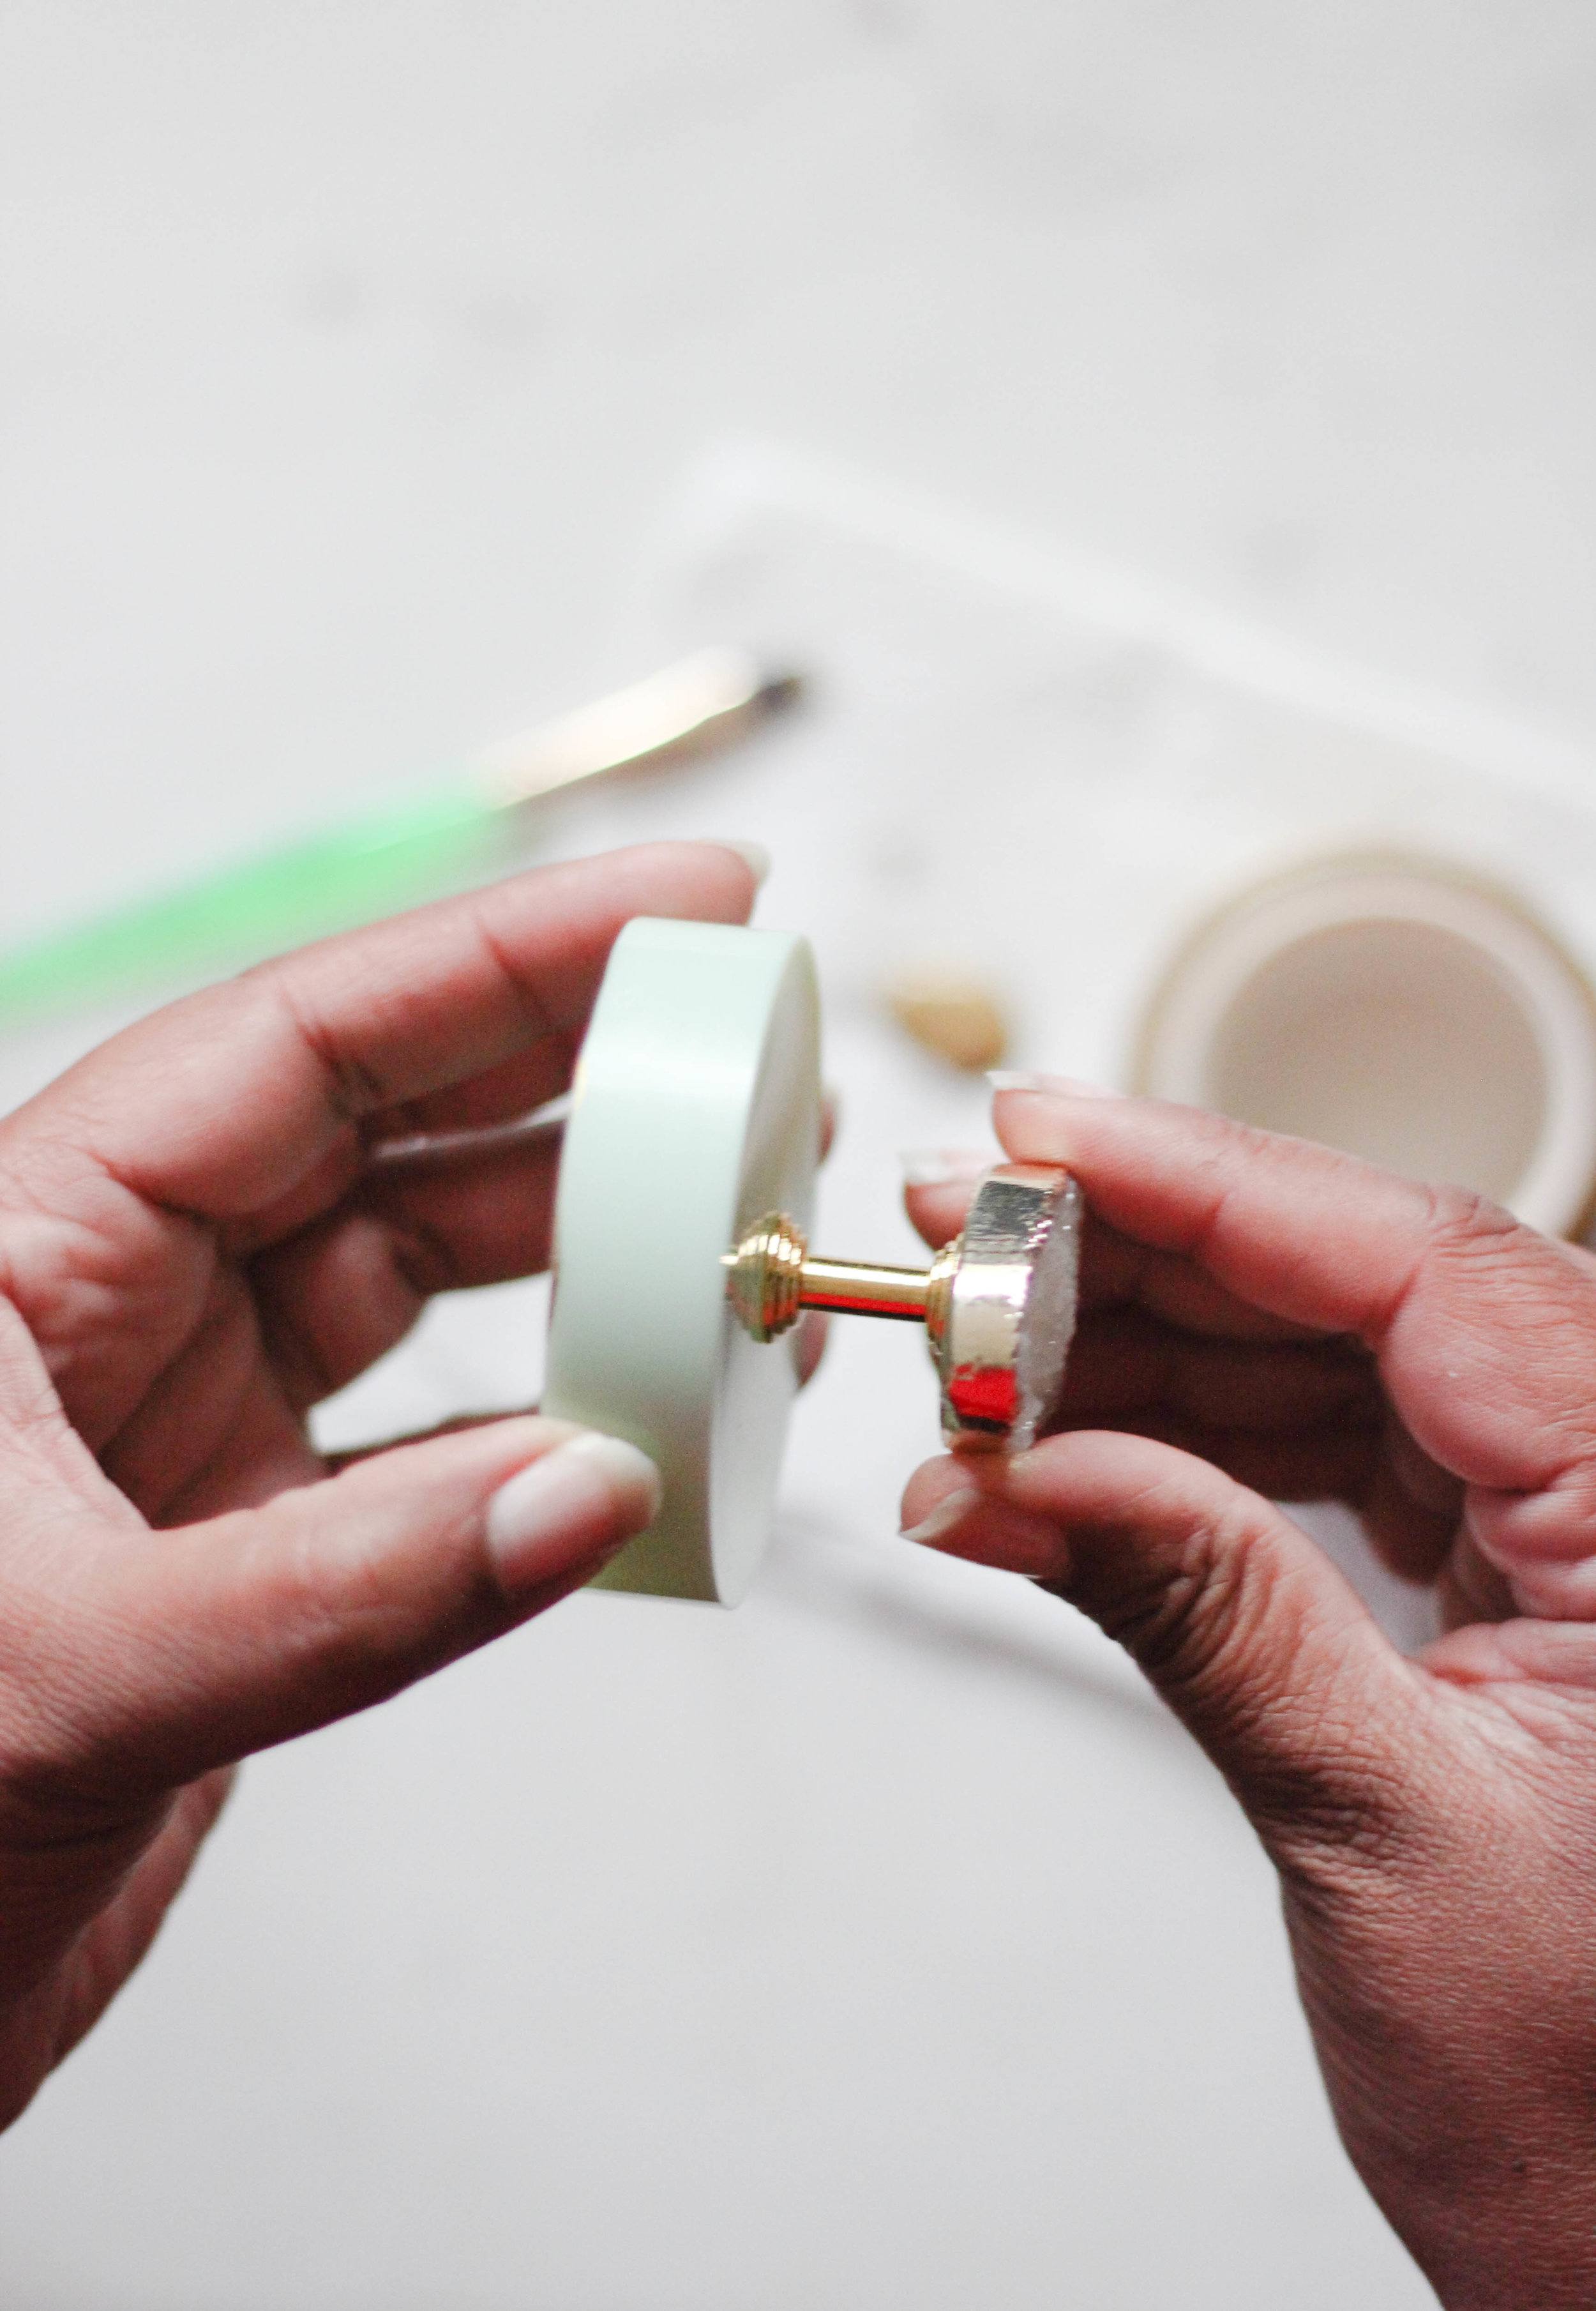
THREE. To give the container a little oomph, I added a pretty faux druzy knob I found at a local craft store to the lid. I drilled a small hole on top of the lid and then screwed the knob on. I left the lid pale green, to contrast with the gold body of the container and gold knob. I love that this little jar is the perfect size to keep my treasures safe in the bathroom, such as earrings and rings. 

IMG_5071.jpg

IF YOU LOVE THIS, PIN IT! 

DIY Makeup Brush Holder & Jewelry Holder.png

I hope you find these projects fun and easy to recreate next time you've finshed your favorite beauty product. A little gold leaf pen and gold paint can go a long way. What’s your favorite upcycling project you’ve tackled recently? 

To learn more about ways to recycle and upcycle, click here