Hello friends! I'm getting back on track with sharing my Small Home Style series, sharing ideas to help make those tricky small spaces not only stylish but also practical. I love when design is both pleasing to the eye and makes sense in real life, not just pretty for pictures. As a small home dweller, I know the challenges people face when dealing with limited space, but challenges also create opportunists for fabulous ideas. Trust me it can be done! No matter how small or large your kitchen is, it can almost never feel big enough. However with a few design tricks that are pretty + practical, you can have an amazing looking and feeling kitchen.

I truly believe design should feel good, meaning every time walk into a room in your home it should feel good and feel you.
- ONE. Add a Shelf Above your Kitchen Sink. No pretty window to look out of above your kitchen sink, no problem! Add a shelf or shelves and transform the dead space into use space to store cookbooks, small dishes or herbs
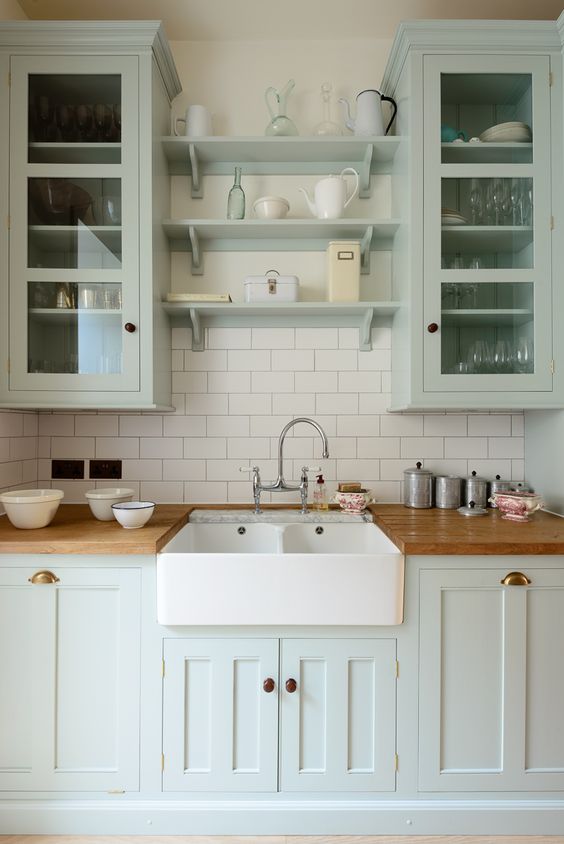
image via Devol Kitchens

image via House & Home
- TWO. Go Vertical! If your existing cabinets stop stop of the ceiling, turn that dead space into usable useful space. Adding a shelf above your cabinets can create extra storage for your beloved serviceware your don't use everyday.

image via Buzz Feed
- THREE. Peg Board System. Hang a pegboard in your kitchen to transform blank wall into a organized wall that can hold a variety of kitchen items: pots, pans, cutting boards and more.
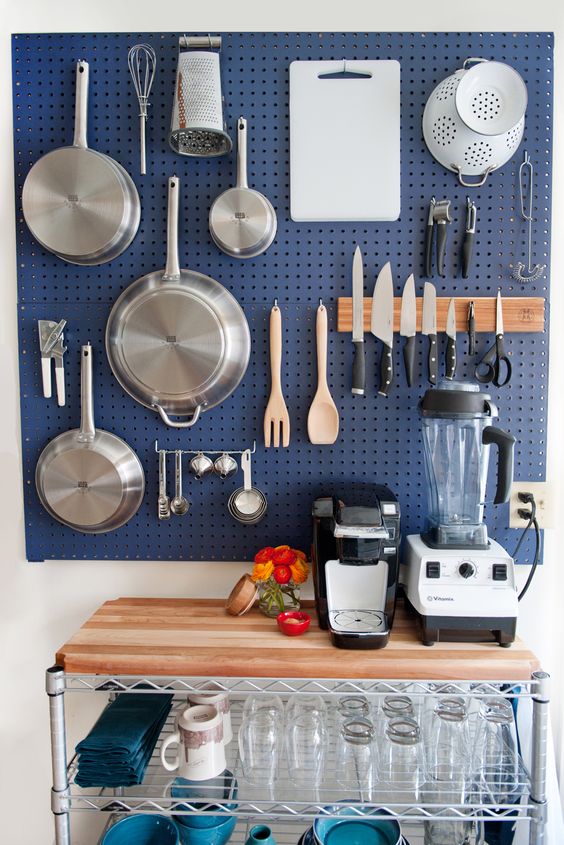
image via Refinery 29
- FOUR. Go Bold with Color. I love love white kitchens, but a small kitchen is also a place where you can take big risks for huge impact!

image via Apartment Therapy
- FIVE: Use Your Counter top Wisely. Declutter your counters and stylish store items on your countertops and use trays to help corral items.
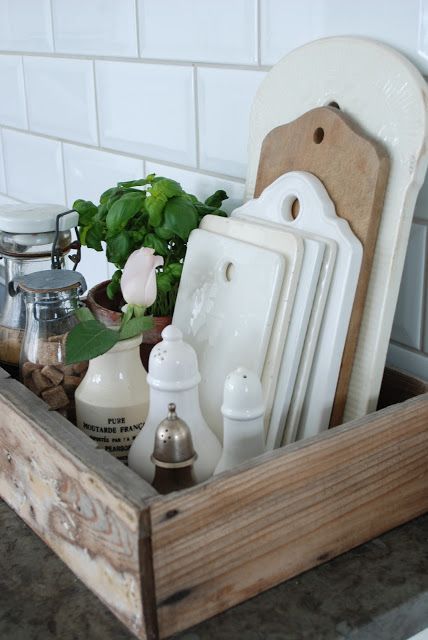
image via Making Home Base
- SIX. Open Up Your View. A full wall of cabinet doors in a small kitchen make a kitchen feel even smaller, nix your solid cabinet doors for glass inserts.

image via House Beautiful
- SEVEN. Bring the Outdoors Inside. Grow an indoor herb garden in your kitchen, place small planters in your windowsill, on the counter or hang on the wall. Adding greenery in your kitchen can give your small kitchen a boost of style + it's so practical.
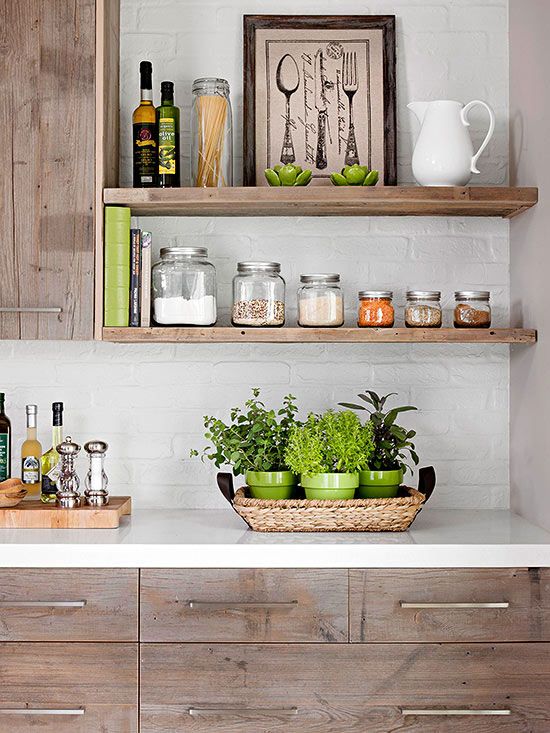
image via BHG

image via Joanna Gaines Instagram
- EIGHT. Paint a Chalkboard Wall. If you have a small galley kitchen, chances are you can a blank useless wall, transform the blank with Chalkboard paint.

image via Lauren Conrad
- NINE. Floating Shelves. Go wide open and remove all your upper cabinets with open shelves, or remove 1-2 cabinets and install floating shelves. A few open shelves in a small kitchen can really open the style factor.

image via Apartment34
In my kitchen below, I placed three floating shelves between my cabinet and fridge. The shelves help create a focal area and perfect for storing my cookbooks, pretty bowls and misc service ware.

image via Chic Little House Instagram
With a some stylish design tricks even the tiniest kitchen can be a perfect combination of pretty + practical.
Looking for more kitchen design ideas? Click here to read about my kitchen and how I transformed my dated 1950's merged with bad design from the 1980's into a kitchen that wows me and makes my heart happy every time I enter.
How have your maximized your small kitchen and given it style?