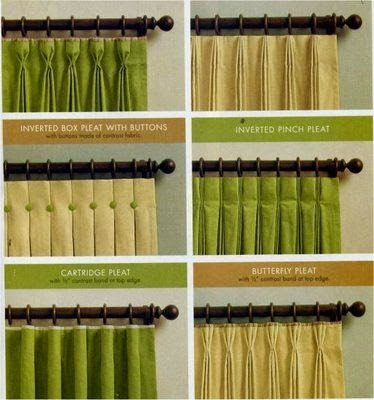
Lately, I've been very drawn to pleated drapes for my bedroom. Right now, I have some basic Ikea curtains that used to reside in our living room, way back when and live in my bedroom. They were a temporary fix, that has long over stayed their welcome. Now that I've decided they've got to go, I've been thinking about what drapery style I want in on my bedroom window and french doors. I keep going back and forth between the classic look of pinch pleated drapes or inverted box pleat drapes. Either look, I plan to update my hardware with something like this [ but in black ] and use attach rings to the pleats.
I love the look of inverted box pleat drapes, they have this classic look with modern edge. I'm totally crushing hard on this drapery style.
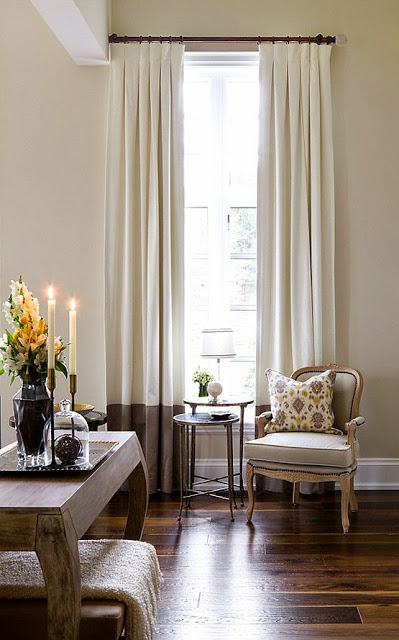
image via
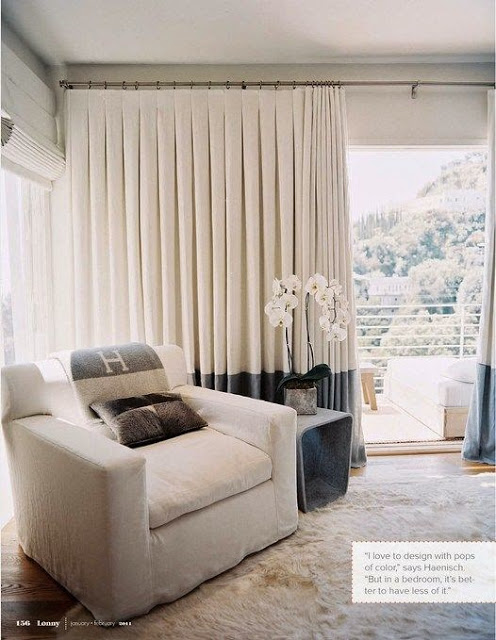
image via
I'm also loving the classic look on pinch pleat drapes paired with ring pulls, are have that extra air of sophistication I love.
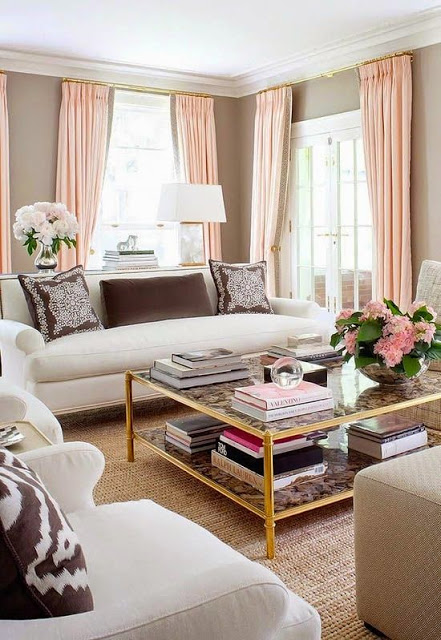
image via

What drapery style do you love the most for your home?