Hi friends! It's hard to believe its been a month since my last blog post! June has truly been a whirlwind month, filled with two birthdays and two behind the scenes projects that I'm not yet able to share and lots of DIY projects and design updates around our house that I am able to share, confusing right?
I'm super excited to share this recent update to our bedroom. We recently decided to change the light fixture in our bedroom for one we absolutely love. When I was shopping for new lighting for our bedroom during our house re-build I wasn't able to find light that was within budget and that I loved. So we decided to buy the same light fixture we previously had in our bedroom. I loved the lighting our bedroom before and this time around, I liked it but was never married to the style of it in our bedroom. Just like personal style changes, I also believe our taste in home design changes. We go though different cycles of what we love and so on. Looking back, I should have just stuck up boob light and called it a day until we found 'the one.' Live and learn right.
Ever since I picked our Avery's atomic lighting for his bedroom, I've been smitten with the idea of adding a grownup version in our bedroom. However a grownup version is pretty pricey, but I couldn't get these images of atomic lighting in bedroom out of my head. I love how modern whimsical the light looks and love its nod to our homes mid century roots. Plain and simple, I wanted one to enjoy too! Isn't the bedroom below fantastic, for the lighting + vintage credenza is everything.


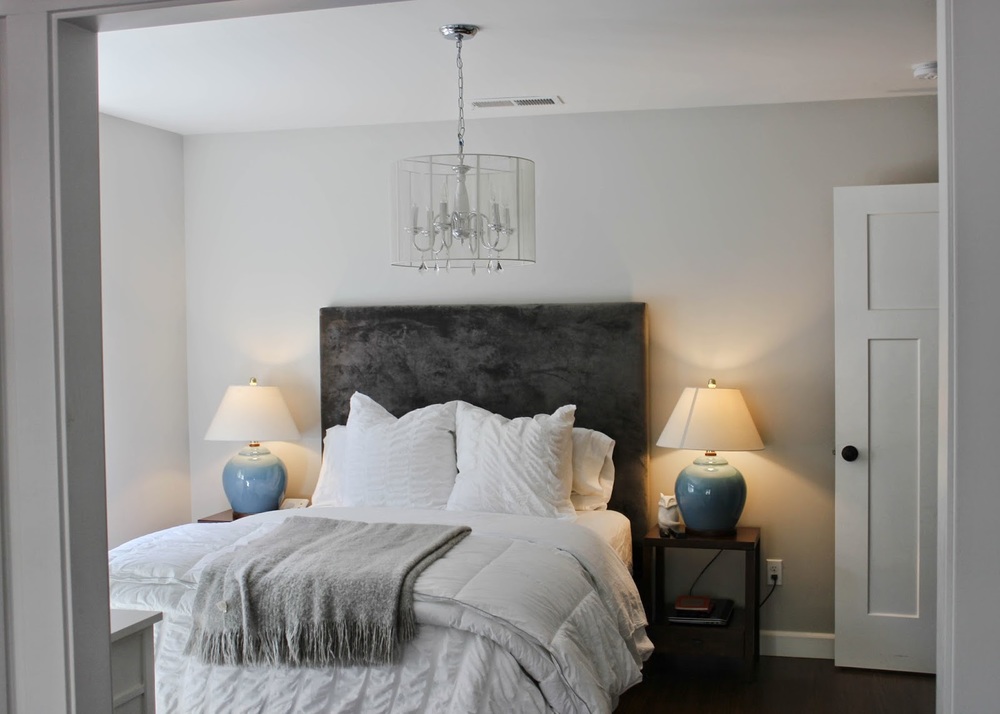
But Hasani wasn't on board, he didn't like look of the light for a bedroom, until we were shopping in Lowes one Saturday afternoon and he loved it! A few seconds later the light fixture was in our shopping cart and we were speeding home for the installation. Here's our bedroom before the lighting change up.
The light fixture originally came with 18 60 watt vintage style bulbs, making it to hot to leave on, casting a yellow tone and too large in appearance, not the look we're going for. We switched out the light bulbs for simple clear round ones, the instant change up was exactly the look we're going for. Here's a little peak of our new light fixture in place. I recently made some new Euro pillows and added more pattern in our bedding which I'll be sharing very soon. '


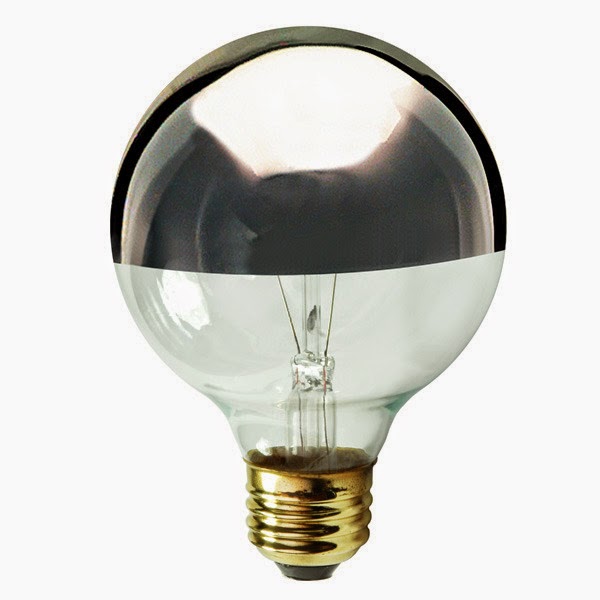
In the near future, I plan on trying out a few other light bulbs just for fun! With this light fixture, light bulbs can also it a whole new look. I'd love to sprinkle in a few silver tip light bulbs sprinkled in with clear light bulbs.
The plan for our old light fixture is to hopefully sell it on Craigslist and re-coop a little of the money we originally spent on the light fixture.
What's your take on lighting simple and understated or big and bold?
I'm super excited to share this recent update to our bedroom. We recently decided to change the light fixture in our bedroom for one we absolutely love. When I was shopping for new lighting for our bedroom during our house re-build I wasn't able to find light that was within budget and that I loved. So we decided to buy the same light fixture we previously had in our bedroom. I loved the lighting our bedroom before and this time around, I liked it but was never married to the style of it in our bedroom. Just like personal style changes, I also believe our taste in home design changes. We go though different cycles of what we love and so on. Looking back, I should have just stuck up boob light and called it a day until we found 'the one.' Live and learn right.
Ever since I picked our Avery's atomic lighting for his bedroom, I've been smitten with the idea of adding a grownup version in our bedroom. However a grownup version is pretty pricey, but I couldn't get these images of atomic lighting in bedroom out of my head. I love how modern whimsical the light looks and love its nod to our homes mid century roots. Plain and simple, I wanted one to enjoy too! Isn't the bedroom below fantastic, for the lighting + vintage credenza is everything.
Image via Pinterest
Image via Pinterest
Checkout this Statement light fixture in bedroom, large and bold and perfect
I absolutely love the 'bones' of our bedroom all its natural light, french doors plus now having a en-suite bathroom make me giddy to create a lovely retreat with wow lighting. I totally believe the right lighting can be a game changer. Recently Lowes debuted a new Sputnik like light fixture and I loved it! Tiffany from Living Savvy recently installed the Sputnik in their dining room and gave it a makeover with gold spray paint and it looks fantastic!
But Hasani wasn't on board, he didn't like look of the light for a bedroom, until we were shopping in Lowes one Saturday afternoon and he loved it! A few seconds later the light fixture was in our shopping cart and we were speeding home for the installation. Here's our bedroom before the lighting change up.
The light fixture originally came with 18 60 watt vintage style bulbs, making it to hot to leave on, casting a yellow tone and too large in appearance, not the look we're going for. We switched out the light bulbs for simple clear round ones, the instant change up was exactly the look we're going for. Here's a little peak of our new light fixture in place. I recently made some new Euro pillows and added more pattern in our bedding which I'll be sharing very soon. '
In the near future, I plan on trying out a few other light bulbs just for fun! With this light fixture, light bulbs can also it a whole new look. I'd love to sprinkle in a few silver tip light bulbs sprinkled in with clear light bulbs.
The plan for our old light fixture is to hopefully sell it on Craigslist and re-coop a little of the money we originally spent on the light fixture.
What's your take on lighting simple and understated or big and bold?