Our kitchen is pretty much done, cue happy dance. We still need to select hardware & kitchen pretties and knowing me it may take awhile, so I decided not to wait any longer and share our kitchen journey with everyone now. Later I will do an updated post when we have hardware & as we add pretties to our kitchen [artwork, rug, roman shades etc etc] OK pull up chair grab your favorite cup of coffee or tea, this post is going to be super picture heavy & long so just a heads up.
Our kitchen before was dark and dated with white tile counters & backslash that had dark brown grout. Our old kitchen layout was a L Shape with a floating fridge, that lacked storage and had an odd bump out from coat closet in the hallway. If even all out kitchen issues, it had good bones. I loved that our cabinets went all the way to the ceiling, our window above our sink. As many of you know before the fire at our home we were in the process of starting our kitchen redo, and replaced our kitchen counters and purchased a new stove. Here's our kitchen before.


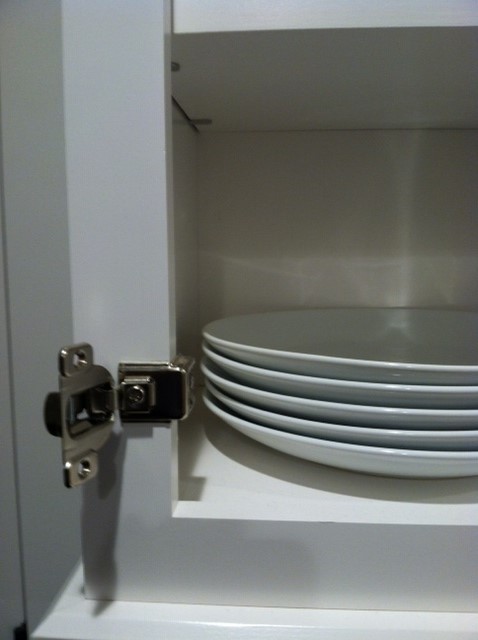
We starting to plan for our kitchen design, I made a little of mini dream kitchen details that I would love to incorporate in our kitchen re-design. I knew we wanted white kitchen cabinets, that was non-negotiable, we got quotes from local cabinet makes which were affordable until adding in paint [ yikes!] We also looked into the big box stores Home Depot & Lowes. In the end we worked with a local cabinet company Loomis Cabinets, and purchased out cabinets though Wellborne Cabinets. We loved all the options and were able to stay within our budget and get exactly what we wanted. I designed our kitchen layout and had some help from Loomis cabinet's kitchen designer in making it perfect for our home.
Here's our cabinets a few days after being installed. I walked into our kitchen and pretty much flipped out!! My heart was beating fast, I was so happy! To have joy come out of a horrible event is is amazing, trust me.

Mini Dream Kitchen Details

This is your view of the kitchen when you enter though our now much wider doorway. The new enlarged doorway really makes our living areas of our small home feel so much larger and happier.


I'm so happy with our floating shelves, they look fantastic! We placed them to the left of our refrigerator. Right now our floating shelves hold: our owl cookie jar, cookie books, cake stands and misc kitchen pretties.


Eventually the white and aqua vases will reside on our dining room table or in the living room, but for now I love the color they add in our kitchen.


I'm so happy with our kitchen, and so looking forward to making it feel more done once we have hardware, add a colorful rug, artwork and add more pretties [more dishes, misc kitchen accessories] I hope you all enjoyed our kitchen tour! Please let me know if you have any questions about materials used, where I bought certain items, I'm happy to share! Soon, I'll share a complete source list for everything [with links] once our hardware is installed.
What do you think? Our little kitchens come along way and feels truly transformed!
Our kitchen before was dark and dated with white tile counters & backslash that had dark brown grout. Our old kitchen layout was a L Shape with a floating fridge, that lacked storage and had an odd bump out from coat closet in the hallway. If even all out kitchen issues, it had good bones. I loved that our cabinets went all the way to the ceiling, our window above our sink. As many of you know before the fire at our home we were in the process of starting our kitchen redo, and replaced our kitchen counters and purchased a new stove. Here's our kitchen before.
During the re-building phase of home after the fire, our kitchen & entire house was stripped down to the studs. Below is our kitchen just a few months ago. The 'white paint' you see on the studs & pipes is smoke seal spray to seal in the smoke from the fire. While we were in the planning phase, I decided to re-work out kitchen layout from an 'L Shape' to a more functional 'U Shape,' read more about the layout changes here.
We starting to plan for our kitchen design, I made a little of mini dream kitchen details that I would love to incorporate in our kitchen re-design. I knew we wanted white kitchen cabinets, that was non-negotiable, we got quotes from local cabinet makes which were affordable until adding in paint [ yikes!] We also looked into the big box stores Home Depot & Lowes. In the end we worked with a local cabinet company Loomis Cabinets, and purchased out cabinets though Wellborne Cabinets. We loved all the options and were able to stay within our budget and get exactly what we wanted. I designed our kitchen layout and had some help from Loomis cabinet's kitchen designer in making it perfect for our home.
Here's our cabinets a few days after being installed. I walked into our kitchen and pretty much flipped out!! My heart was beating fast, I was so happy! To have joy come out of a horrible event is is amazing, trust me.
Mini Dream Kitchen Details
- Cabinets that go all the way to the ceiling
- White Cabinets
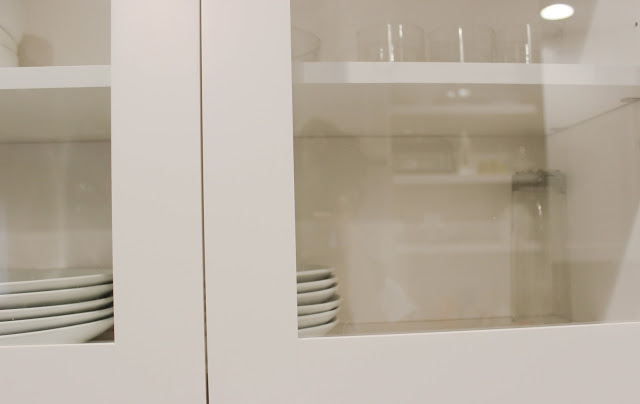
- Mixture of Glass & Solid Wood Cabinet Doors
- Lots of 'Pantry' Storage
- Floating shelves
- Large bank of drawers for baking & cooking supplies
- Fridge with the 'Built-in' Look
- Subway tile
- Light Counters (preferably Quartz)
- Deep Under mount Stainless Steal Sink
- Storage space above fridge that's easy to reach
This is your view of the kitchen when you enter though our now much wider doorway. The new enlarged doorway really makes our living areas of our small home feel so much larger and happier.
This is the direct view looking in from our dining room, which really is our eat in kitchen, but I like referring to it as our dining room. Te whole space feels much more open and spacious. We decided to take the kitchen cabinets all the way to the ceiling which gives us additional storage space and helps the kitchen appear taller. We used simple off the shelf white subway tile from Home Depot, its really hard to beat their awesome prices on white subway tile. We also carried subway tile all the up to the ceiling behind our wall mount hood and floating shelves. In the pictures our kitchen appears white, in person its more of a creamy white and not stark hospital white and our quartz counters a warm grey.
Eventually the white and aqua vases will reside on our dining room table or in the living room, but for now I love the color they add in our kitchen.
I'm so happy with our kitchen, and so looking forward to making it feel more done once we have hardware, add a colorful rug, artwork and add more pretties [more dishes, misc kitchen accessories] I hope you all enjoyed our kitchen tour! Please let me know if you have any questions about materials used, where I bought certain items, I'm happy to share! Soon, I'll share a complete source list for everything [with links] once our hardware is installed.
What do you think? Our little kitchens come along way and feels truly transformed!