
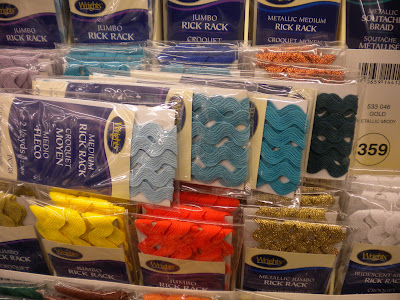
My Sunday was all about cutting in with paint and fabric trimmings, yup and unlikely duo. On Sunday I stoped in Joann's looking to get started on possibly adding rick rack to our white cotton shower curtain { read more about the idea here } Joann's has a great selection of rickrack. I loved looking at all the colors.

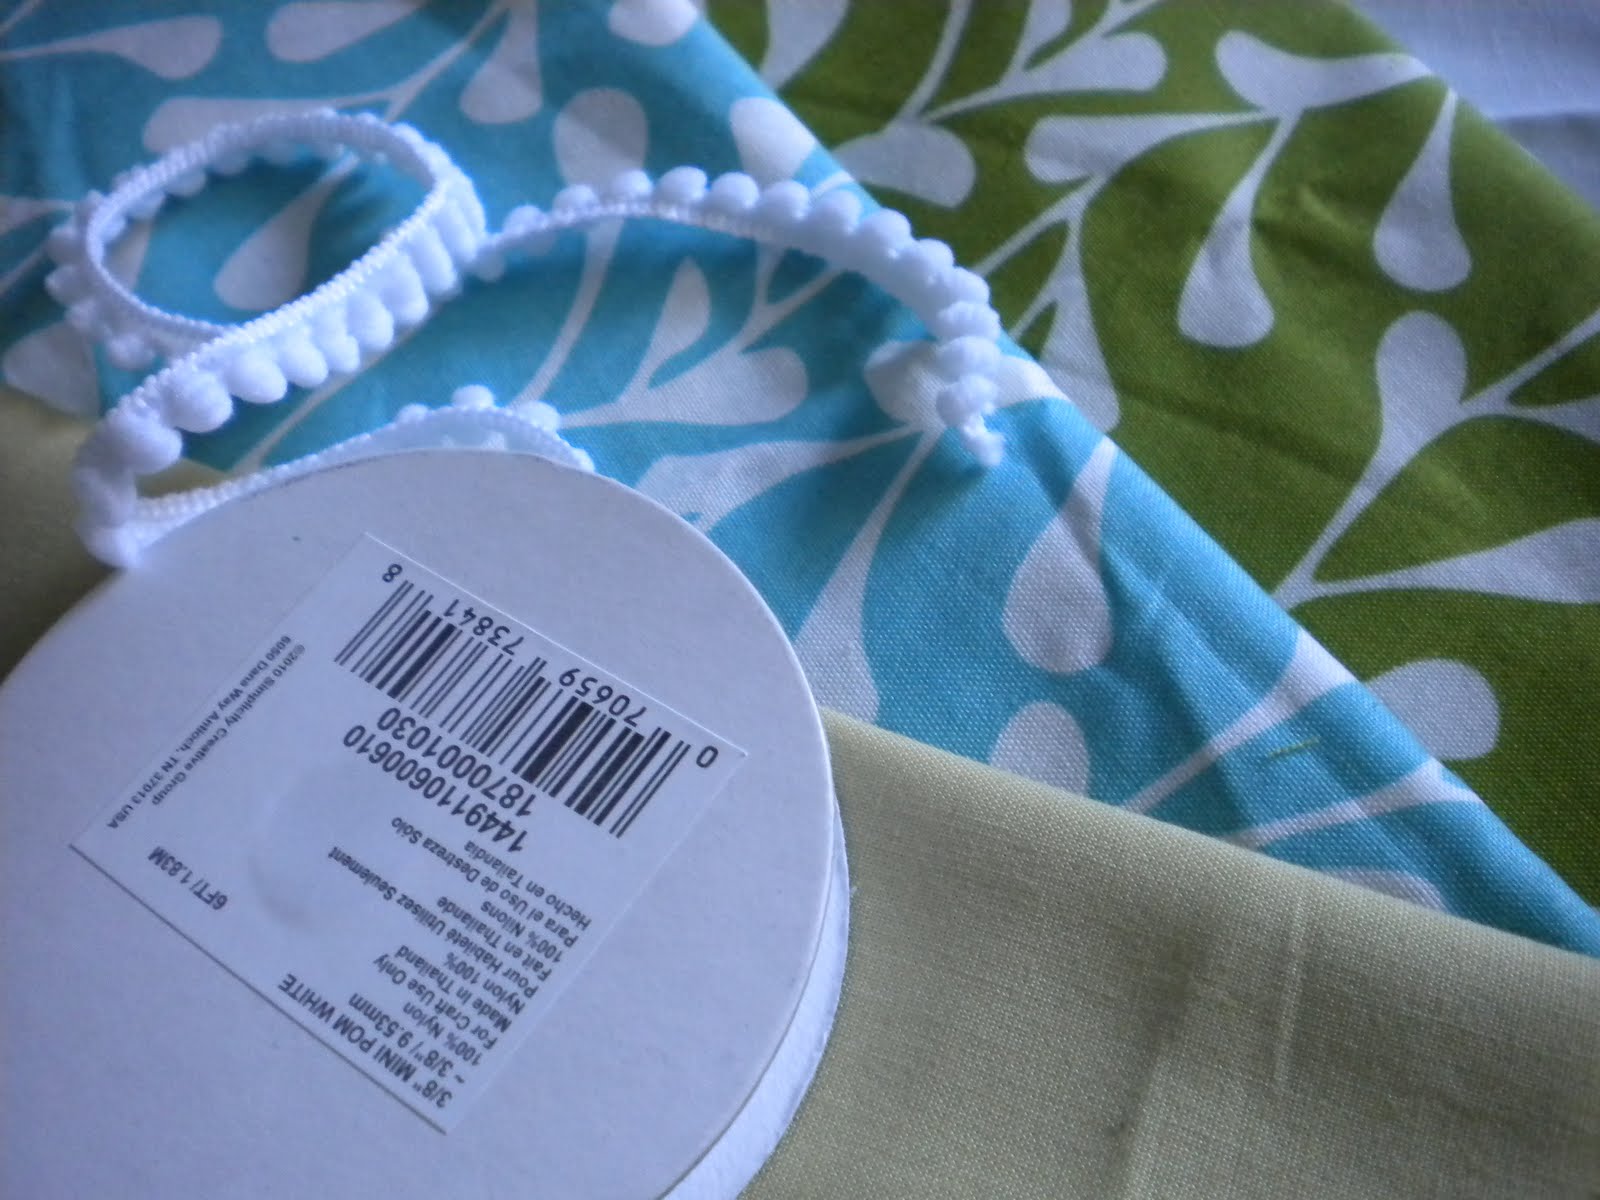
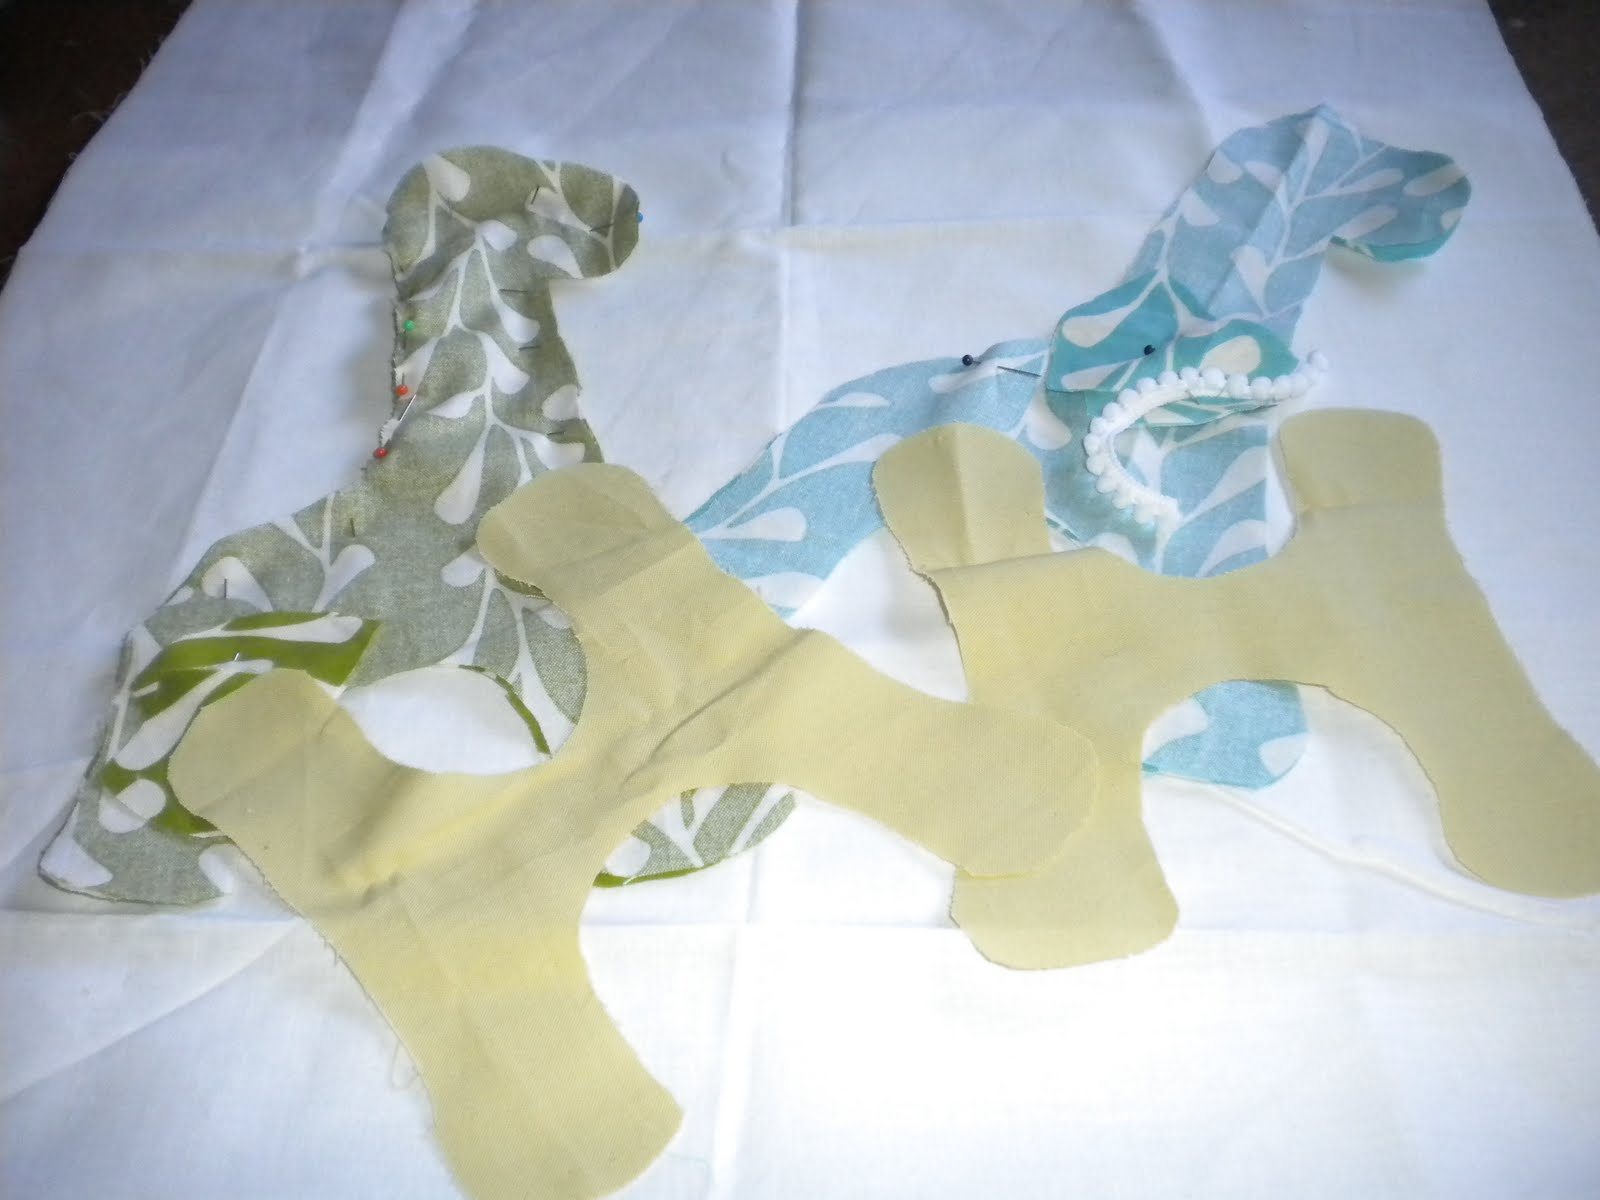
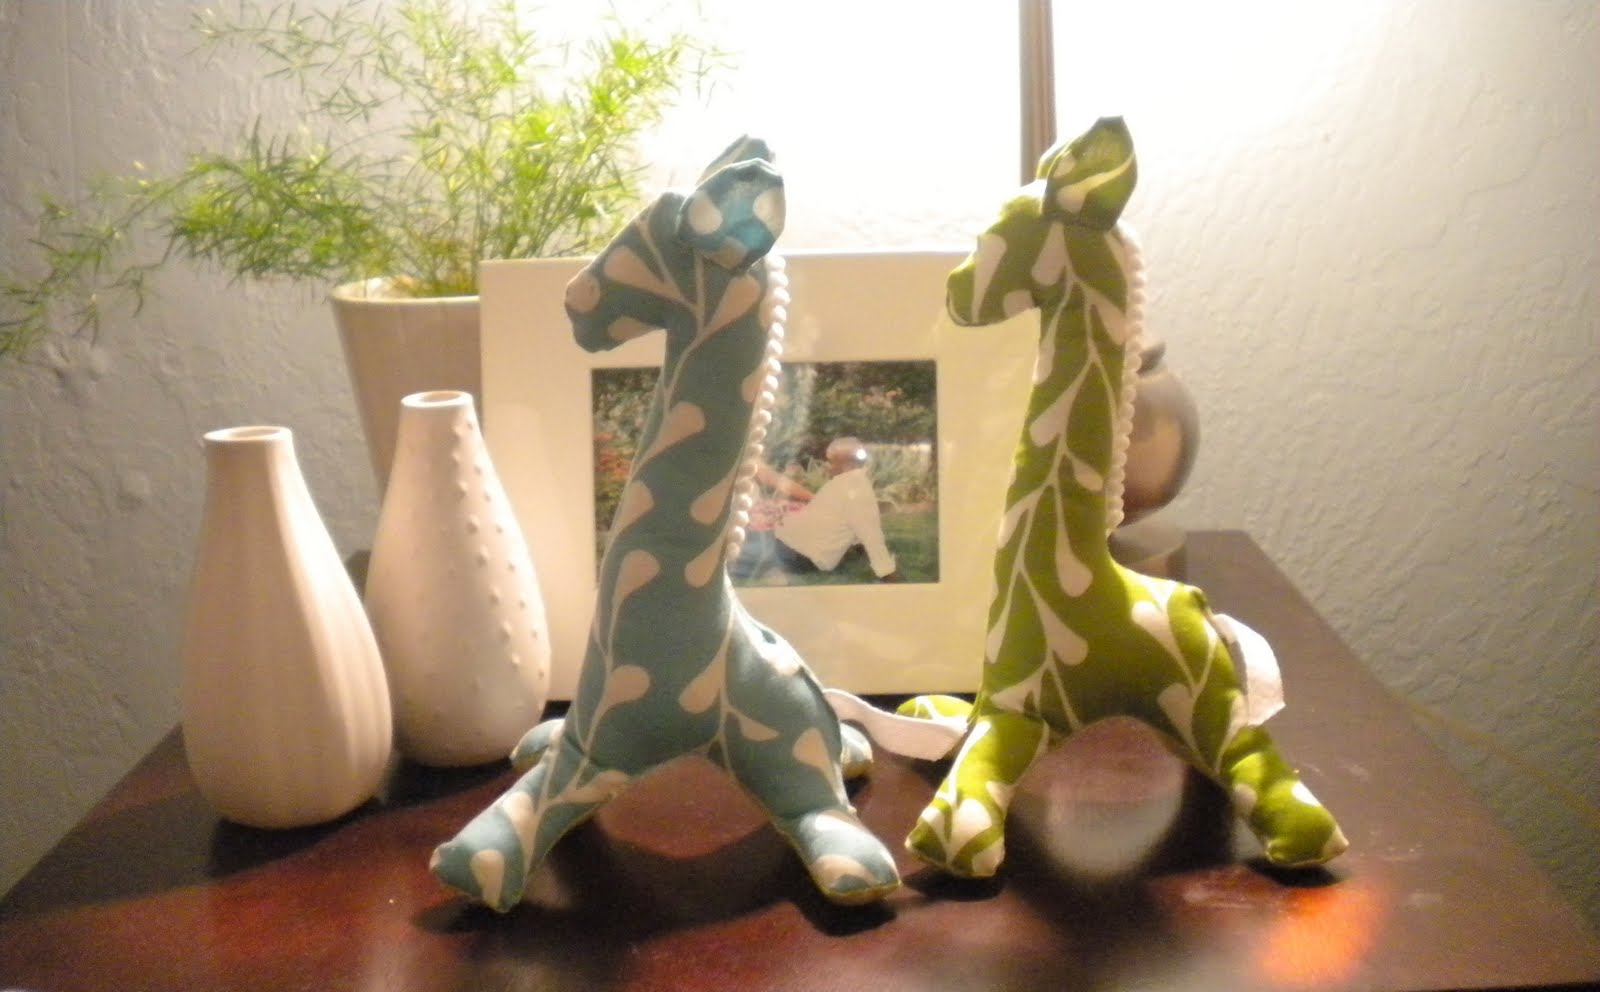
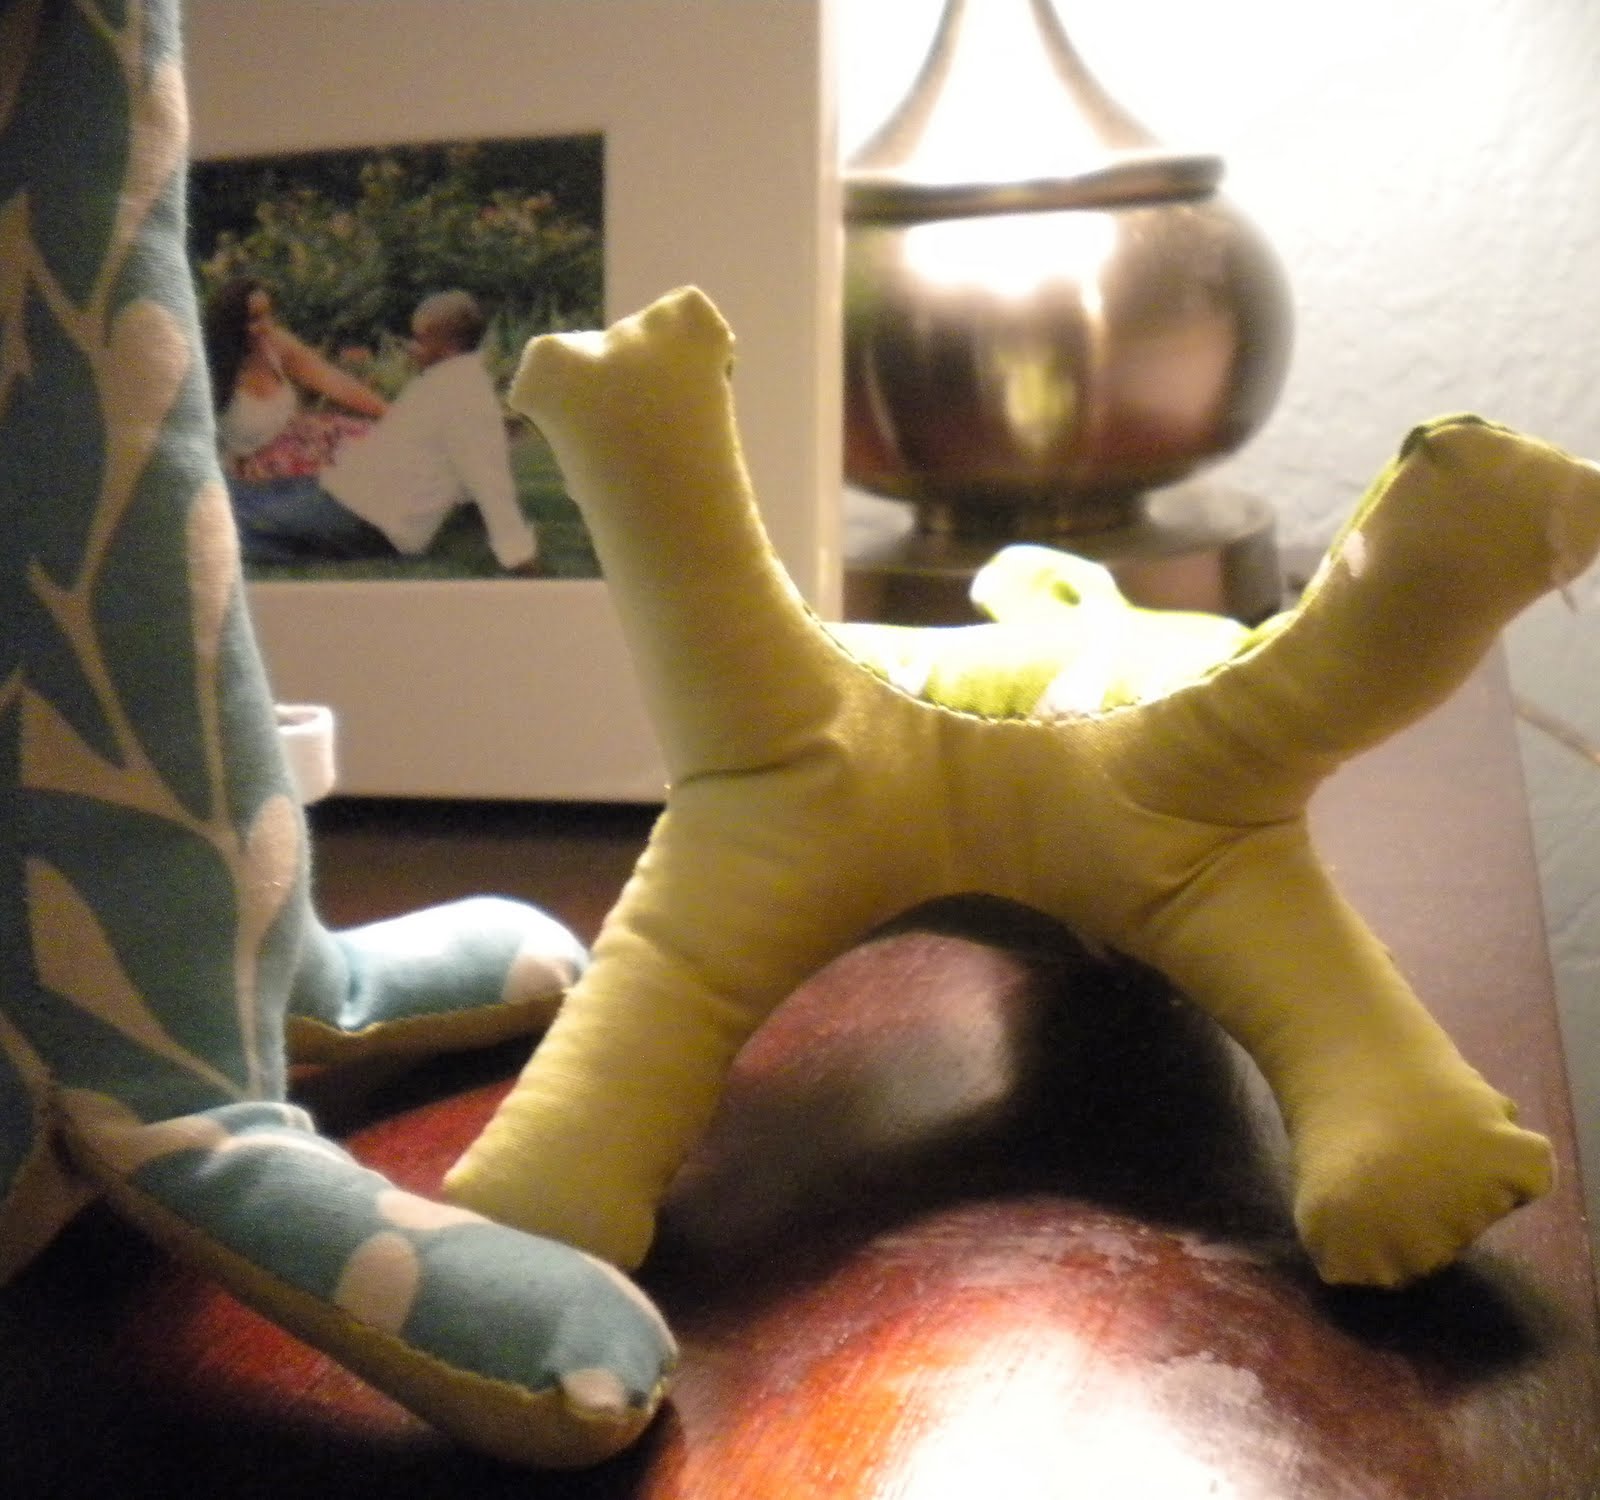
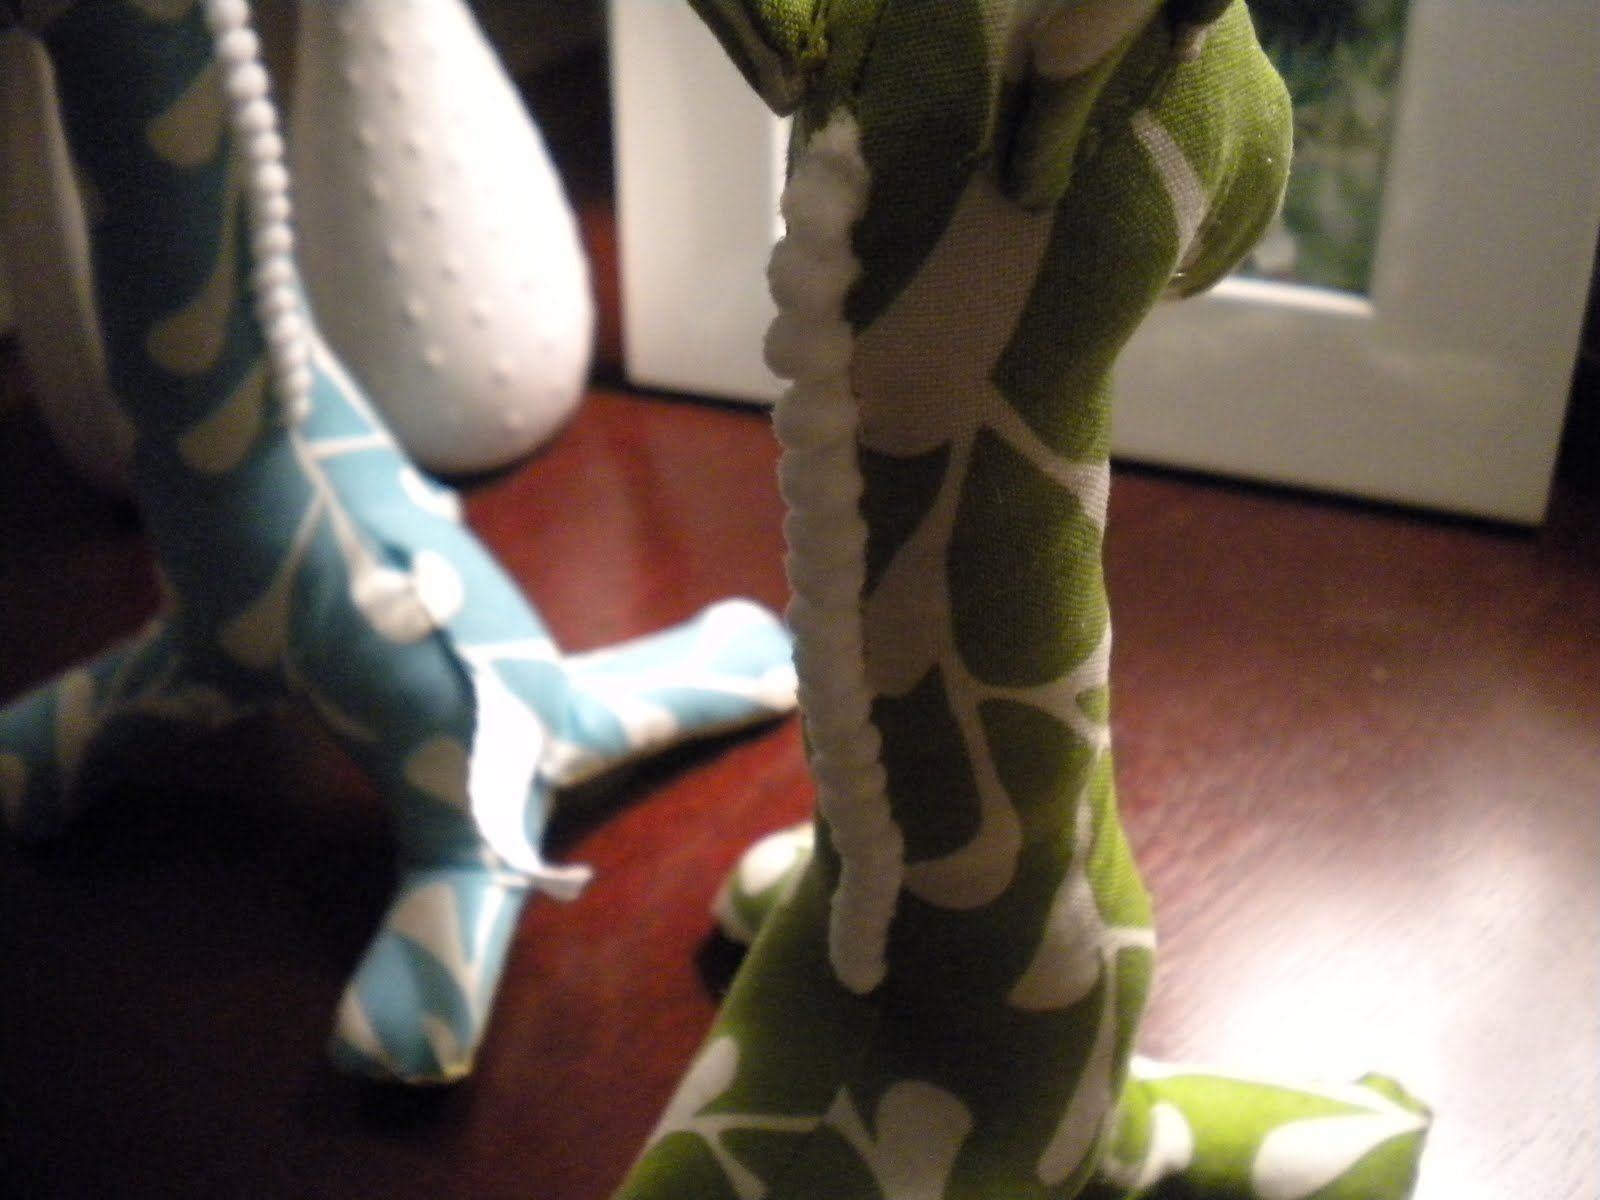
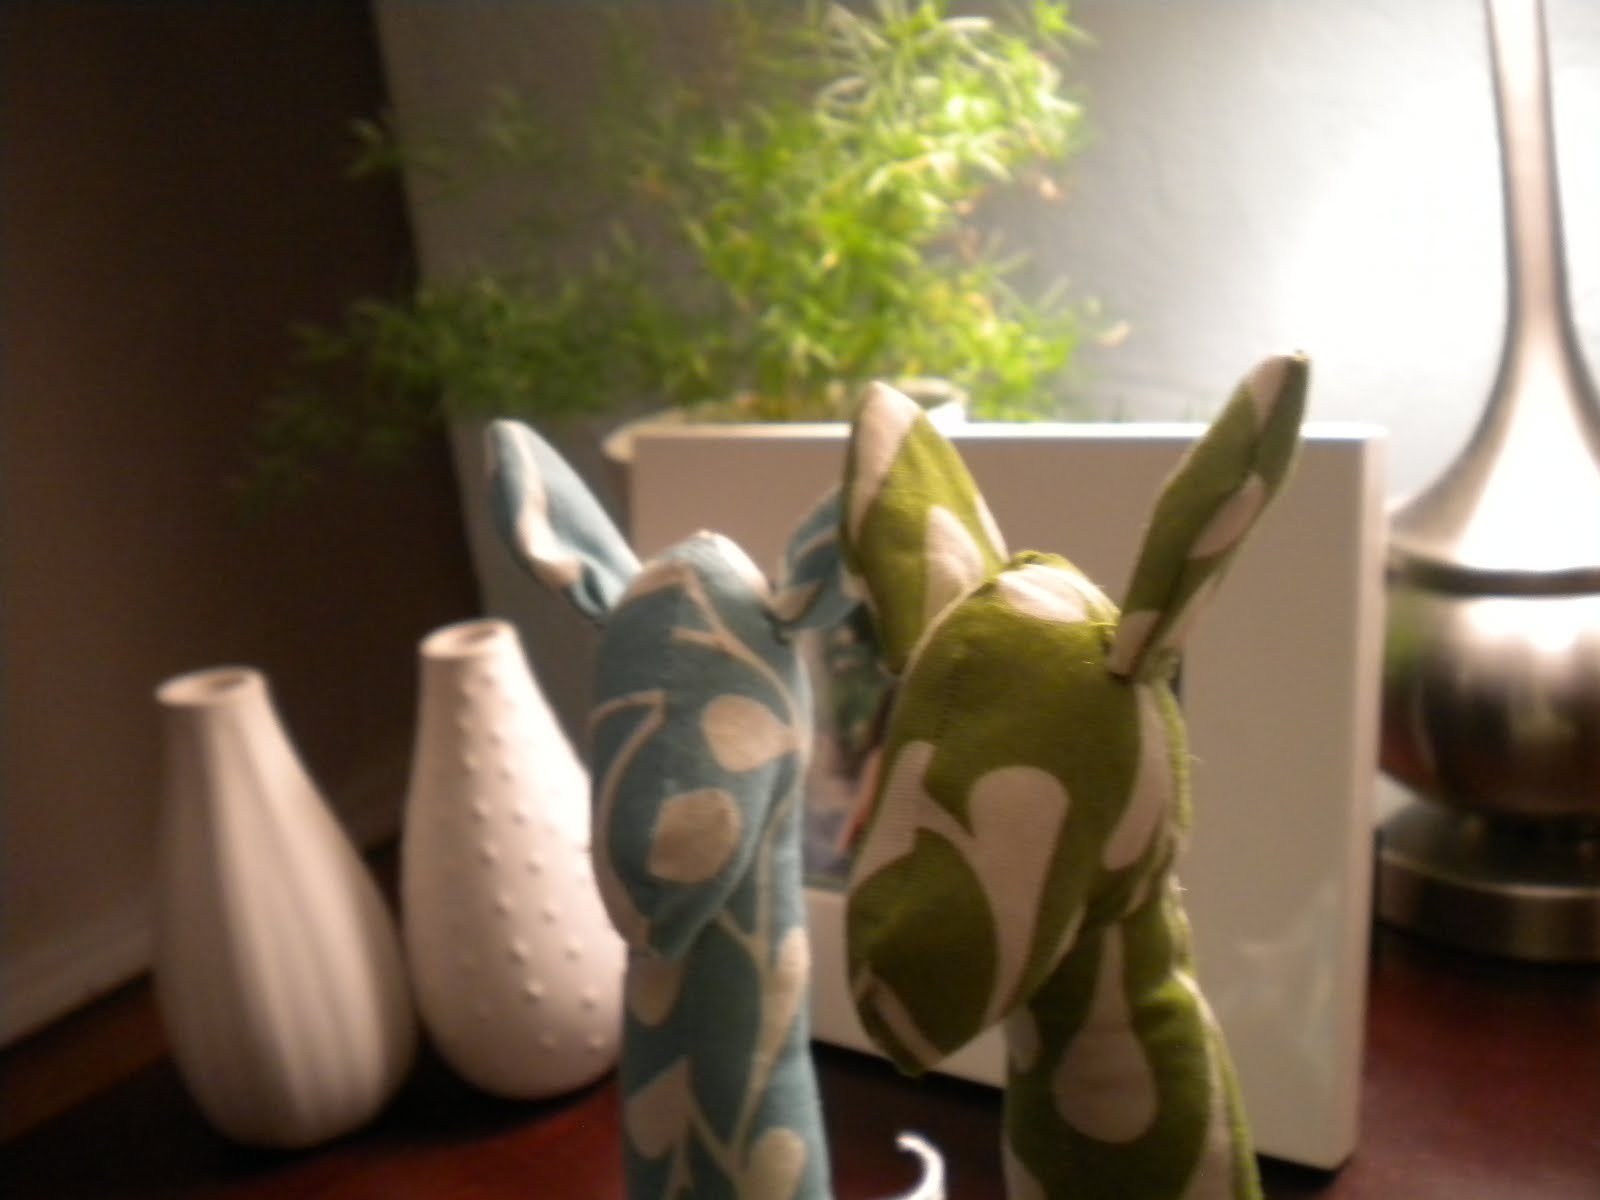
Next I looked in the trim section which sales the trim by the yard. I loved all the pom poms! However they wont be making an appeqrance in the bathroom, I know for a fact Mr. CLH would nix the idea { he loved the mini pom poms on the giraffes }

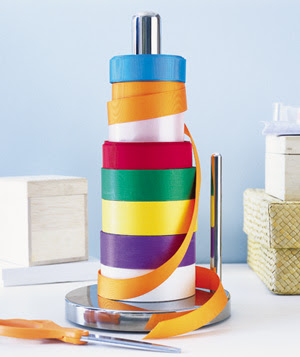
Right now I'm not sure if we'll go with rick rack for this project or I might just add trim. I like the idea of added nice thick trim to our basic waffle weave white shower curtain or adding wide grosgrain ribbon. Either way, I plan on making a thrifty decision since our bathroom update is a mere 100 bucks.
We finally choose the paint color for our little blah box of a bathroom. As I mentioned before, we were looking at Martha Stewart's paint color line, and narrowed the colors down to three. In the end we decided to go with the color Rainwater. The color is a combination of soft green with pretty light blue undertones. We had the paint color matched at Lowes using Olympic paint ( in home we use Olympic paint & Valspar). Instead of breaking out the rollers, opted to cut in first which makes the whole painting process much easier. Don't worry everyone the paint is Low VOC and I wore a mask :) Gotta protect my lungs and our baby. I loved how the color looked when first applied and loved it even more after it dried. I was a little hesitant first because its a dramatic change going from a beige box to living in color. Here's how the color looks so far in the bathroom, Mr CLH will be painting all the high areas and low, since my bumps in the way. In the pictures below the color looks more blue, buts on more of the green side.
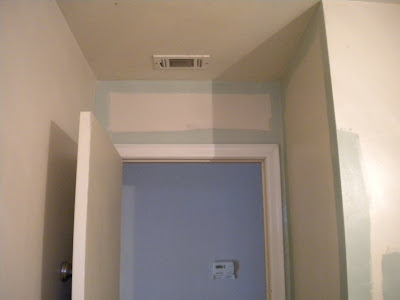

The 'paint girl' did and amazing job of color matching the Martha Stewart color, the very top corner is the swatch I gave her. Of course I some how lost my large swatch of the color, so she gets extra props. On Saturday we found a nice thick bathroom mat of the bathroom. I'm in love with it! So this weeks agenda will be to finish painting the bathroom & Mirror and seeing how we like the bath mat. This is one of those slowing going projects since were also working on a few projects. Here's a more true representation of the color Rainwater.

What do you think of the bathroom color so far? Too dark for such a small space? Or do you like?
{ follow our bathroom progress & ideas part 1, part 2 }


I put together a possible color combination of rick rack together, I liked various shades of blue . But I wasn't entirely sold of the blue color combination and couldn't find any grey rick rack! And grey is a MUST in our bathroom. The were a few other ladies in the rick rack section with me, most likely thinking I'm crazy for taking pictures! Oh well, got to remember the colors and of course share with all of you.

Next I looked in the trim section which sales the trim by the yard. I loved all the pom poms! However they wont be making an appeqrance in the bathroom, I know for a fact Mr. CLH would nix the idea { he loved the mini pom poms on the giraffes }

Right now I'm not sure if we'll go with rick rack for this project or I might just add trim. I like the idea of added nice thick trim to our basic waffle weave white shower curtain or adding wide grosgrain ribbon. Either way, I plan on making a thrifty decision since our bathroom update is a mere 100 bucks.

via here.
We finally choose the paint color for our little blah box of a bathroom. As I mentioned before, we were looking at Martha Stewart's paint color line, and narrowed the colors down to three. In the end we decided to go with the color Rainwater. The color is a combination of soft green with pretty light blue undertones. We had the paint color matched at Lowes using Olympic paint ( in home we use Olympic paint & Valspar). Instead of breaking out the rollers, opted to cut in first which makes the whole painting process much easier. Don't worry everyone the paint is Low VOC and I wore a mask :) Gotta protect my lungs and our baby. I loved how the color looked when first applied and loved it even more after it dried. I was a little hesitant first because its a dramatic change going from a beige box to living in color. Here's how the color looks so far in the bathroom, Mr CLH will be painting all the high areas and low, since my bumps in the way. In the pictures below the color looks more blue, buts on more of the green side.

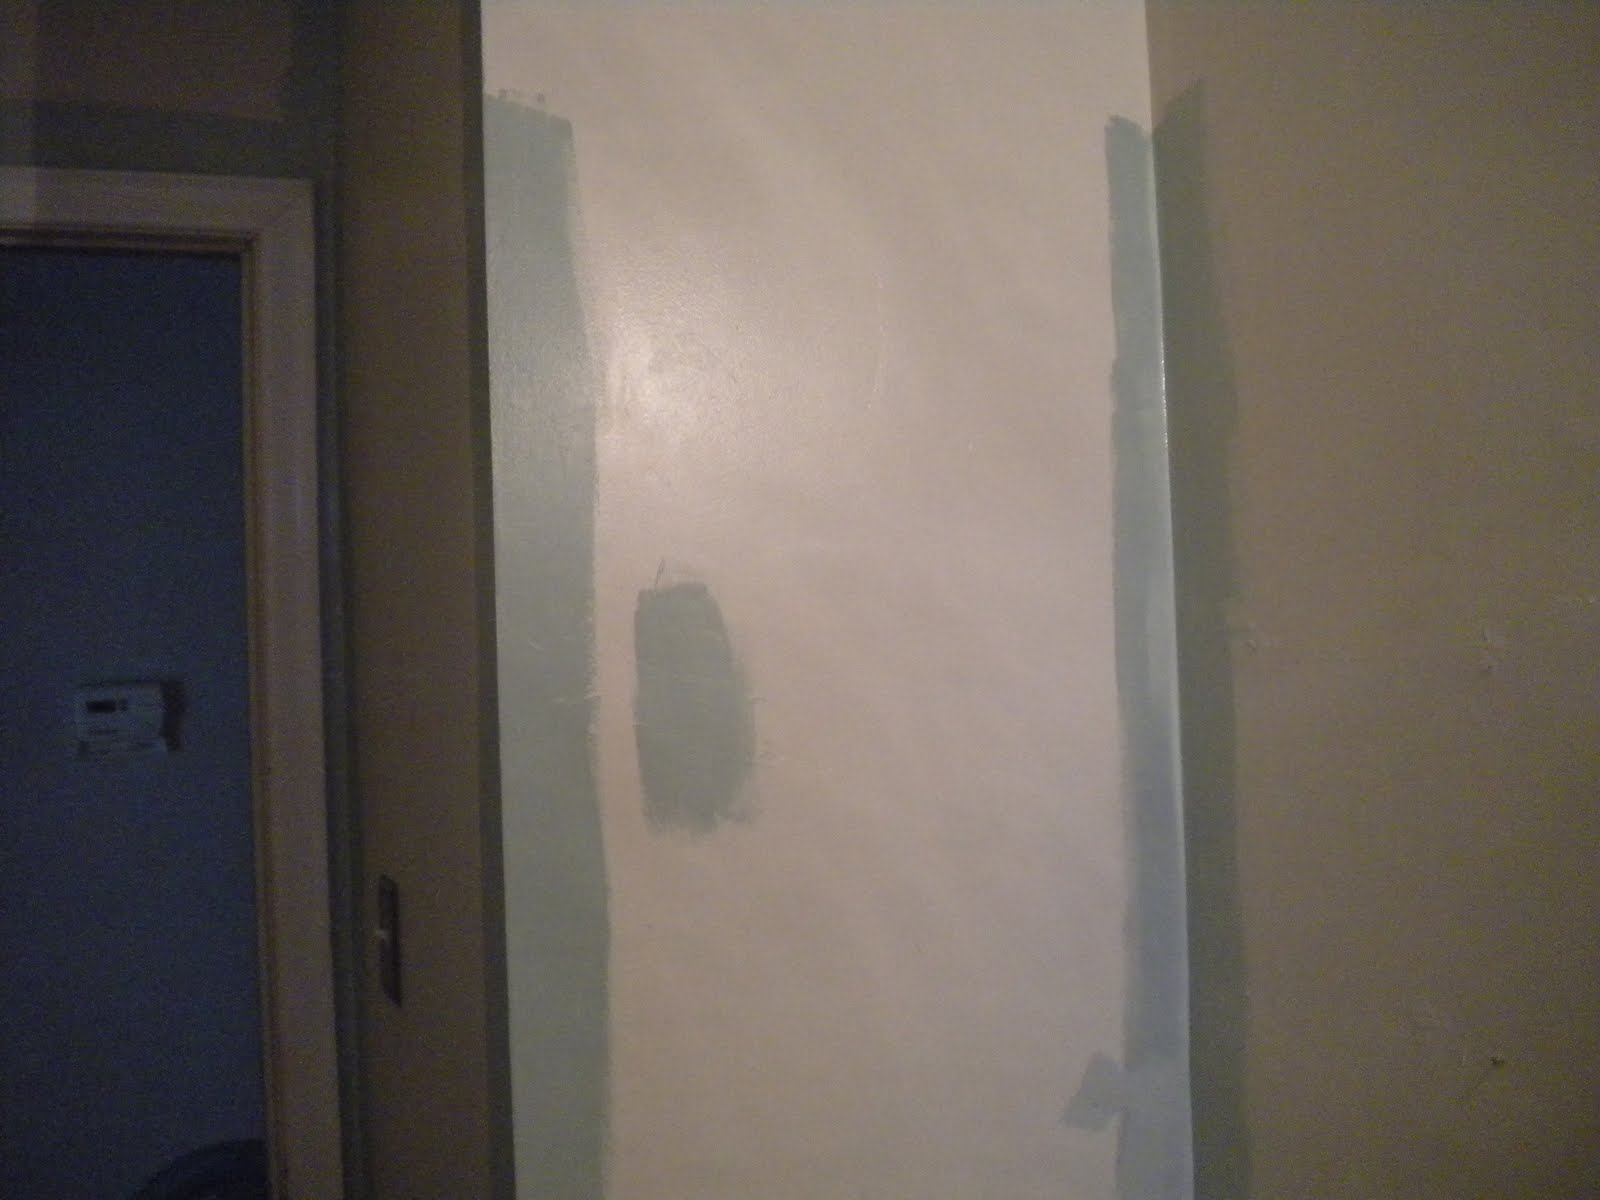
The 'paint girl' did and amazing job of color matching the Martha Stewart color, the very top corner is the swatch I gave her. Of course I some how lost my large swatch of the color, so she gets extra props. On Saturday we found a nice thick bathroom mat of the bathroom. I'm in love with it! So this weeks agenda will be to finish painting the bathroom & Mirror and seeing how we like the bath mat. This is one of those slowing going projects since were also working on a few projects. Here's a more true representation of the color Rainwater.

What do you think of the bathroom color so far? Too dark for such a small space? Or do you like?
{ follow our bathroom progress & ideas part 1, part 2 }


