One of my main missions this year, was to give our small master bedroom closet a complete overhaul from top to bottom. A new closet was mine and Hasani’s Christmas gift to each other, to get organized and stay that way. It’s one of those projects in our home we’ve been putting off for years and years. Our master bedroom closet isn’t original to our 1950’s house, our original closet was a five feet wide reach in closet that was teeny tiny. When we re-built our home in 2013 after a house fire, we adding an addition of a master bathroom and master bedroom closet. Our intention after moving back into our home was to design a closet, but life gets in the way and it wasn’t made a priority. For the longest time we just two hanging rods and two closet towers, everything that couldn’t be hung up was either stuffed in our bedroom dresser or wound up in piles of clothes around the room. Out closet now is roughly 5x8 - five feet deep and eight feet wide, about the size of a small bathroom.
After doing research, I quickly landed on the IKEA PAX Closet. I loved all the different configurations for clothing rods, drawers, shelves and accessories. I was also sold on the fact that my side of the closet can be completely different than my husbands to meet both of our needs. Plus the price point of the PAX system makes having a dream closet affordable reality. Everything about the PAX Closet System has been a win-win. Read more about the design process for our closet here and how we built our IKEA closet here.
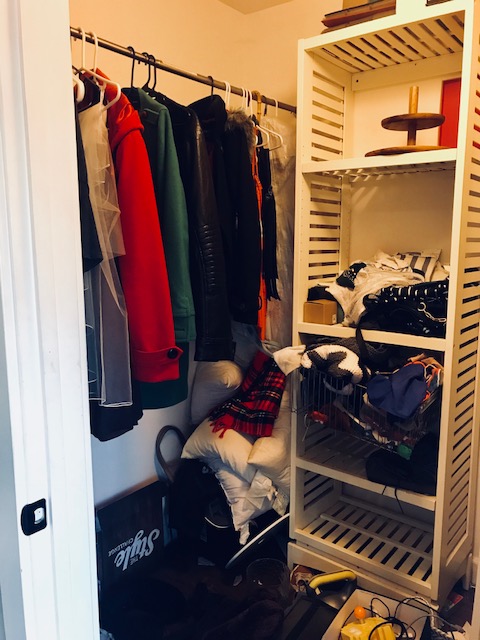
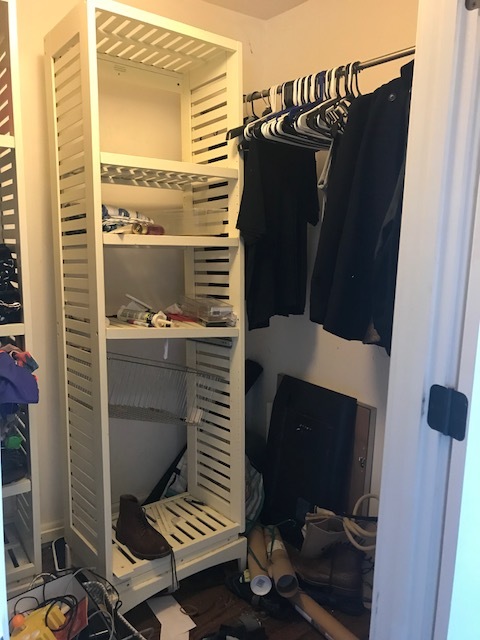
MASTER BEDROOM CLOSET BEFORE
Here’s a reminder of our how closet look at the end of December, keep in mind I had already started cleaning it out so it looked even worse! Painful right?
IKEA PAX CLOSET DESIGN COMPLETED!
I’m so excited to share our finished IKEA PAX Closet!! Having a closet that’s organized and personalized to fit my needs and my husbands needs is amazing! Keeping it 100% I still have a few things to complete in here and decide on 1. Caulk and Repaint the Baseboards 2. Decide if I want to add a rug to this space, and I’m toying with the idea of adding a small bench. It’s a small space and only five feet deep, but I like the idea of completely ‘getting ready’ inside my closet. But other than those minor things our closet is DONE!
I enlisted the help of my best friend, who loves IKEA and can hack a PAX like nobody can! After talking through my design ideas, we landed on an galley style closet, creating his and her sides. This little space was so hard to shoot, thanks to zero natrual llight
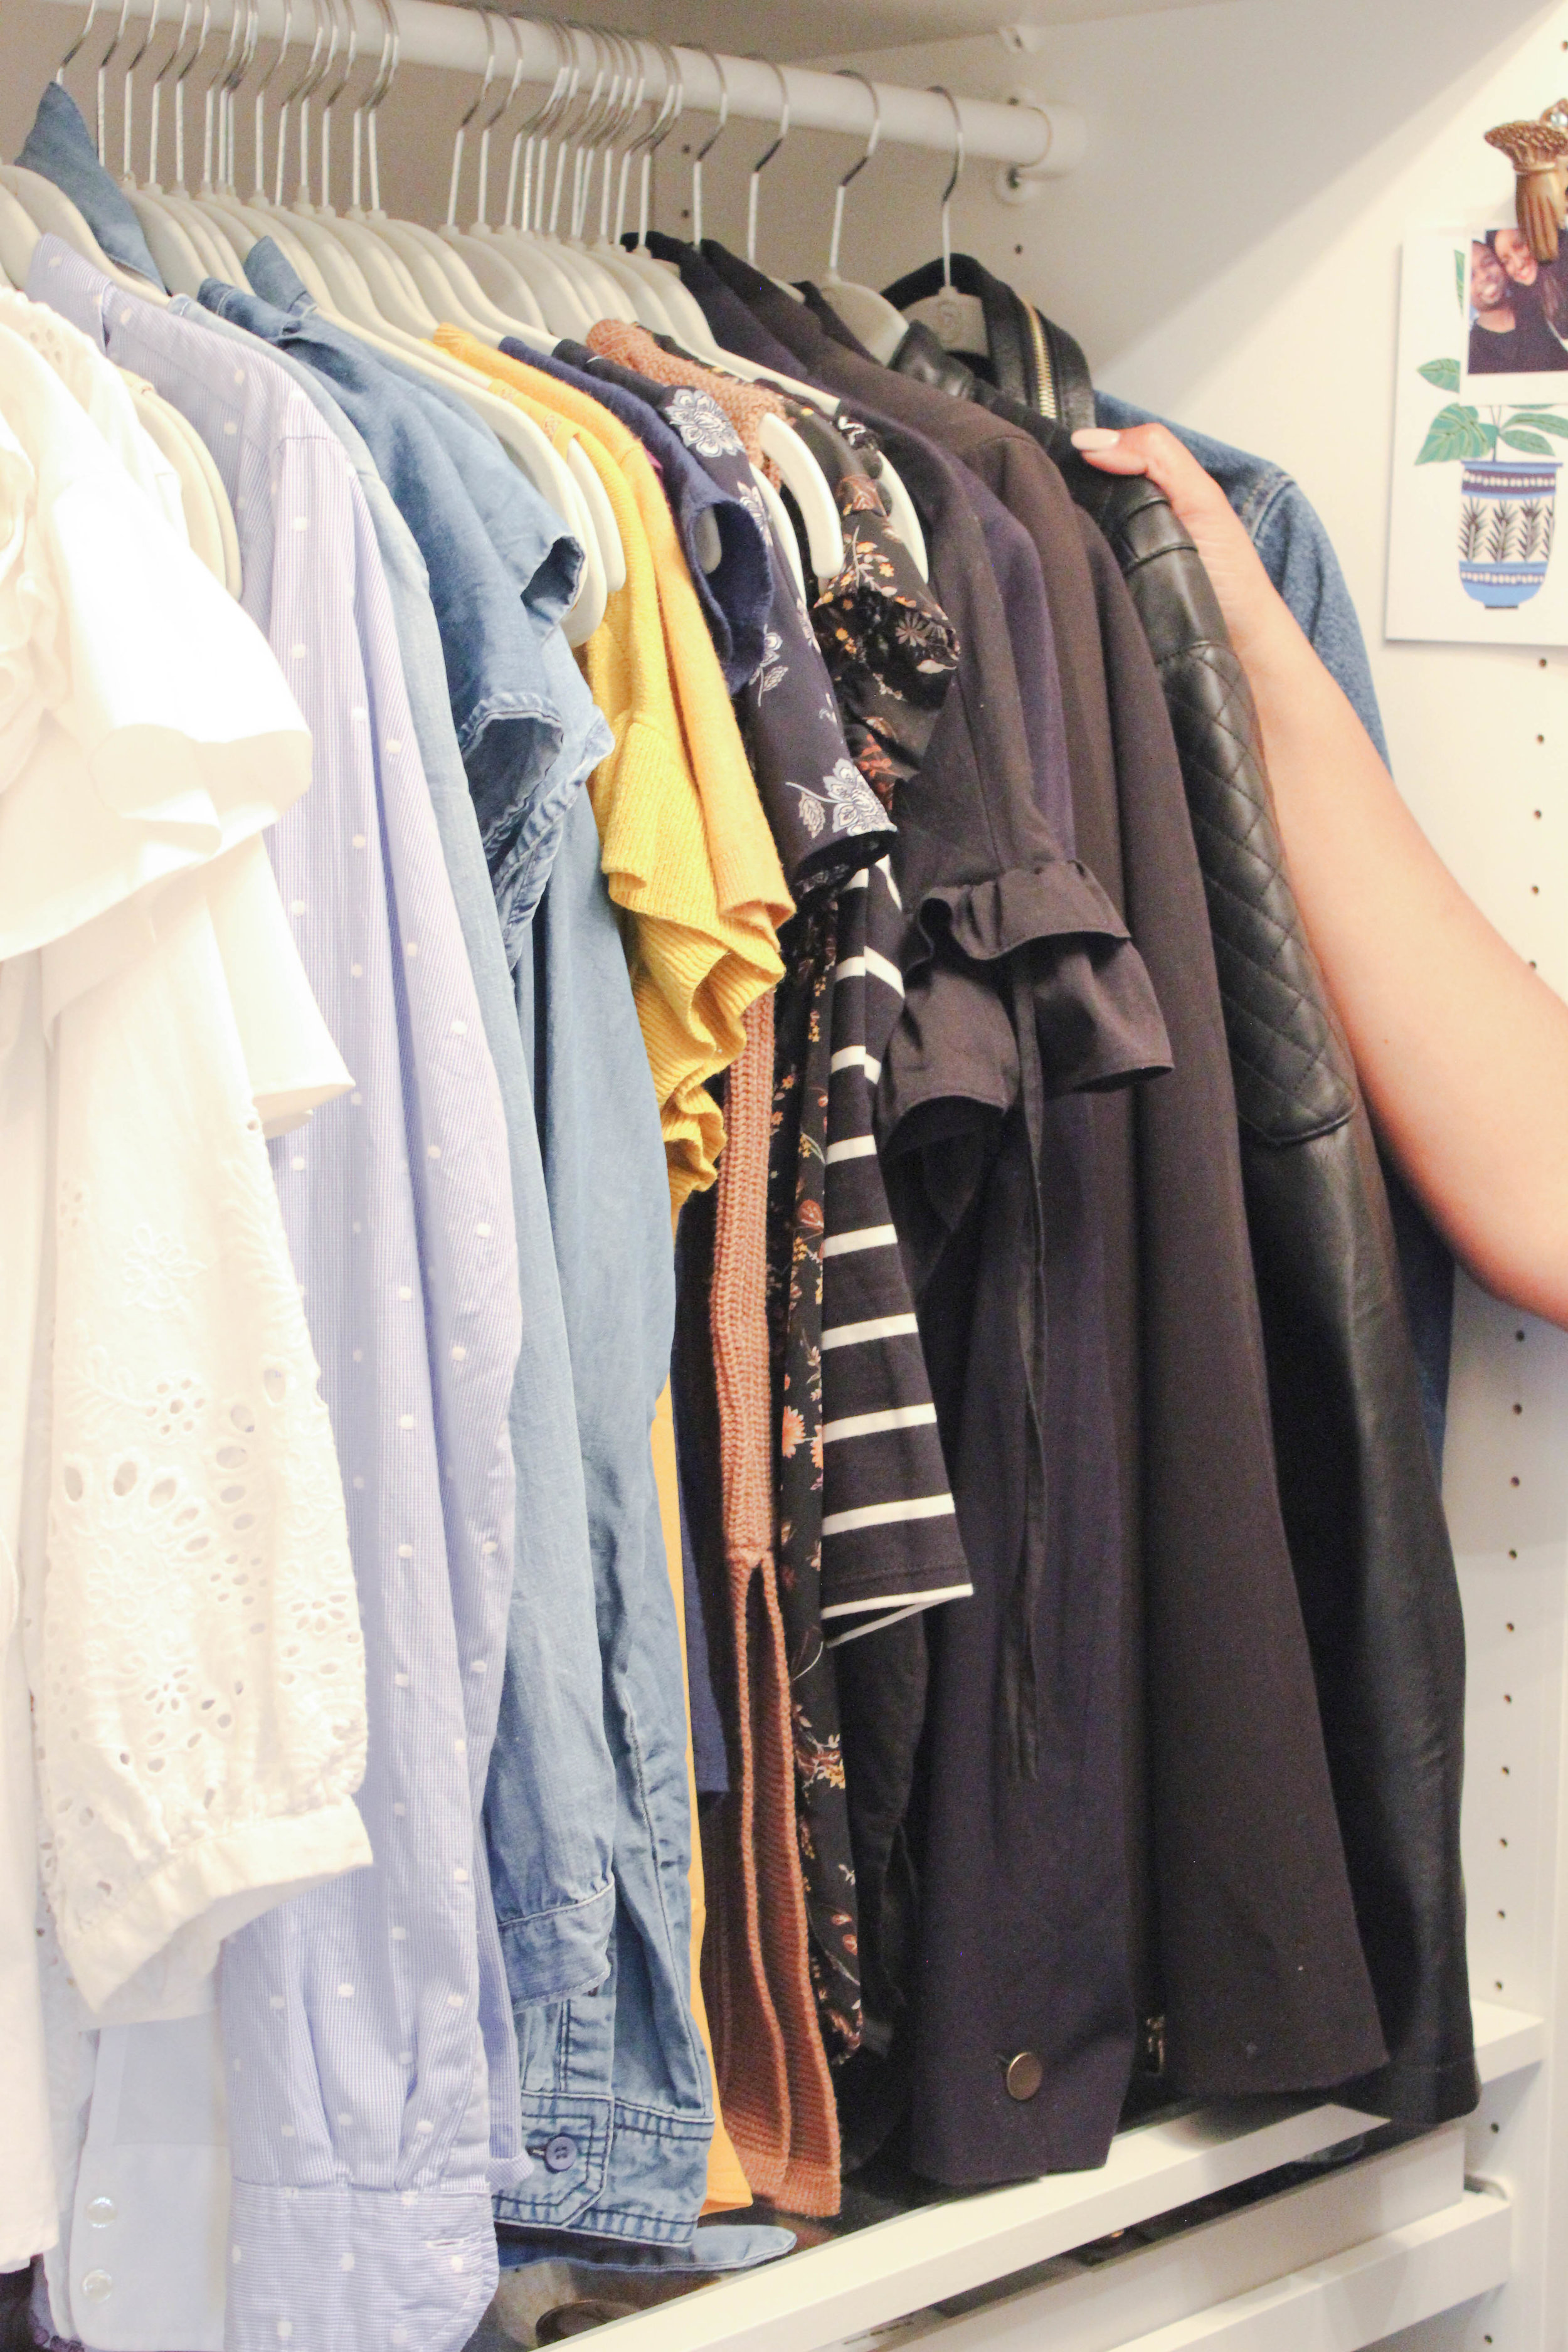
HER SIDE OF THE CLOSET
Before, I put my clothes back into our closet, I did a massive clothing purge, shoe purge and purse purge, thanks to Marie Kondo’s show Tidying Up on Netlfix! I really helped me get rid of clothing, shoes etc. that no longer sparked joy! I have less clothing now, and I’m so happy about that! Instead of having 20 pairs of jeans I hate, I now have 8 pairs that I actually wear! It’s really freeing.
Back to my closet design, I have an area of hanging blouses and nicer t-shirts and below have a four drawers. The drawers are super wide and deep! I have plenty of room for sweaters, jeans, and a full drawer dedicated to bras, underwear and pajama’s. The very bottom drawer is an extra drawer for tennis shoes, flats and summer shoes.
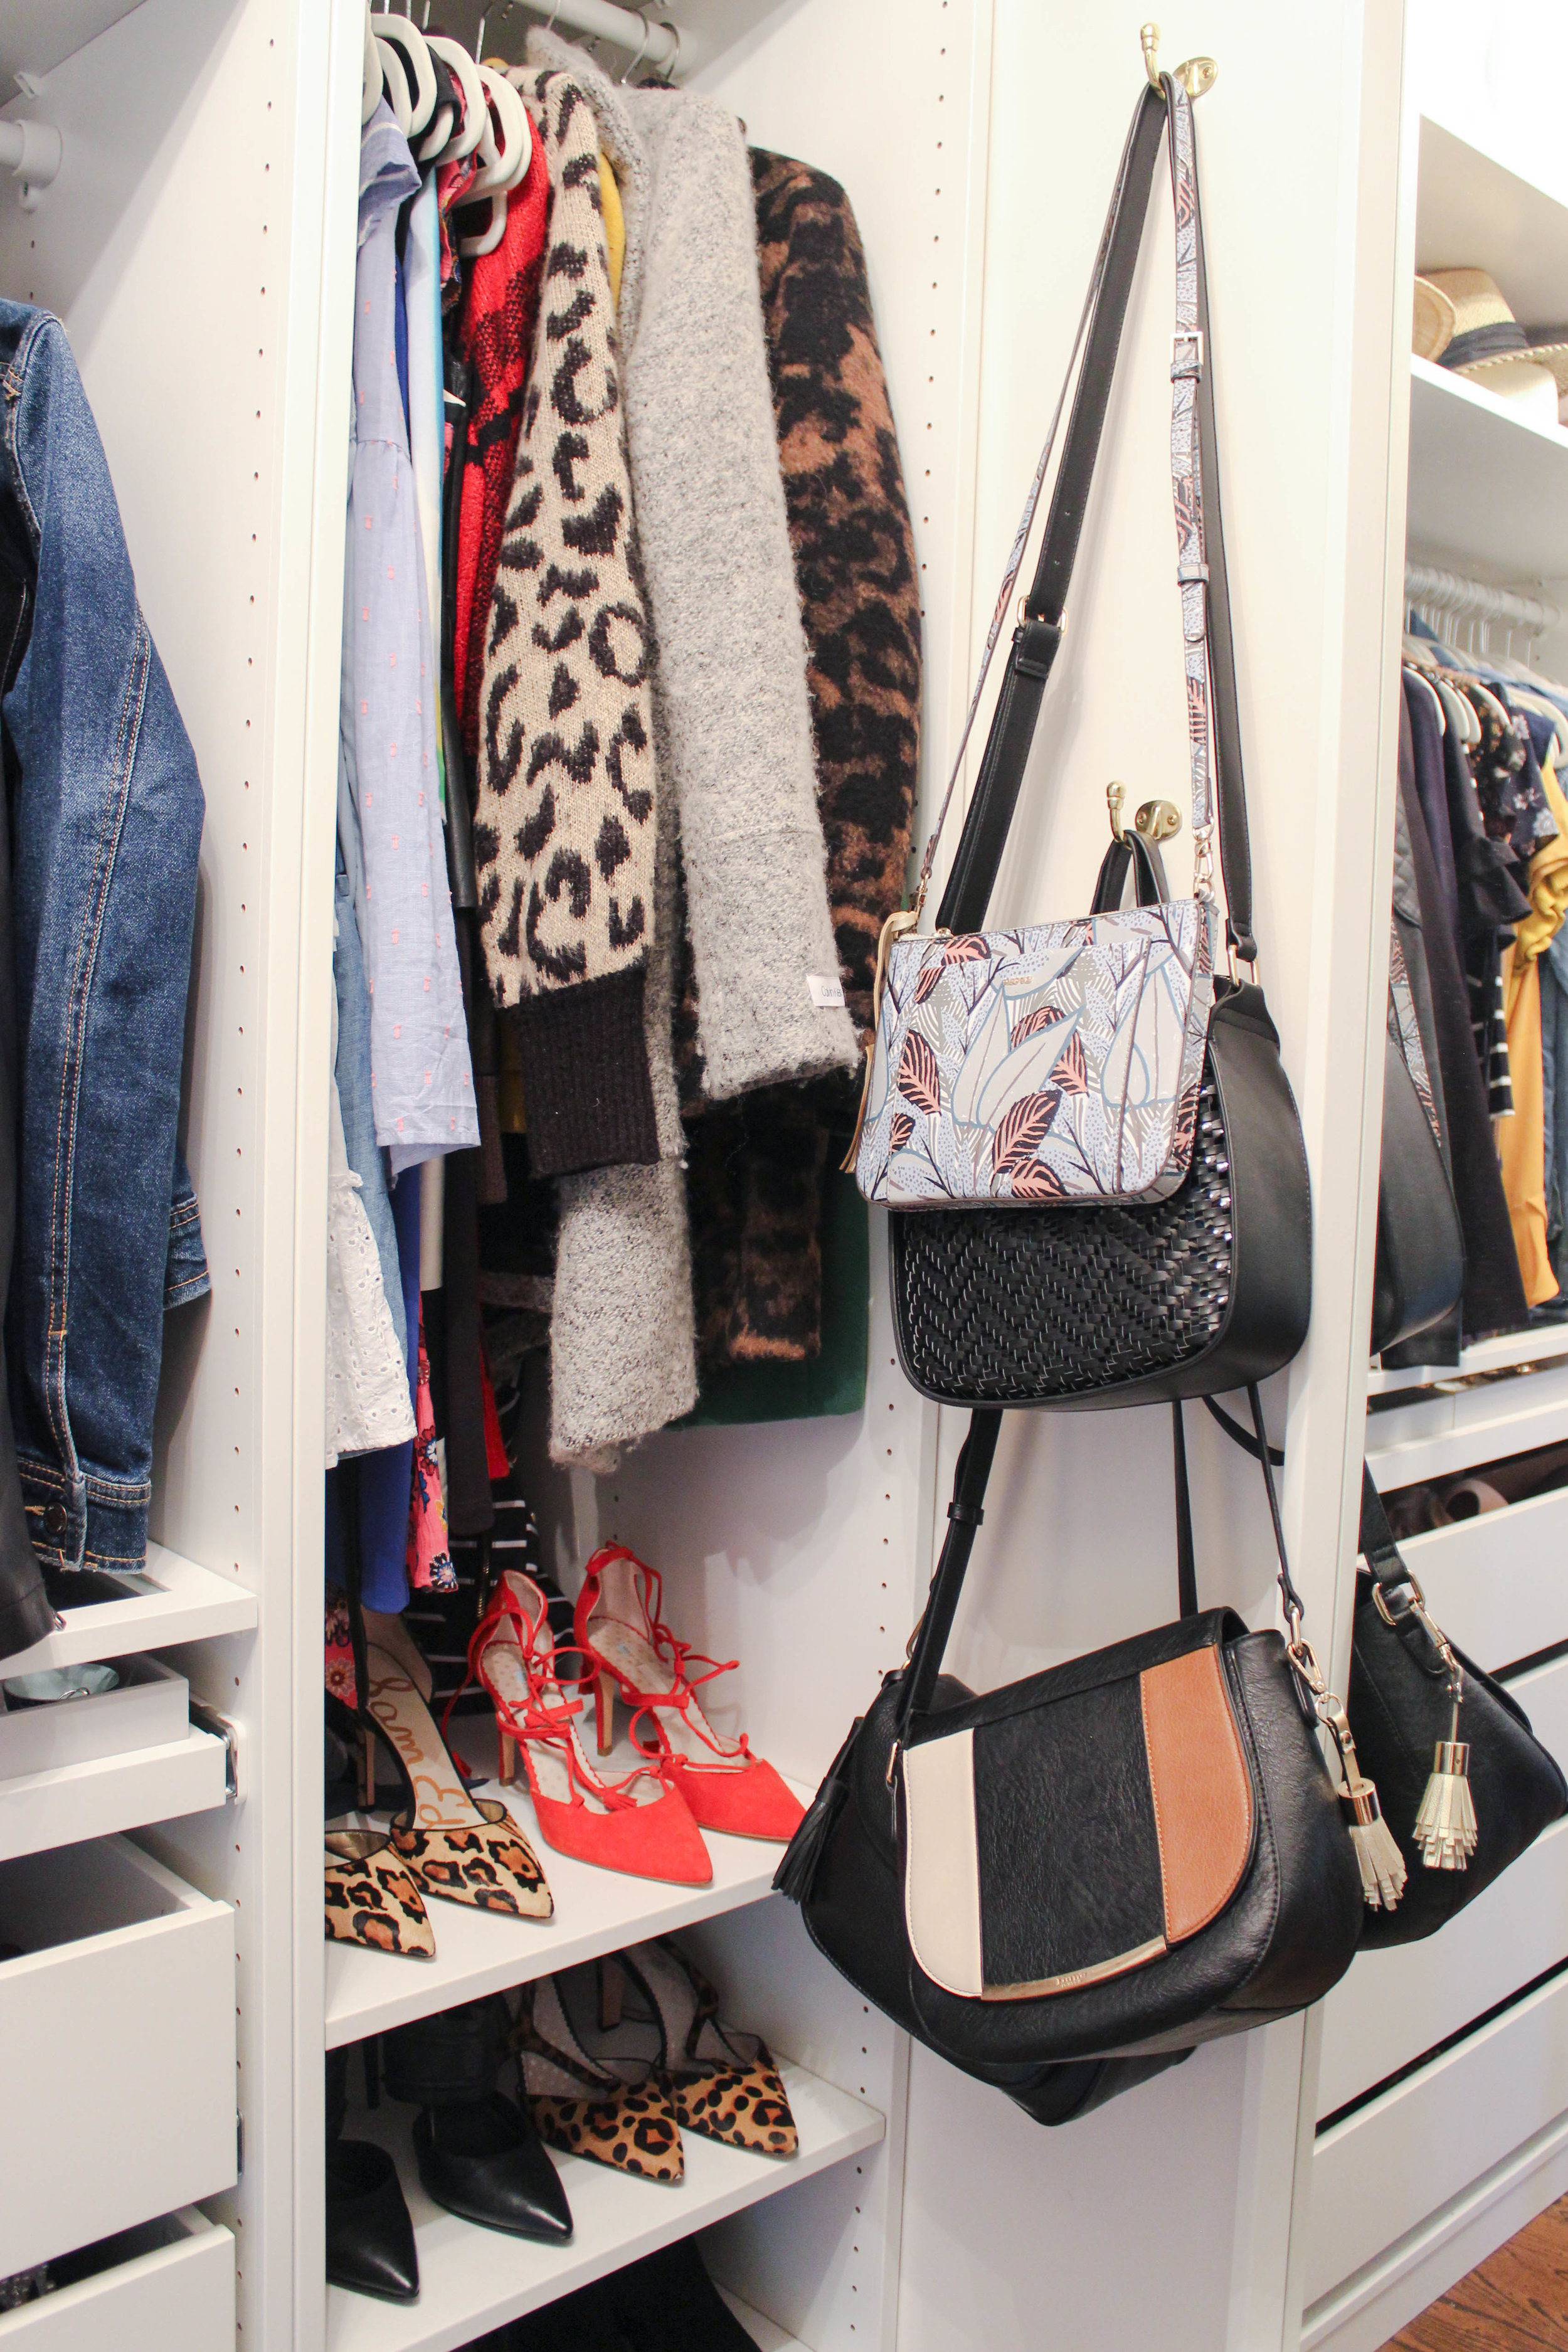
The smaller unit holds dresses and coats. I love all the open shoe storage I now have! This has been a game changer #NoMoreMissingShoes I have five shelves for shoes, each shelf holds four pairs of shoes! Two in the front and two in the back. I can easliy rotate my shoes for Fall/Winter and Spring/Summer in the very back, I have my tall walking boots hidden.
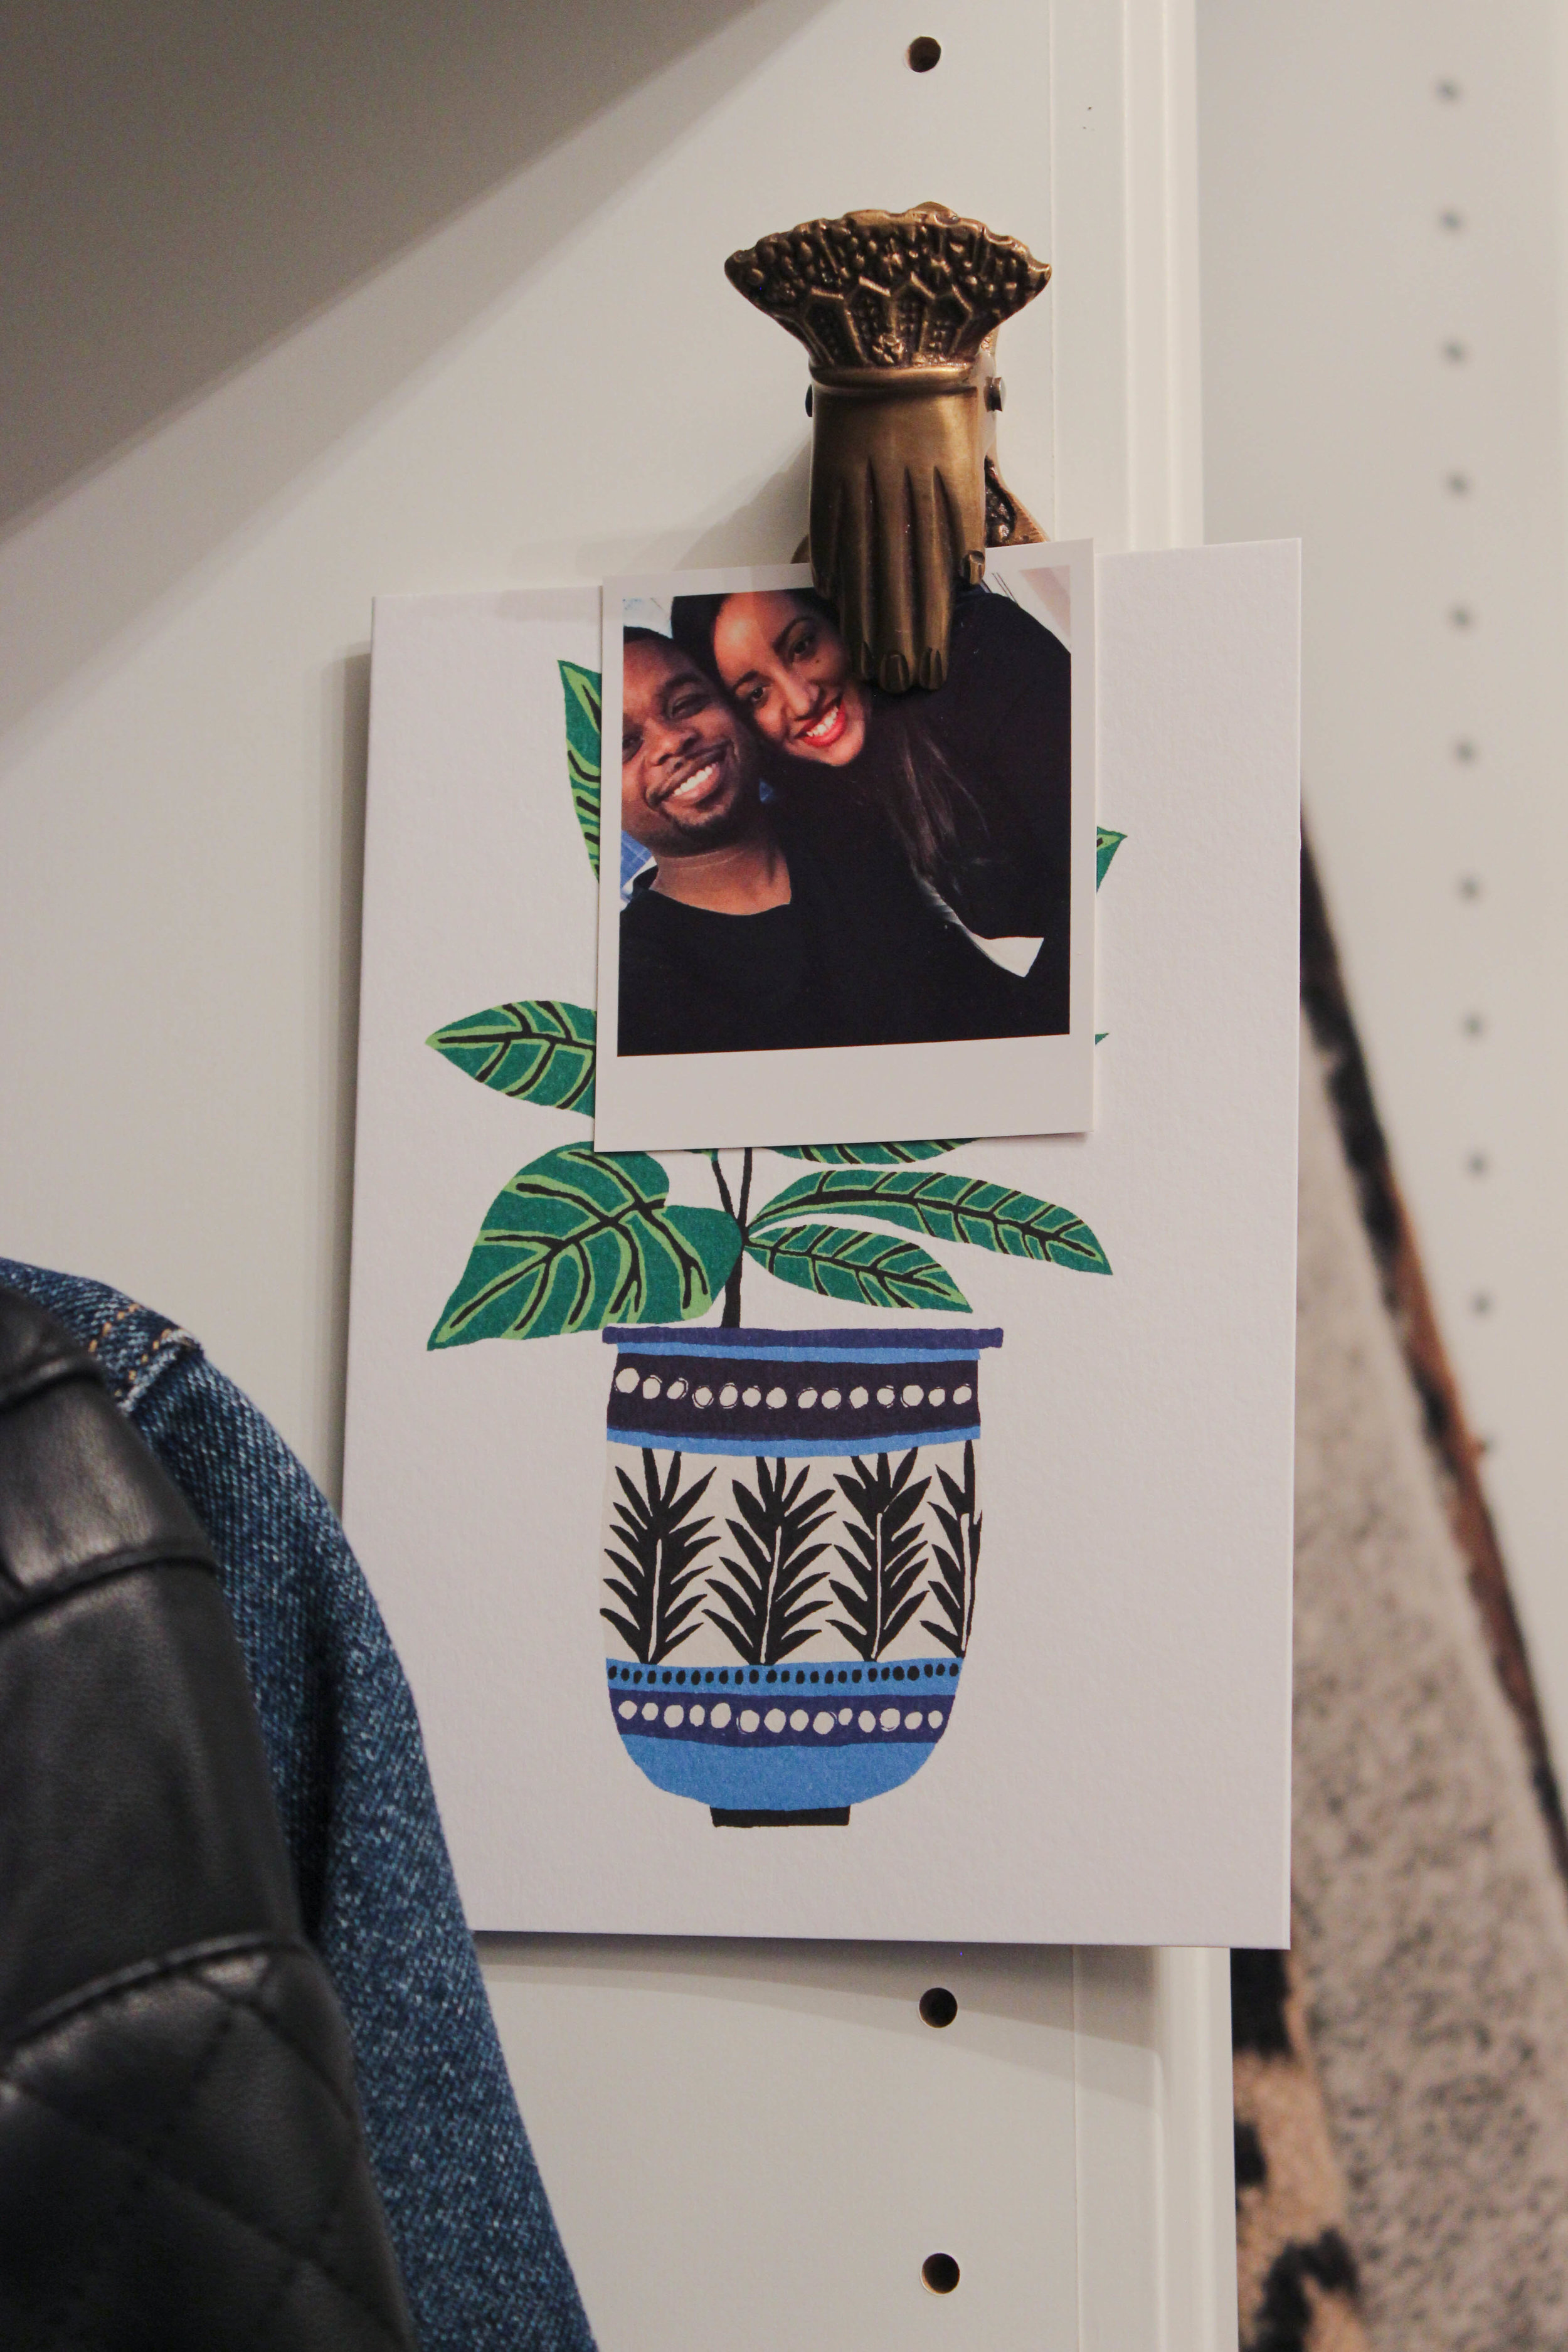
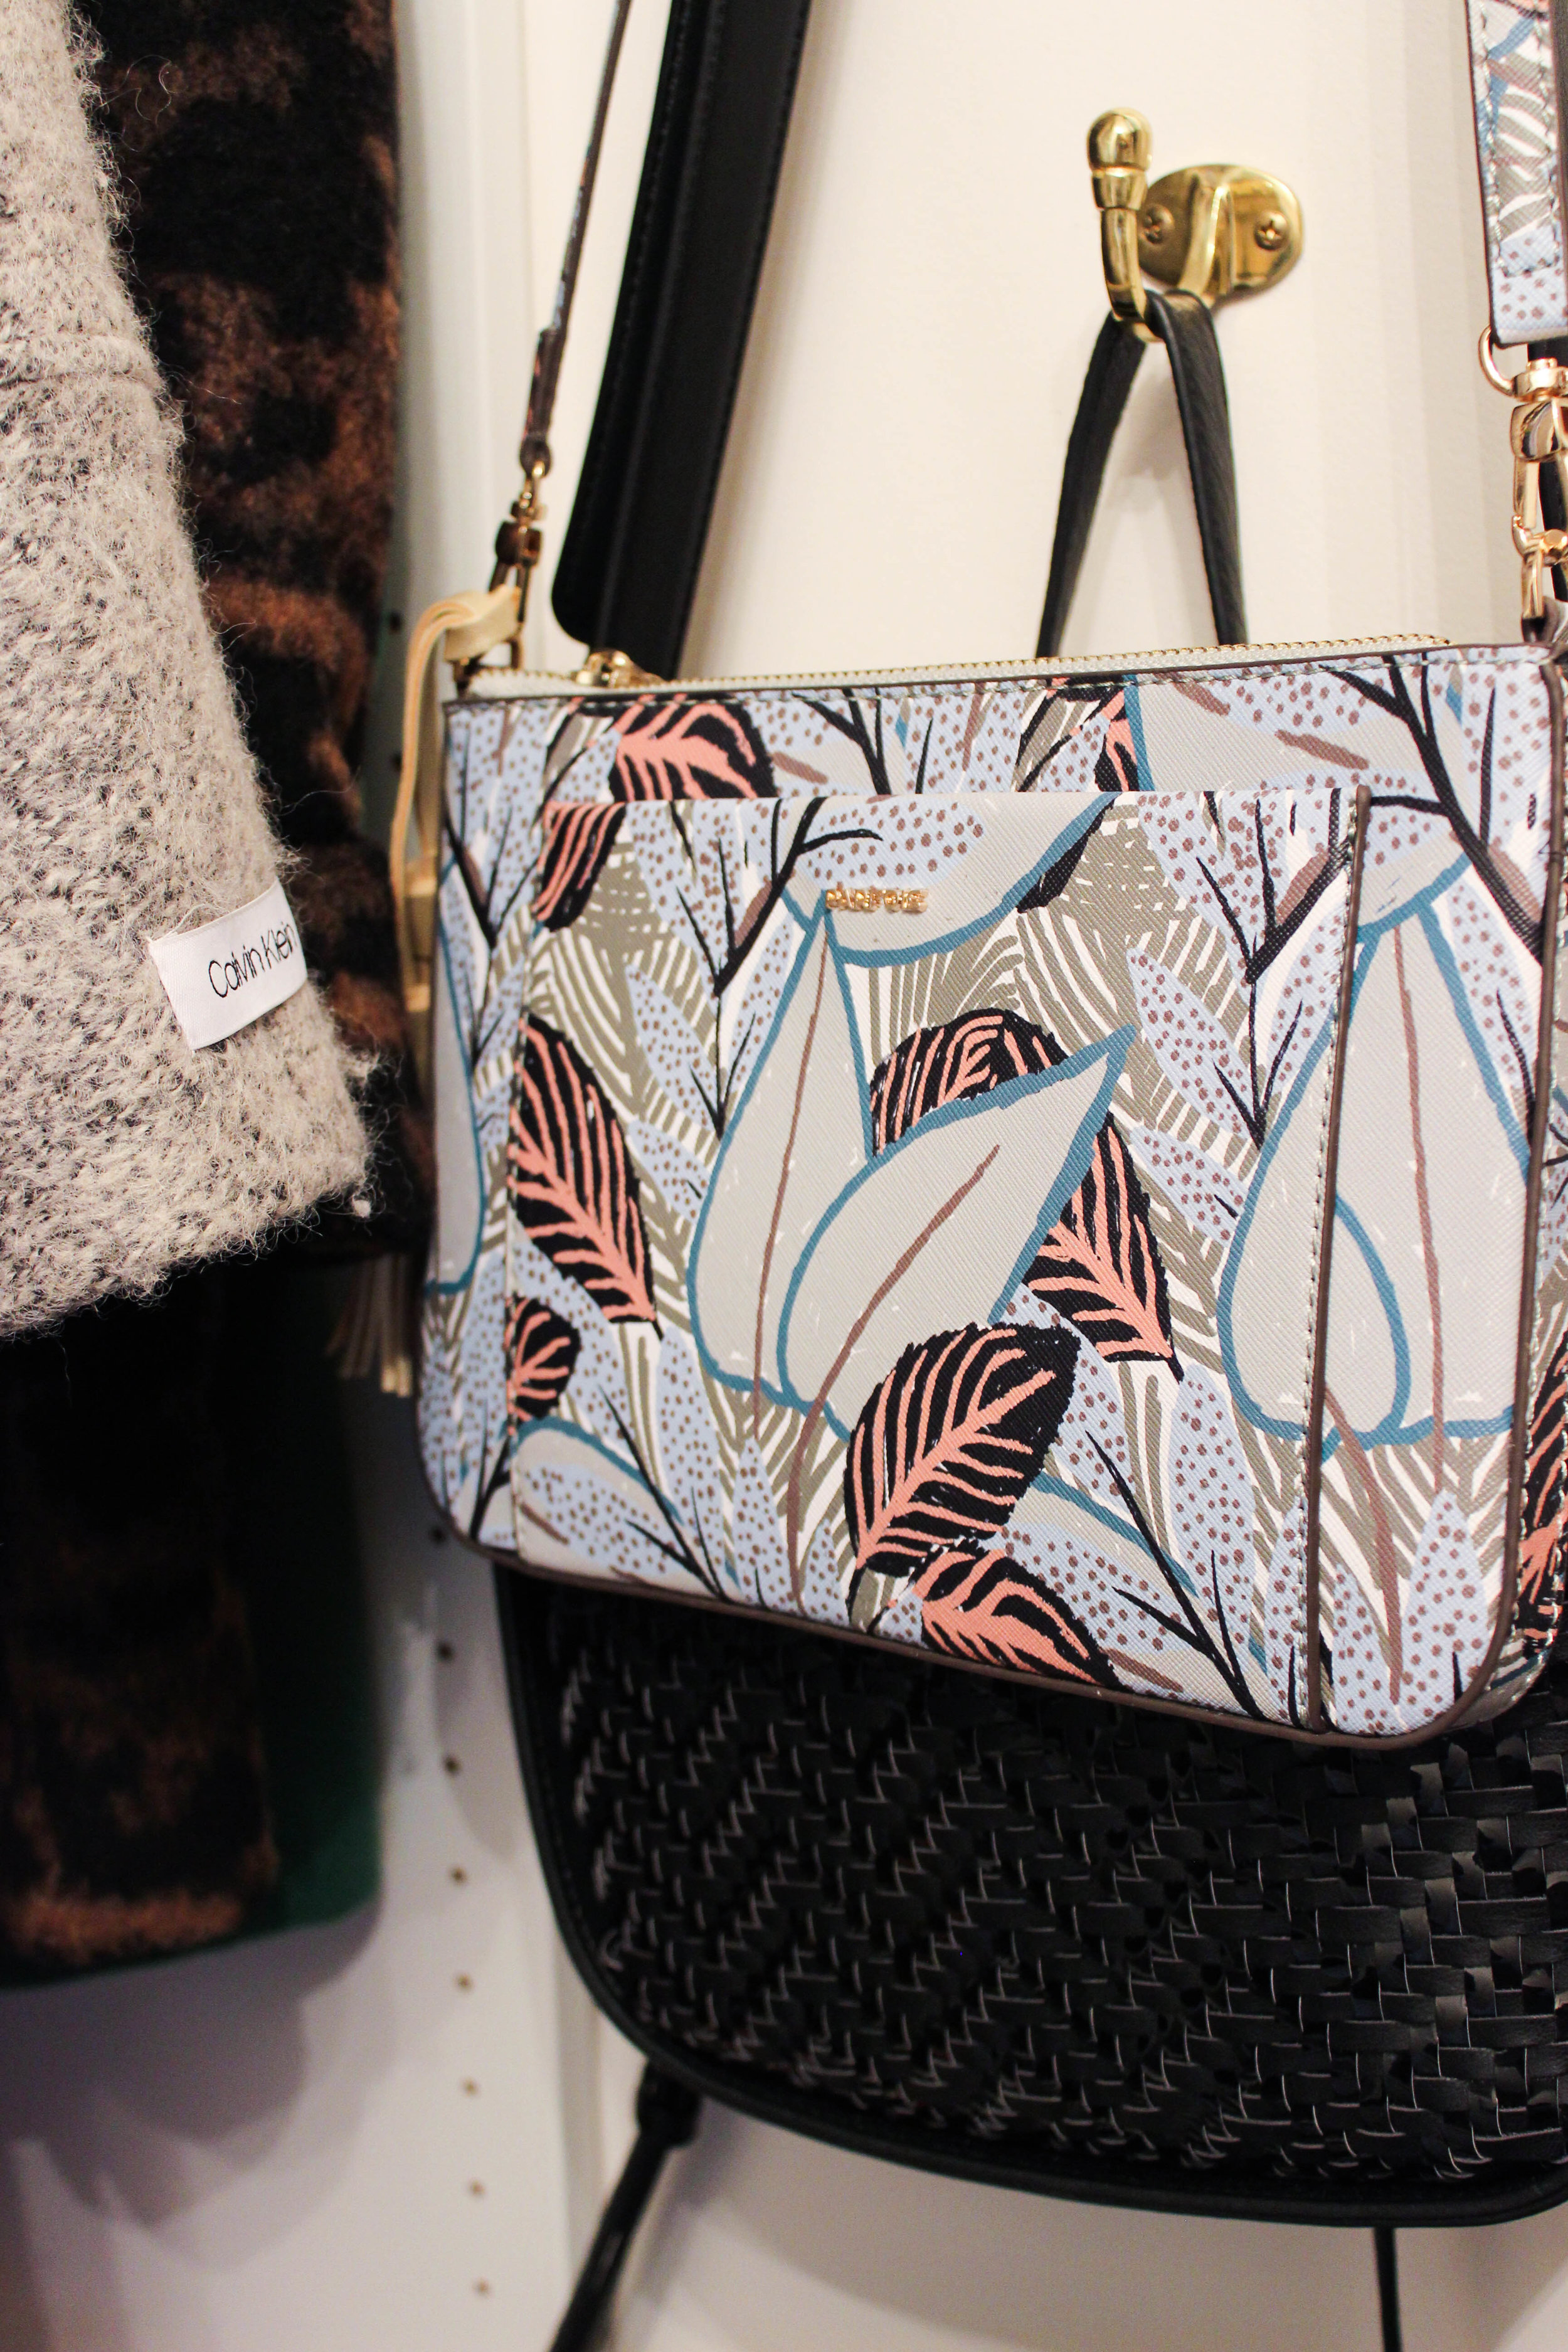
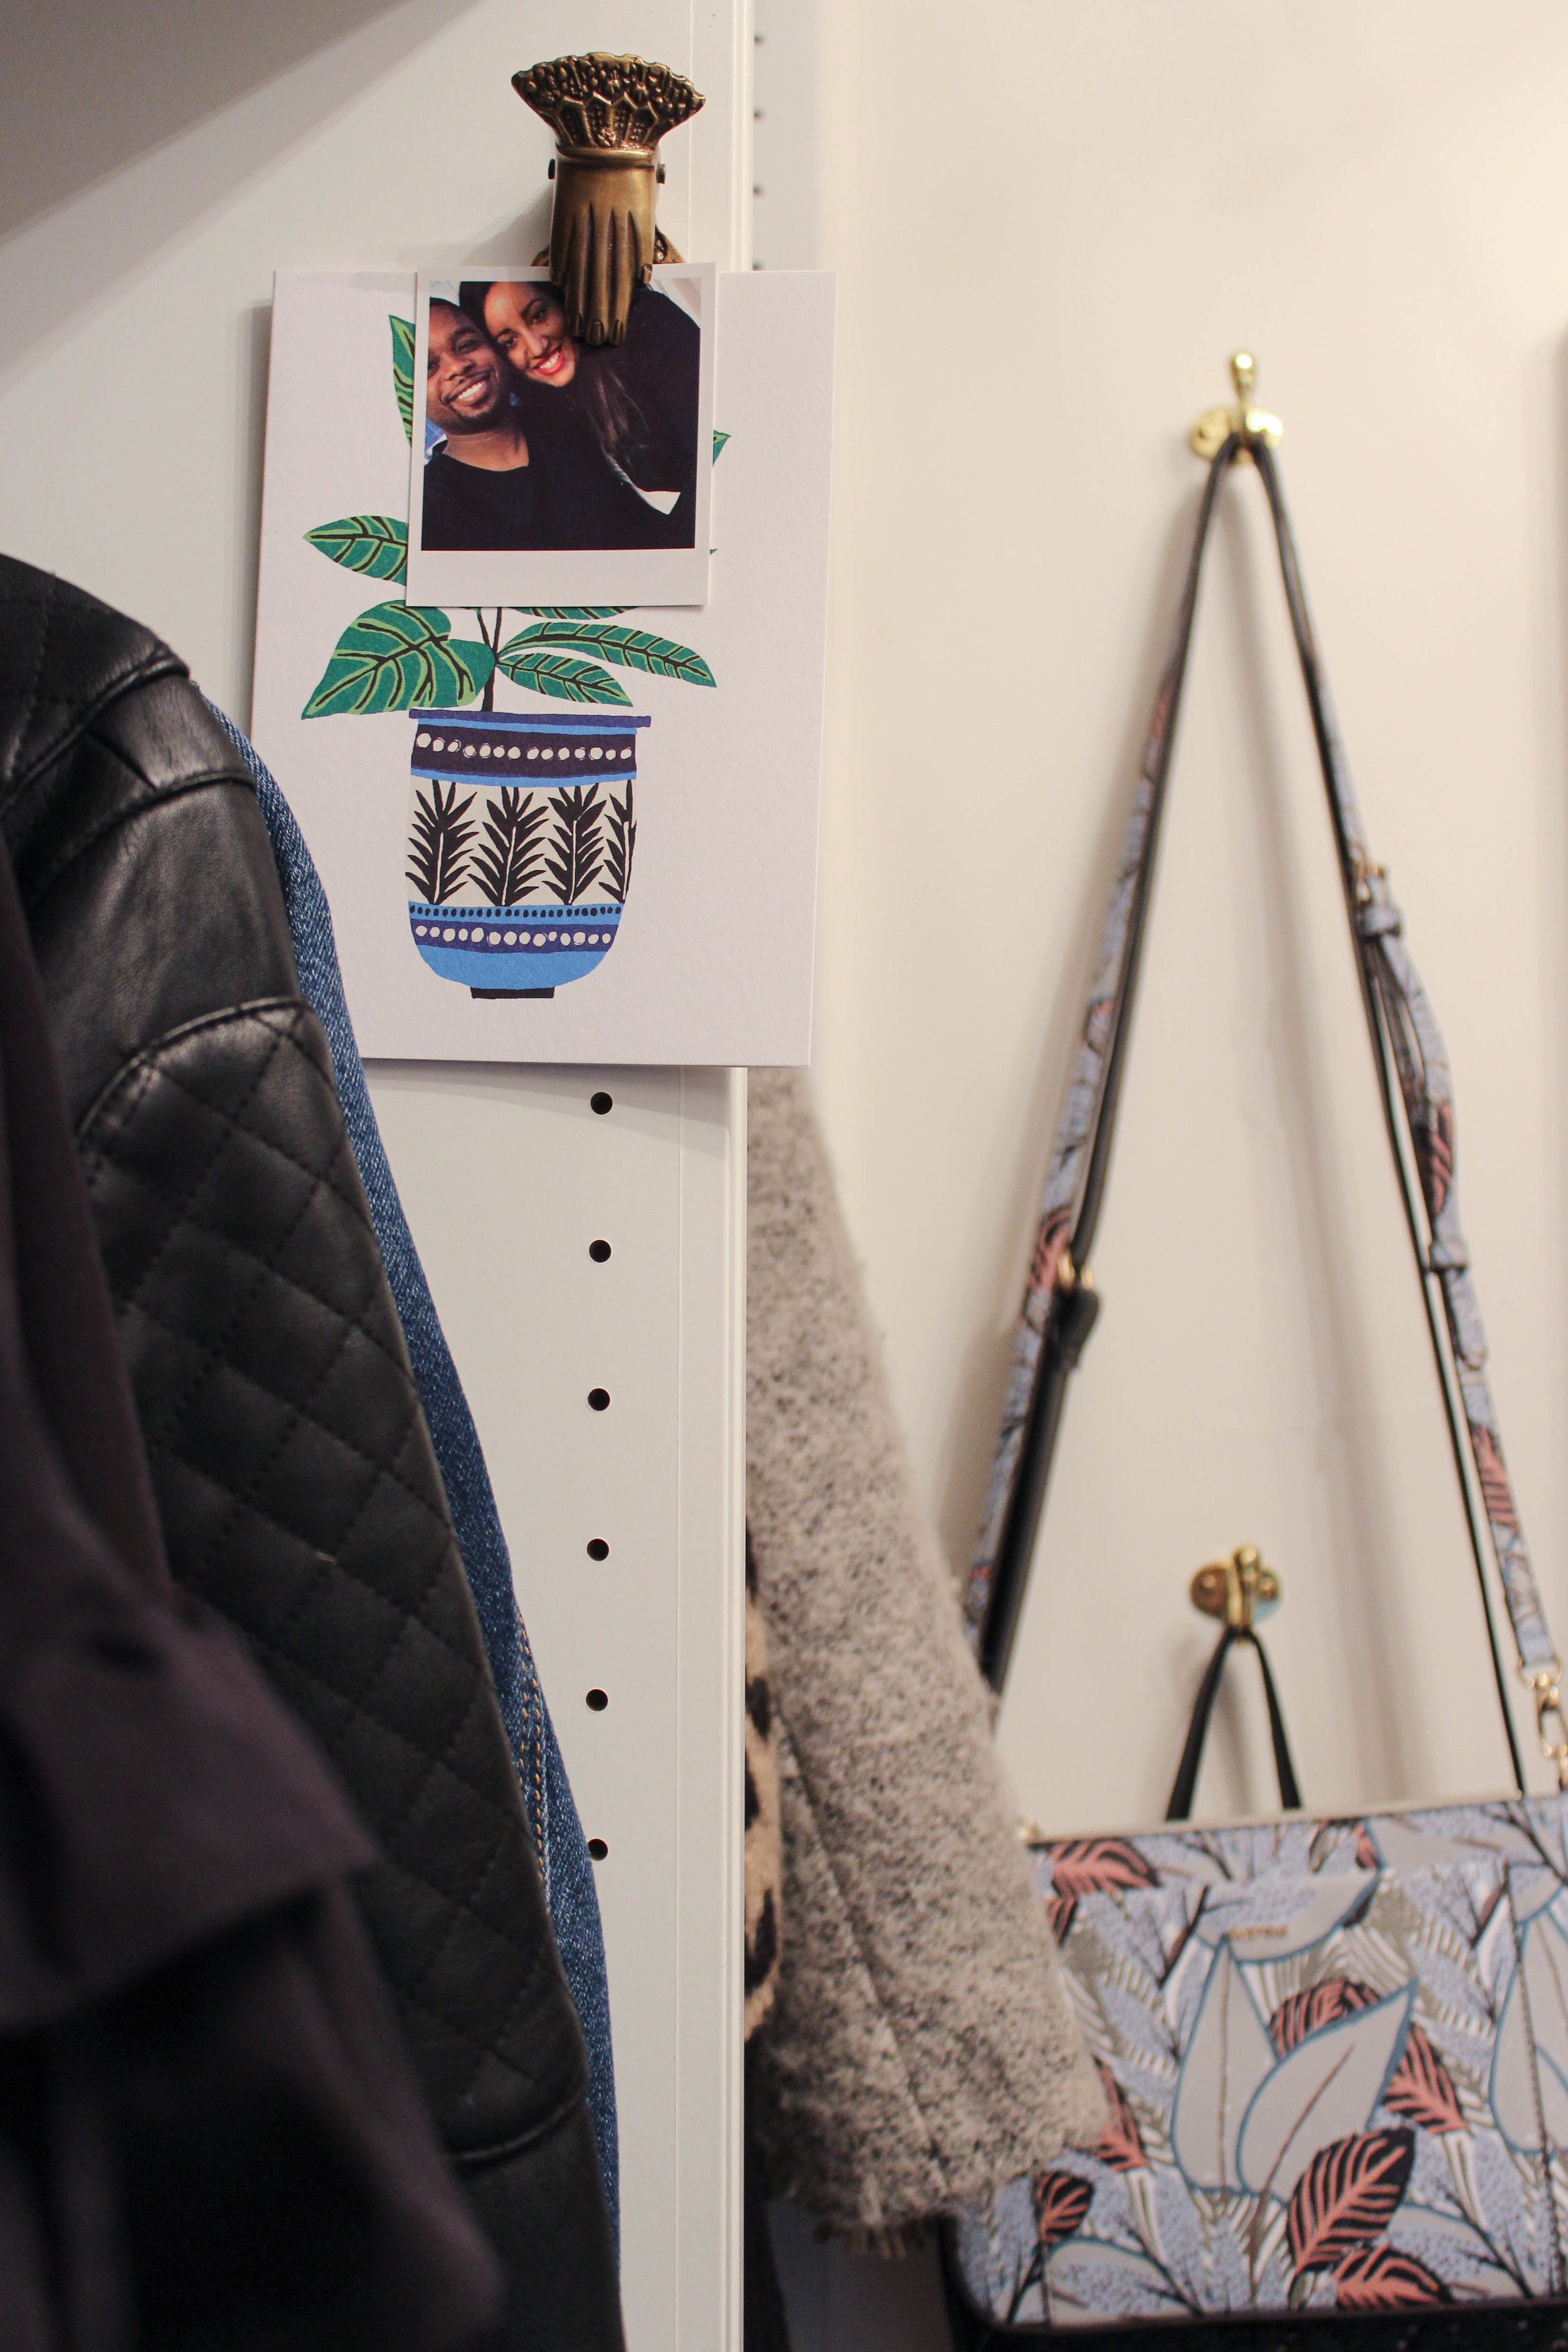
I’ve never been a purse girl, in fact my fanciest purse I own is for my camera, looking for the perfect camera purse? This post is for you. To keep the purses I own organized, I added a two brass hooks next to the IKEA Nissedal Mirror, its such a great affordable mirror! I love going vertical with storage, when space is at a premium.

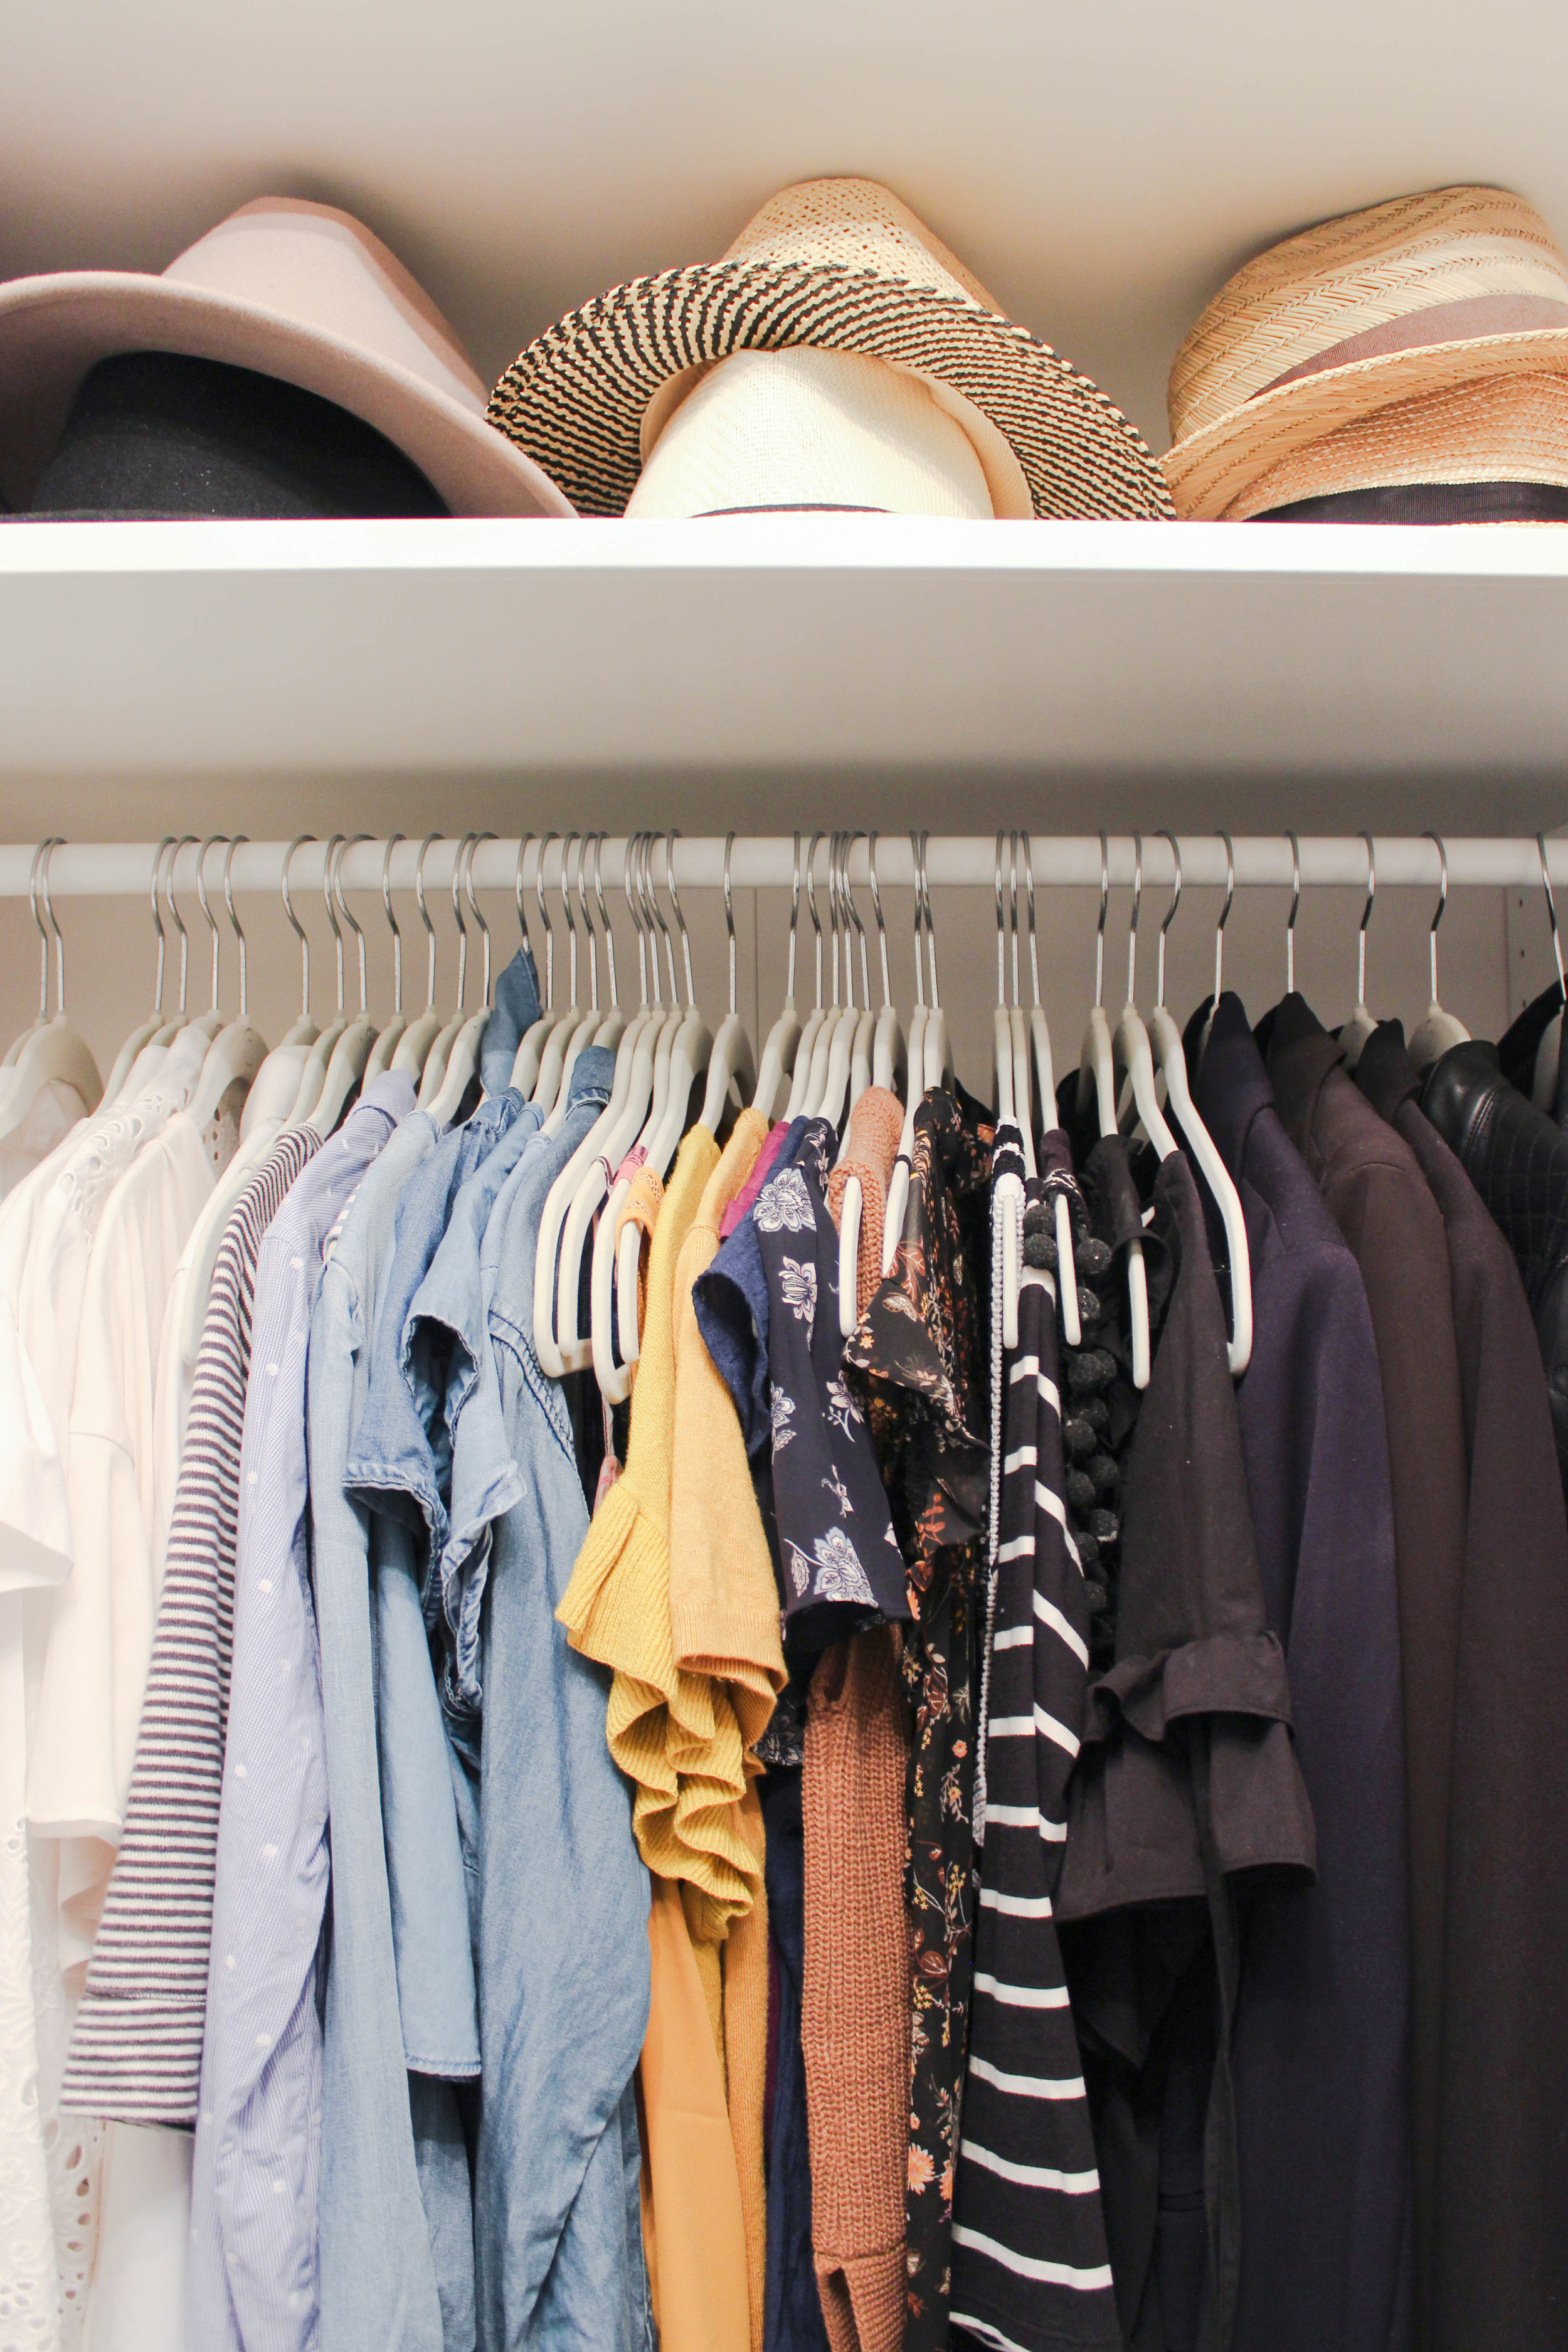
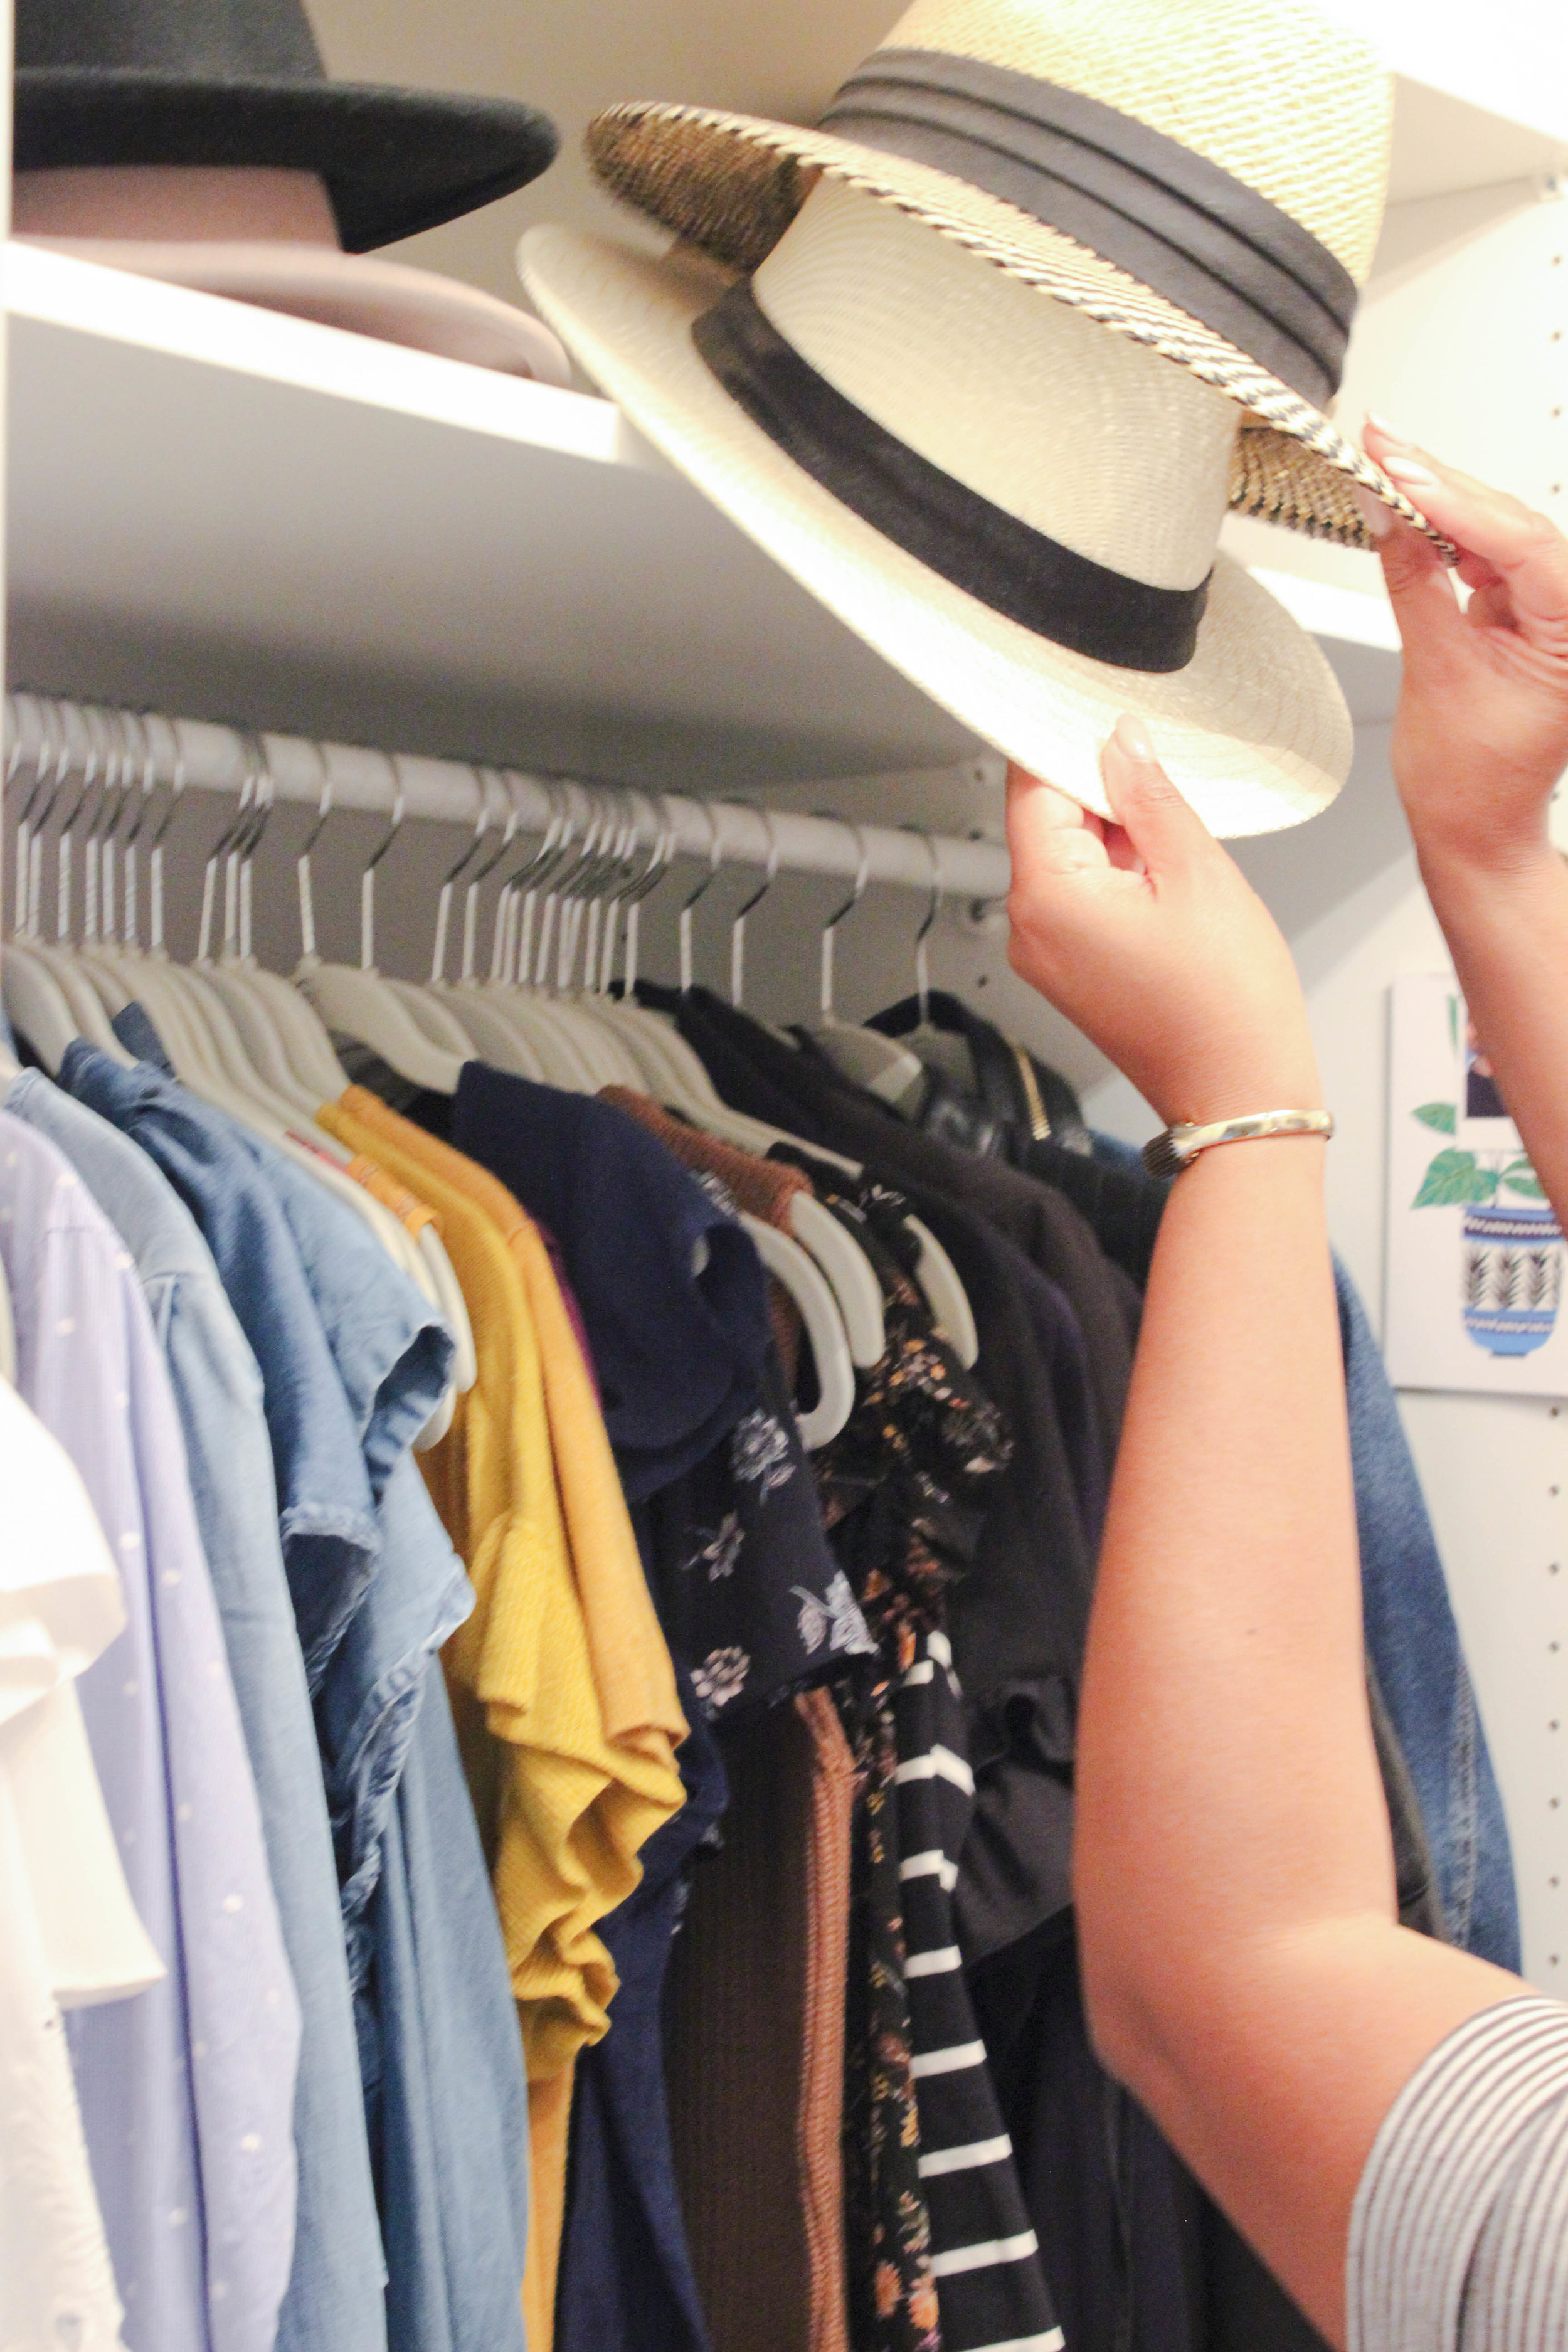
In the last year, I’ve been become a ‘hat girl’ and now have a shelf dedicated to my hats! I love the ease of being able to grab a hat and pair it will an outfit and that stay nice an safe in my closet. I’m considering getting these clear hat boxes, if it seems like my hats are getting dusty.

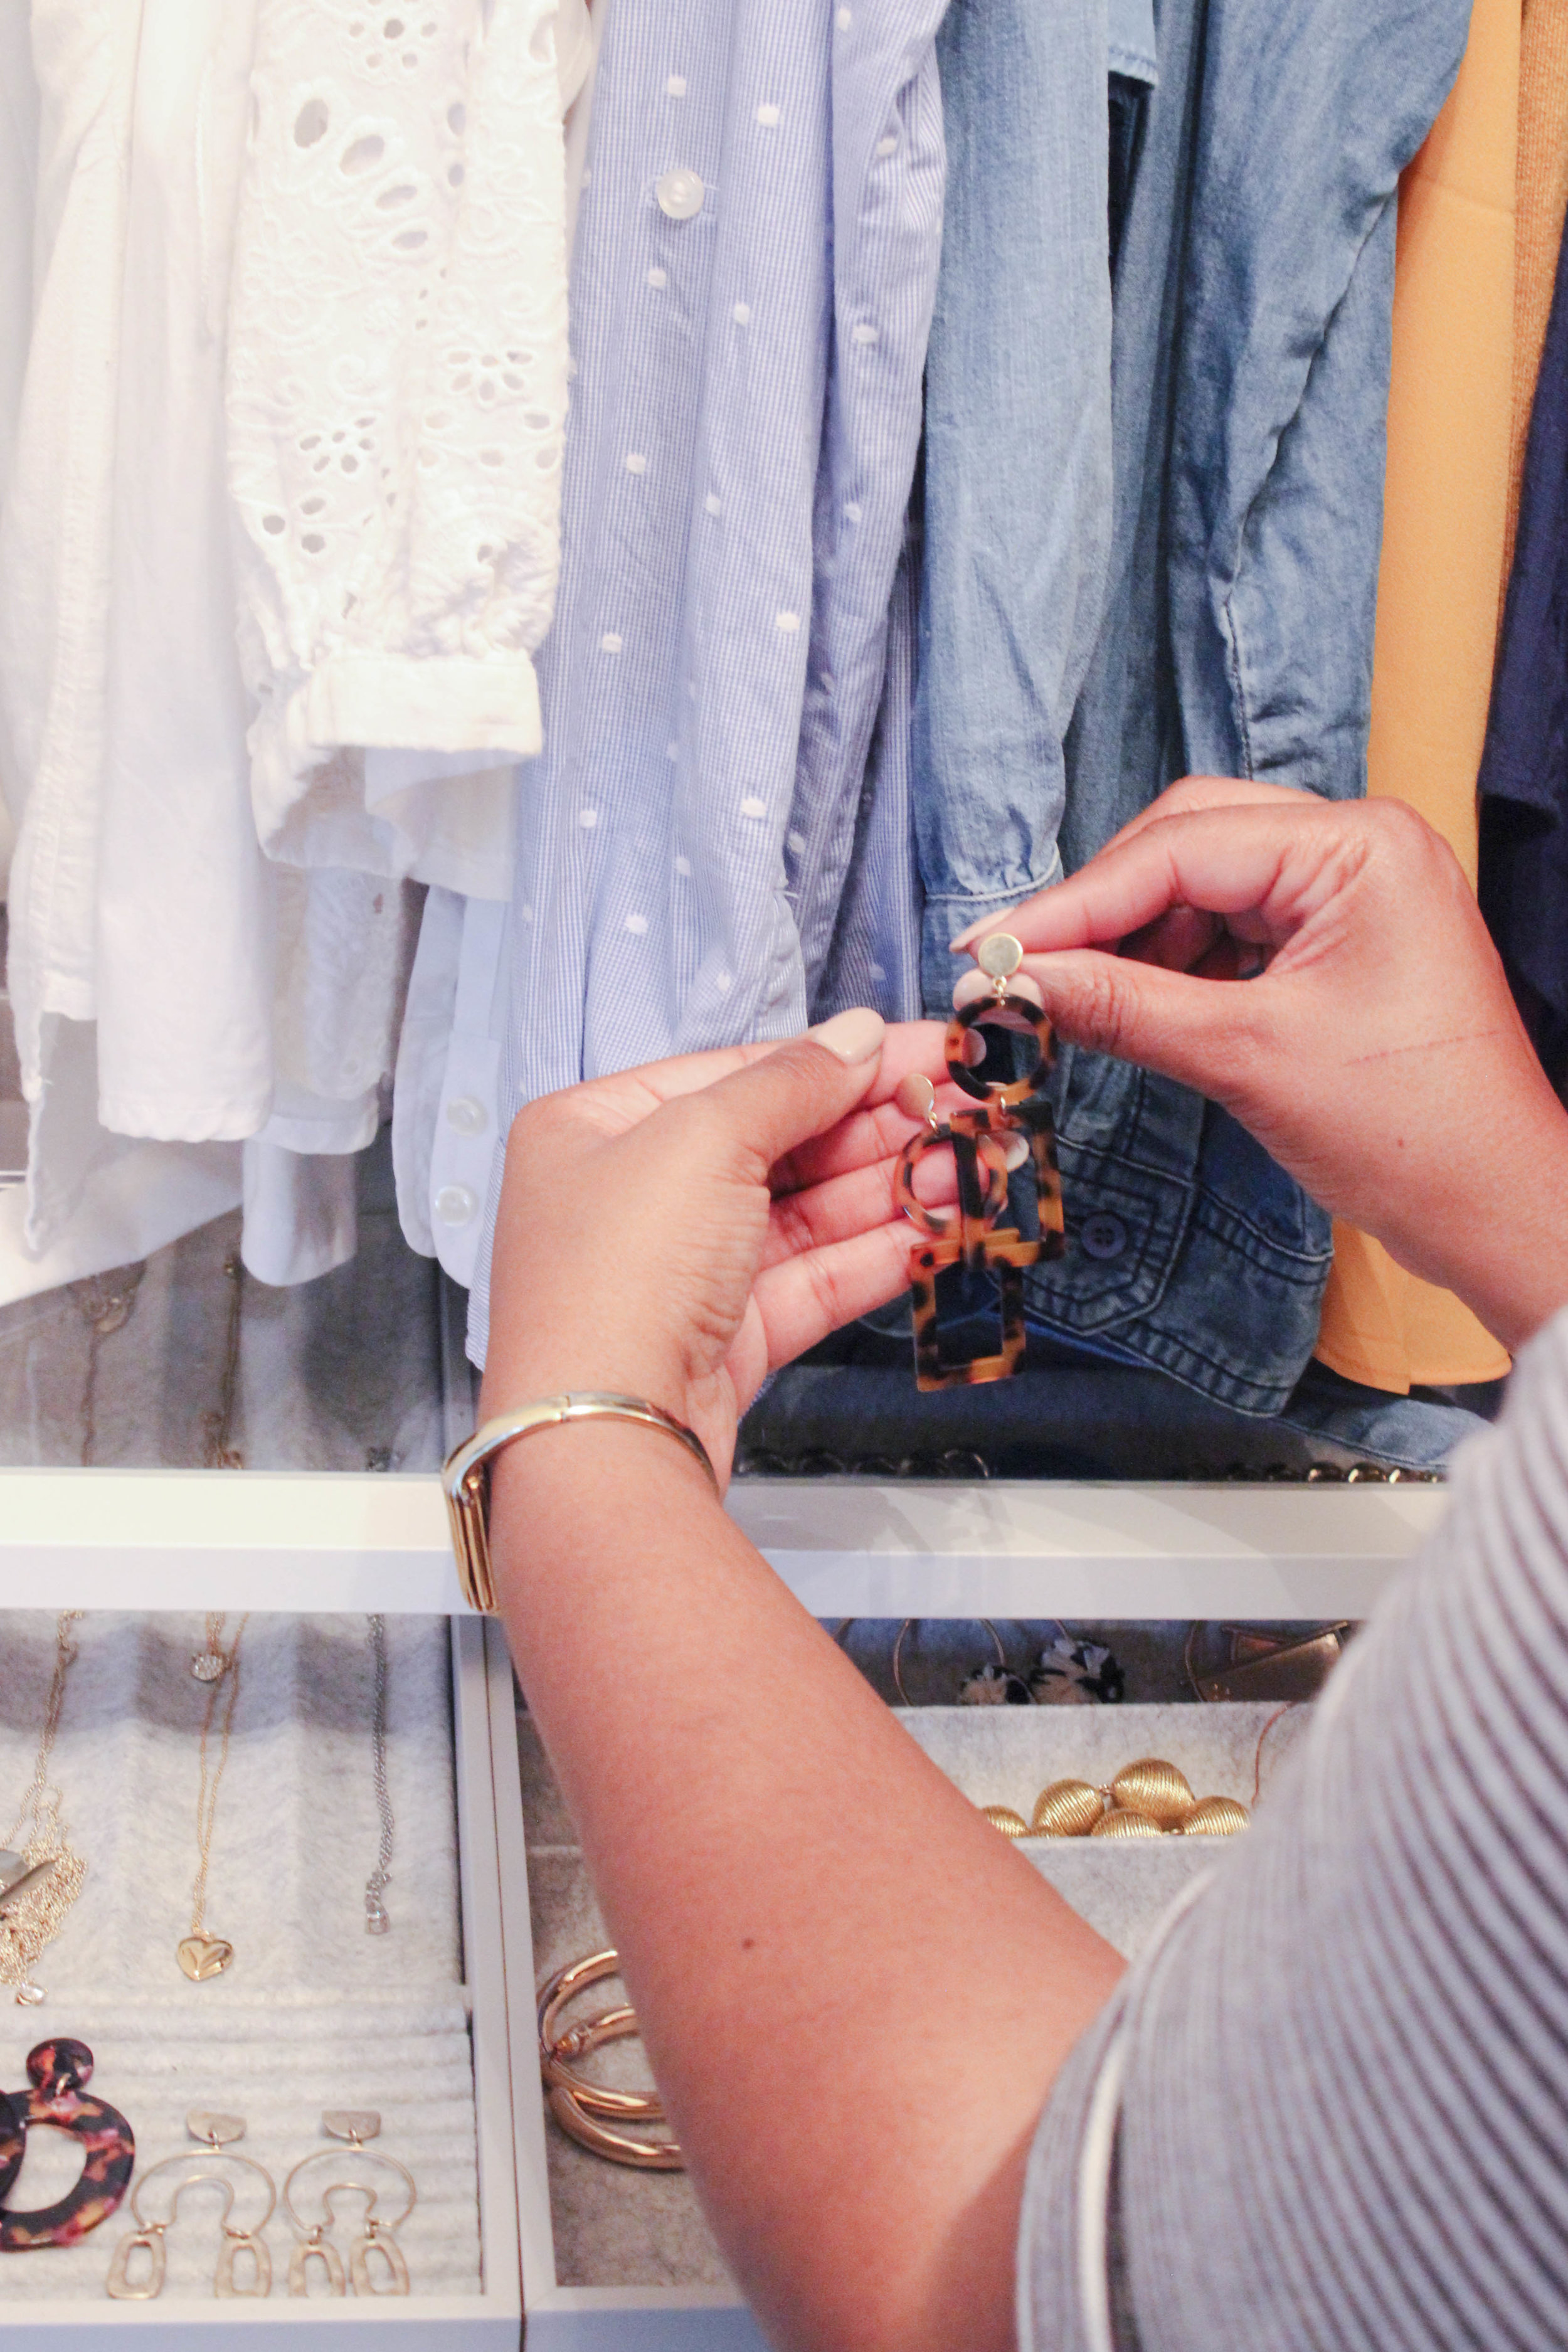
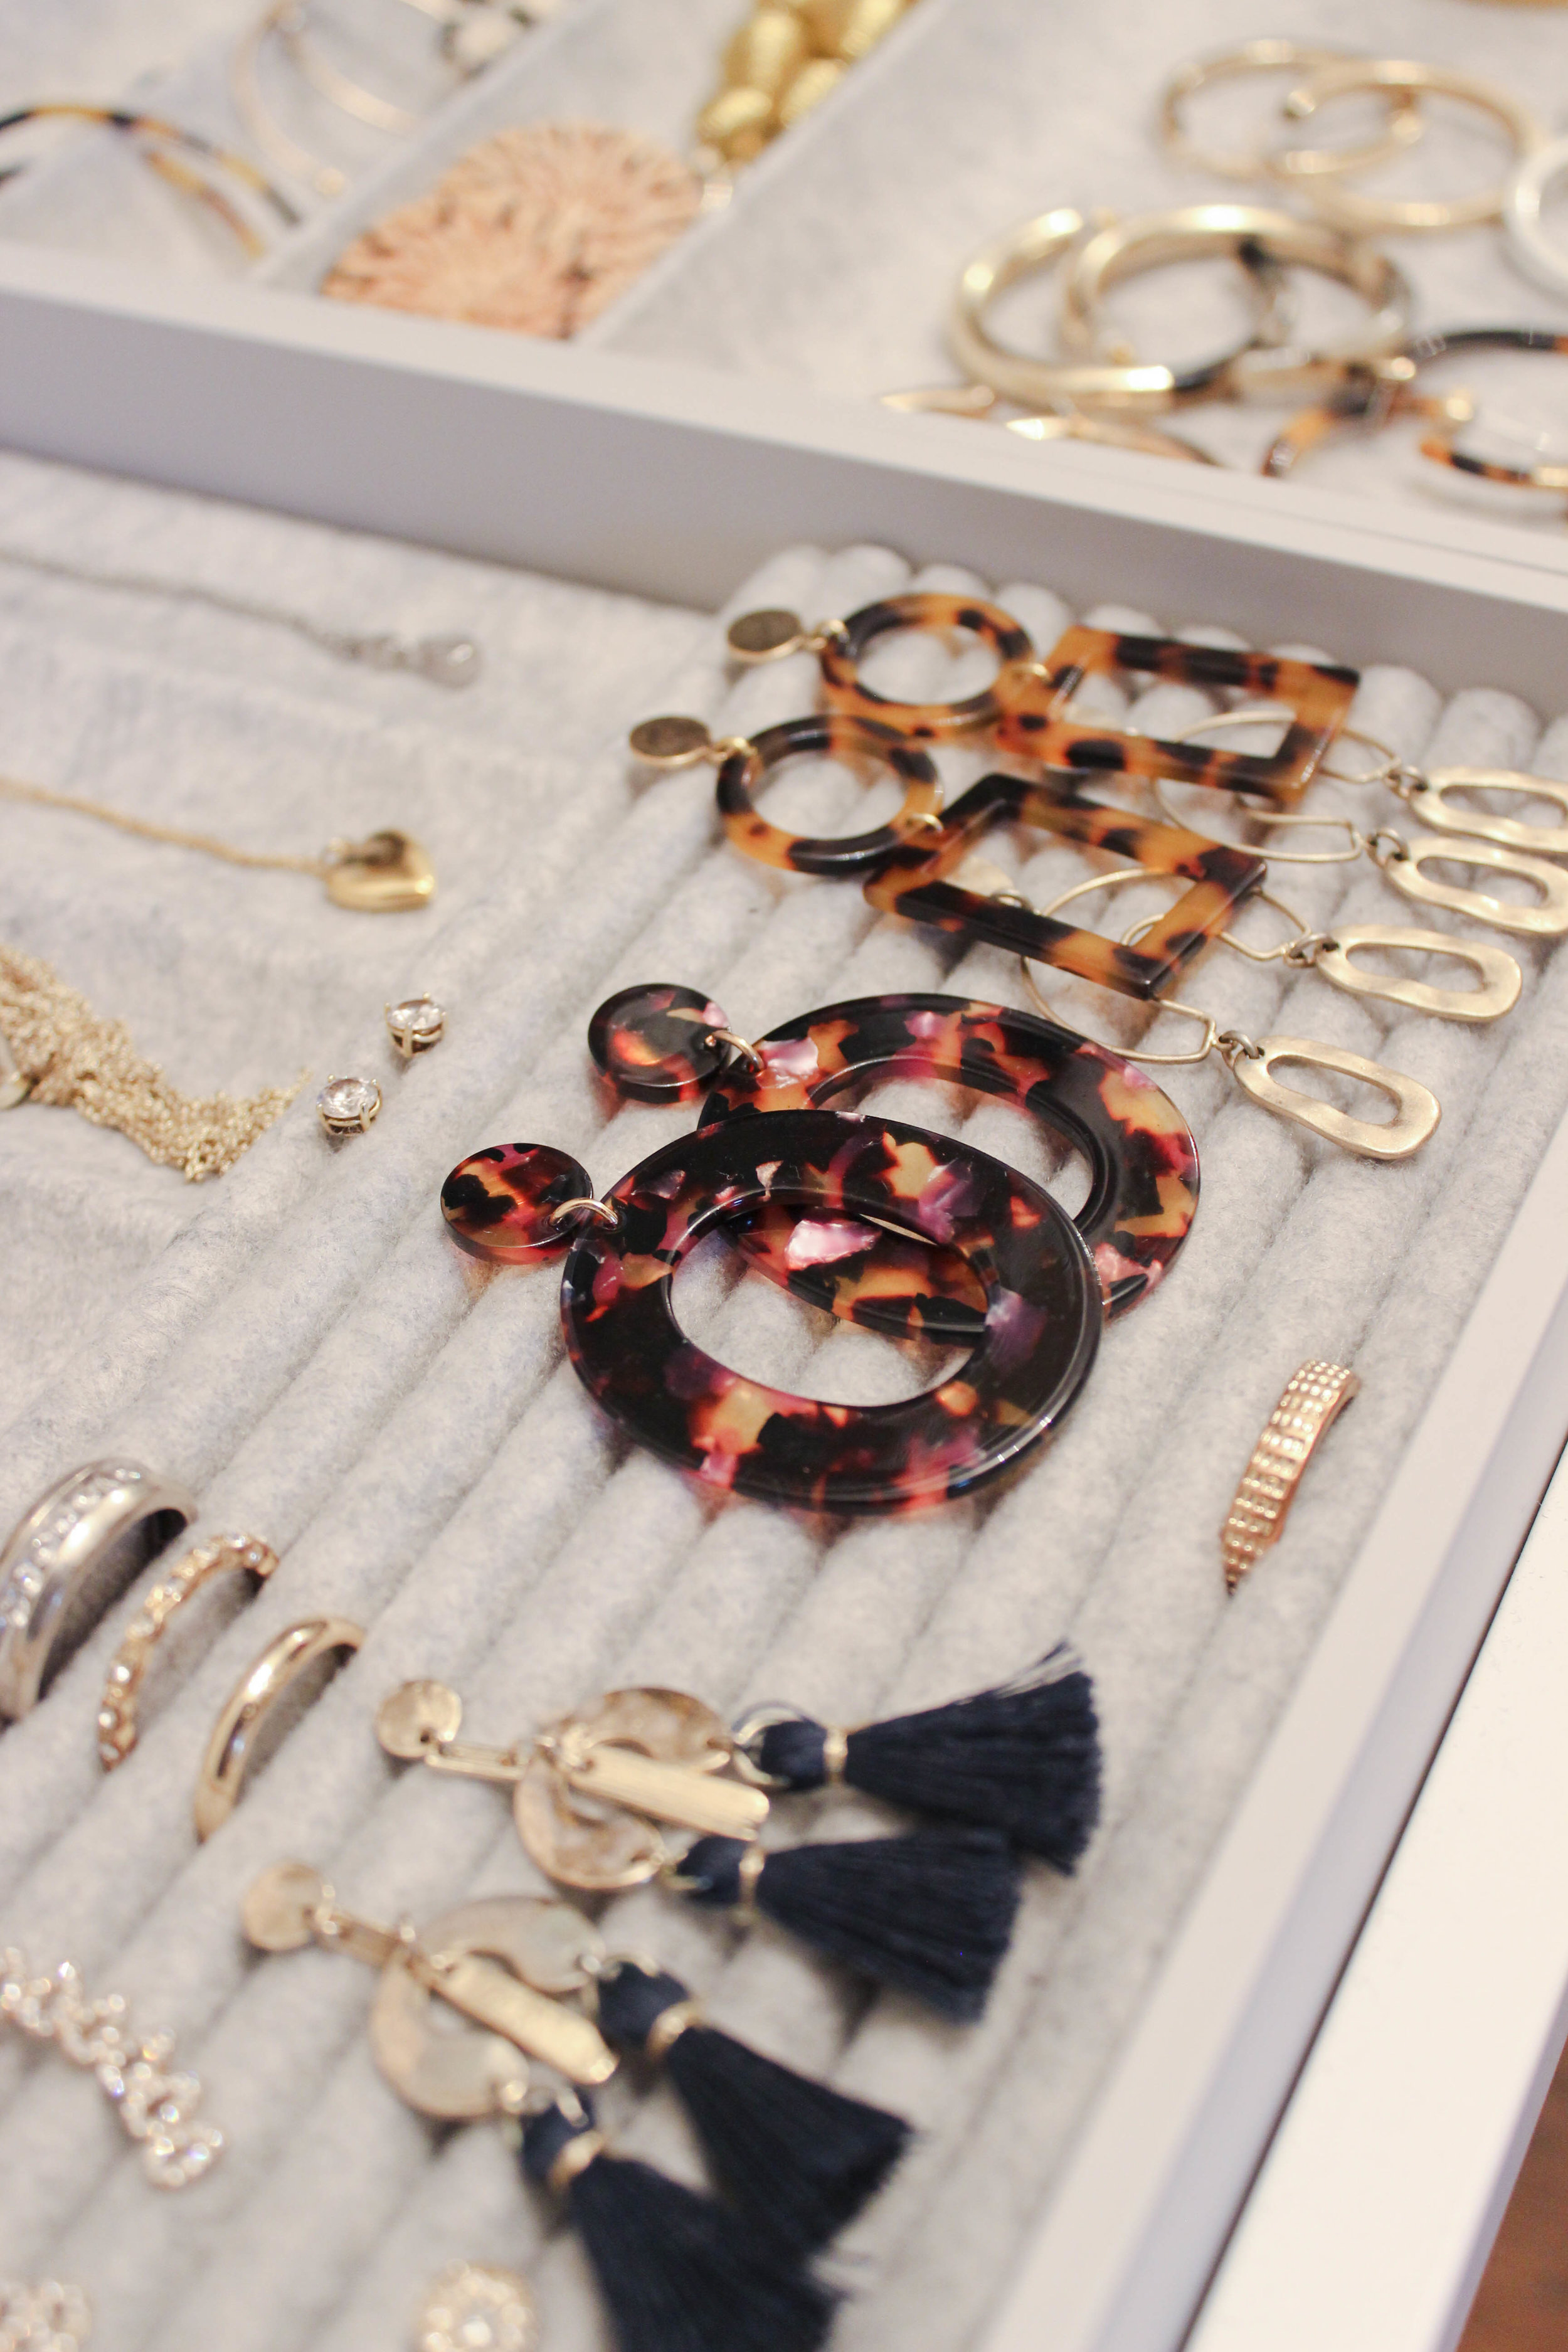
One of my favorite details in my closet, is the extra large pullout accessories tray. It’s amazing and one of the huge selling points for me when looking at closet options. The Komplement tray, tray is a complete game changer and can be customized with different configurations. .

I have room for all my jewelry, I love how organized its made me! No more tangled necklaces, everything stays nice and neat. I love that I now have a dedicated spot for watches and sunglasses. A used a glass shelf above the drawer to create a more boutique feel to my closet.
Inside my closet, I have room to stash my mini clothes steamer, and a spot for my clutches, I used a clear mail holder to keep them organized and upright.

One of the best upgrades in my closet, its our new hangers! Yes, its a silly thing to be excited about, BUT non slip hangers are the best! We used to have plastic (slowly donating them all, once I upgrade the kids hangers) that would always break, take up to much space, plus they’re very hard on clothes. I found a large pack of non-slip hangers at The Container Store and I’m totally converted. On my heavy items, such as coats, I love the White Bumerang hangers from IKEA.
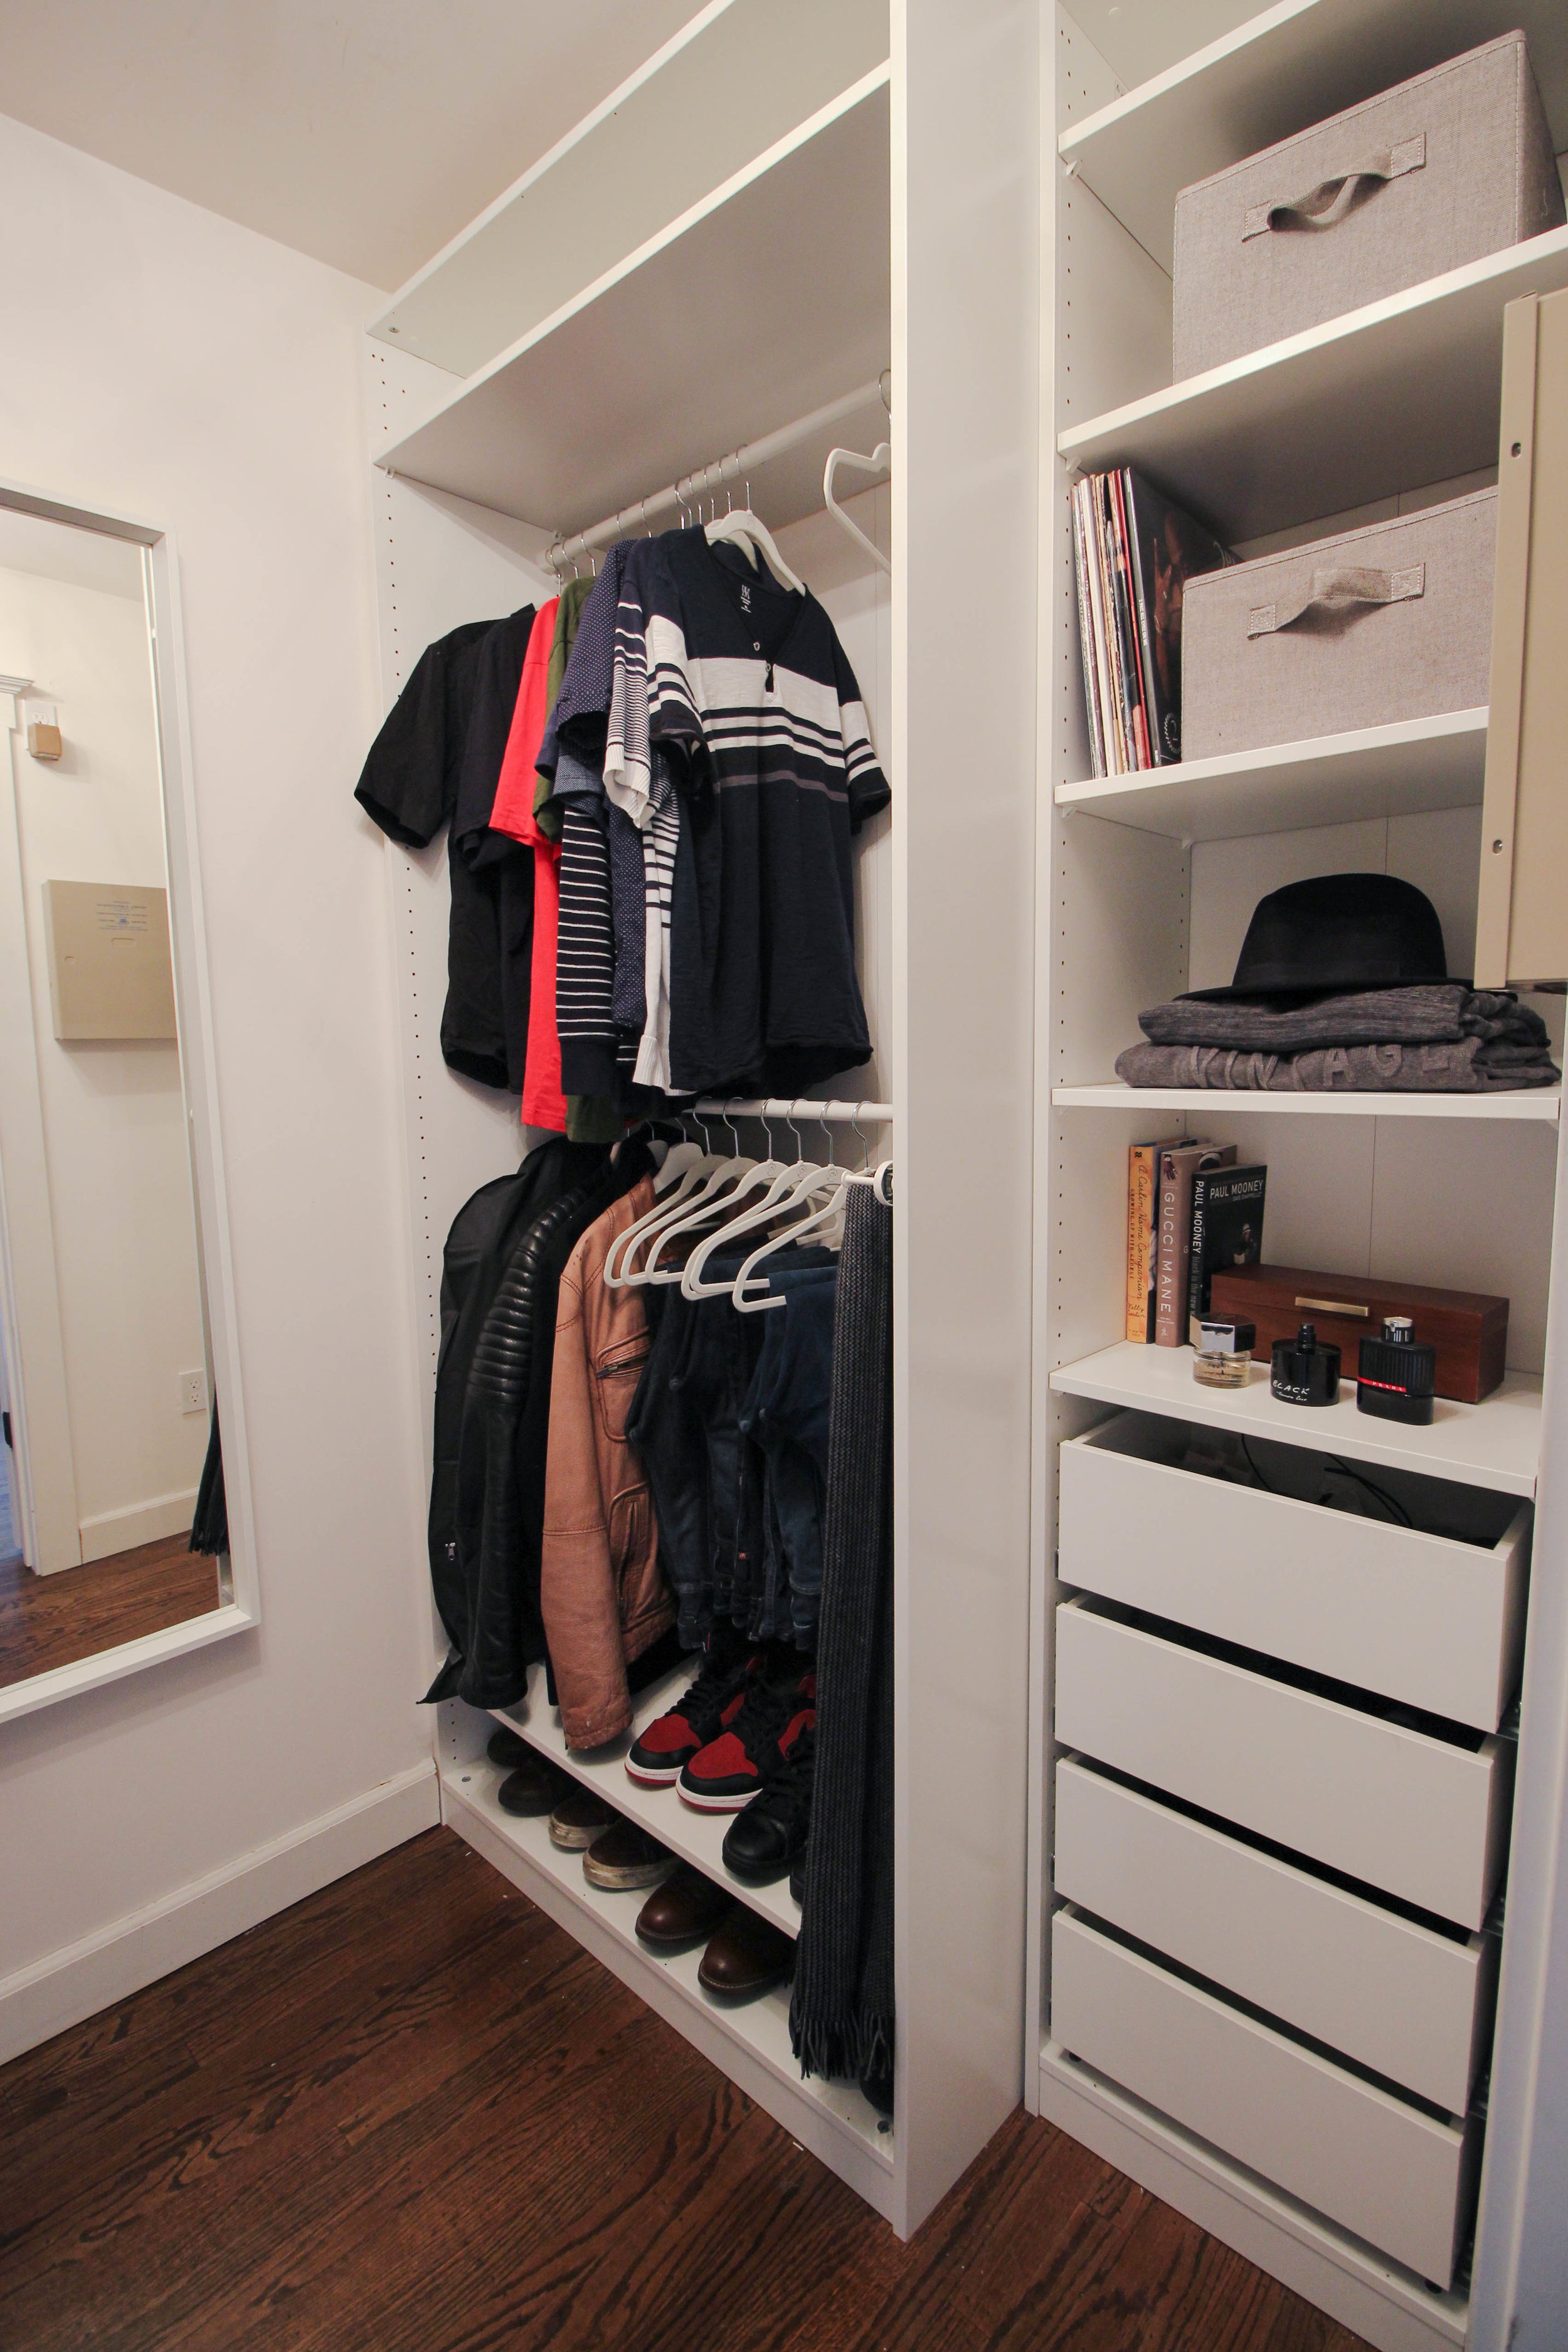
HIS SIDE OF THE CLOSET
As I mentioned of the things I love about the PAX is the ability to customized the units, nothing was to able the mirror image of the other side! For Hasani’s side of the closet, he wanted more hanger storage vs. folding storage. We used the large unit for Hasani’s side giving him two hanger rods for clothing, plus a shelf above for misc clothing and two shelves below for shoes. He also did a big clothing purge, after I begged him to watch Marie Kondo’s Netlfix show. He too, like the spark joy method and got rid of a bunch random clothes and shoes he no longer wore. Due to space constraints of an outlet box on his side of the closet, we used a shallow unit. The small unit has four drawers and five shelves. To keep his side organized, I added a few simple grey fabric baskets to hold t-shirts etc.
In the mirror, you can see a little peak of our pretty wow closet lighting. I have a thing for Mid Century Modern influenced lighting (see our living room and dining room lighting) Here’s a similar light fixture here.
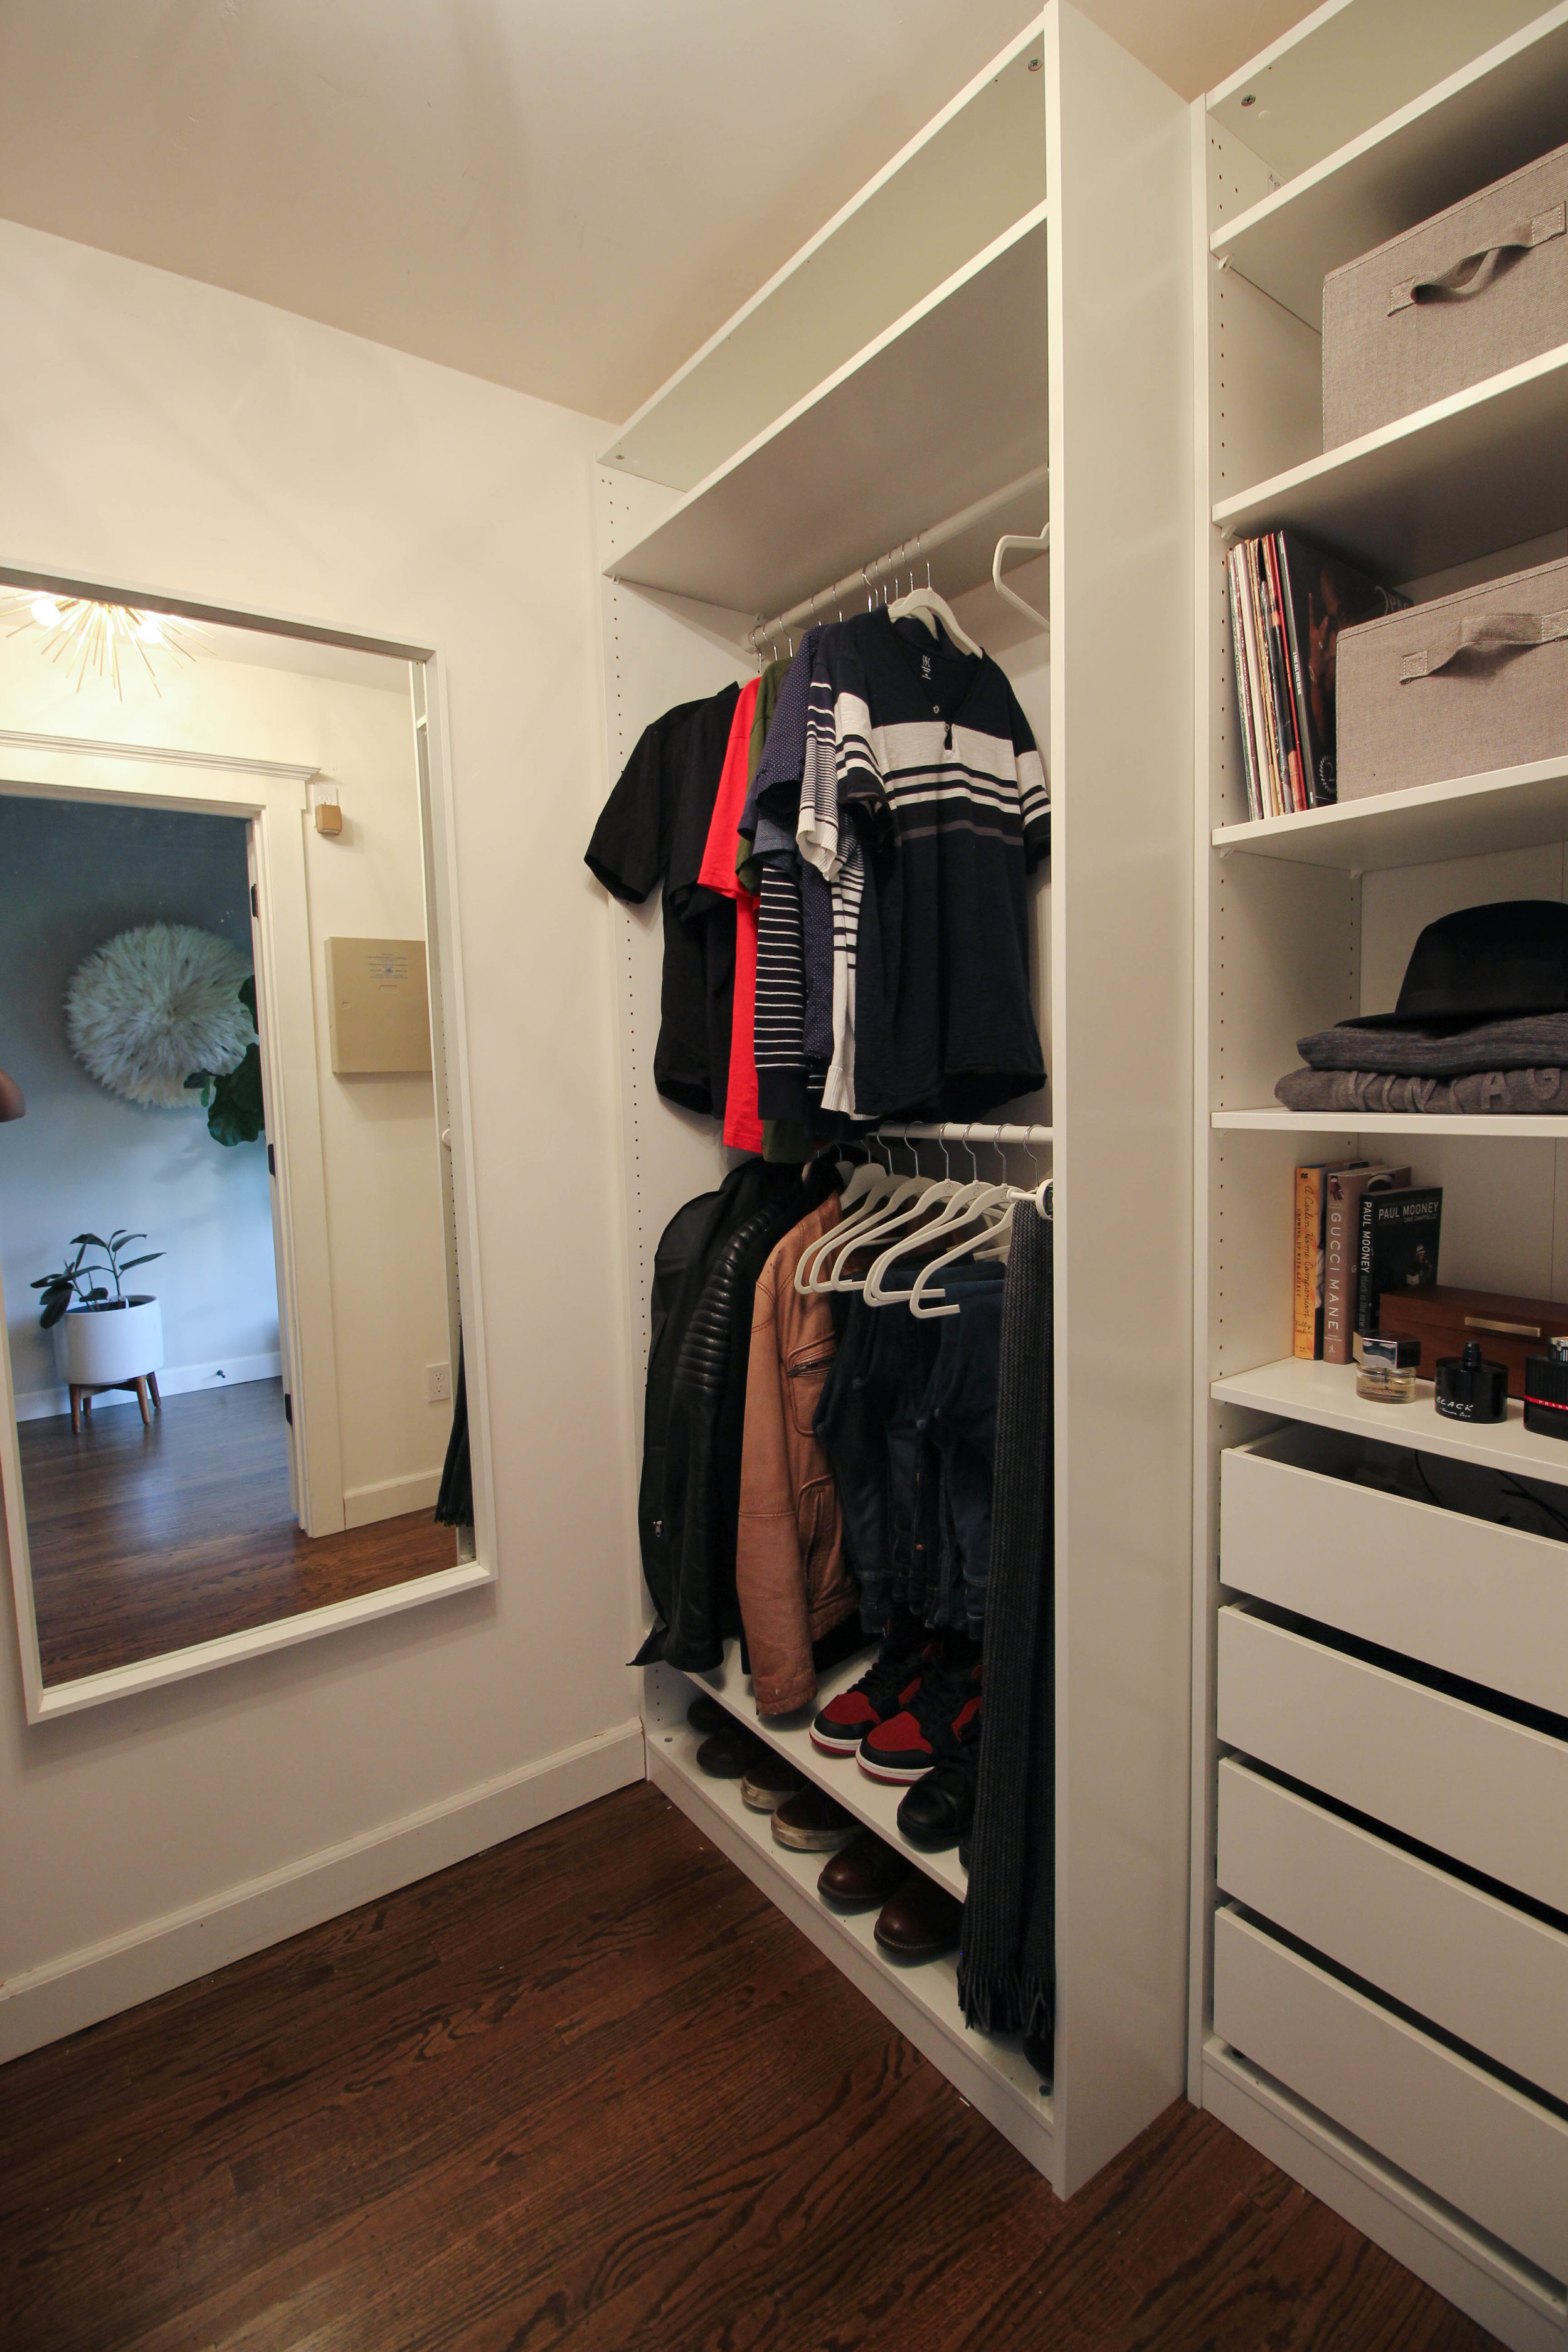
On one of the shelves, I created a simple vanity area to hold books, watches and his cologne.

I’m so happy with how our closet turned out! It feels like a dream compared to were we started! The small space now feels larger, thanks to the galley layout design we decided on and thanks to all the storage! Mornings are so much easier now, that I’m no longer looking for missing shoes or looking through piles of clothes. I love how having and organized closet space has really improved our day to day lives!
Read More about the process of our Small Closet Bedroom Makeover: BLOG POST ONE: Small Master Bedroom Closet Makeover | IKEA Pax Closet Inspiration and Design Plan BLOG POST TWO: Small Master Bedroom Closet Makeover | Building Our IKEA Pax Closet
I would love hear your thoughts our Master Closet Makeover and happy to answers any questions you have in planning your own closet update/upgrade.