DIY Makeup Brush & Jewerly Holder with Upcycled Containers

This post is in partnetship with Aveeno, but all opinions are my own. 

Have you ever tossed a lotion container and wondered if there was a better way to recycle or re-purpose it? In celebration of Earth Day this Sunday, April 22, I collabrated with Aveeno to share ideas on how to upcycle your containers once they’re empty. Every day, I strive to make sure my family and I are being conscious and doing our part to recycle and reduce and reuse. Today I’m sharing two creative ideas to transform your Aveeno Daily MoisturizingLlotion bottle into a makeup brush holder and the Aveeno Positively Radiant Overnight Hydrating Facial jar into a jewelry holder. 

IMG_5087.jpg

I’ve been a huge fan of Aveeno products for the past year. They’ve been a game changer in improving the clarity of my skin and helping give it a glow. My favorite is the Aveeno Positively Radiant Overnight Hydrating Facial, I use it 2-3 times a week and wake up the next morning with super soft skin. It’s a must try! I love Aveeno’s commitment to using high-quality  ingredients sourced from nature. Their products are available instore and online, at retailers like Amazon.com. 

DIY MAKEUP BRUSH HOLDER

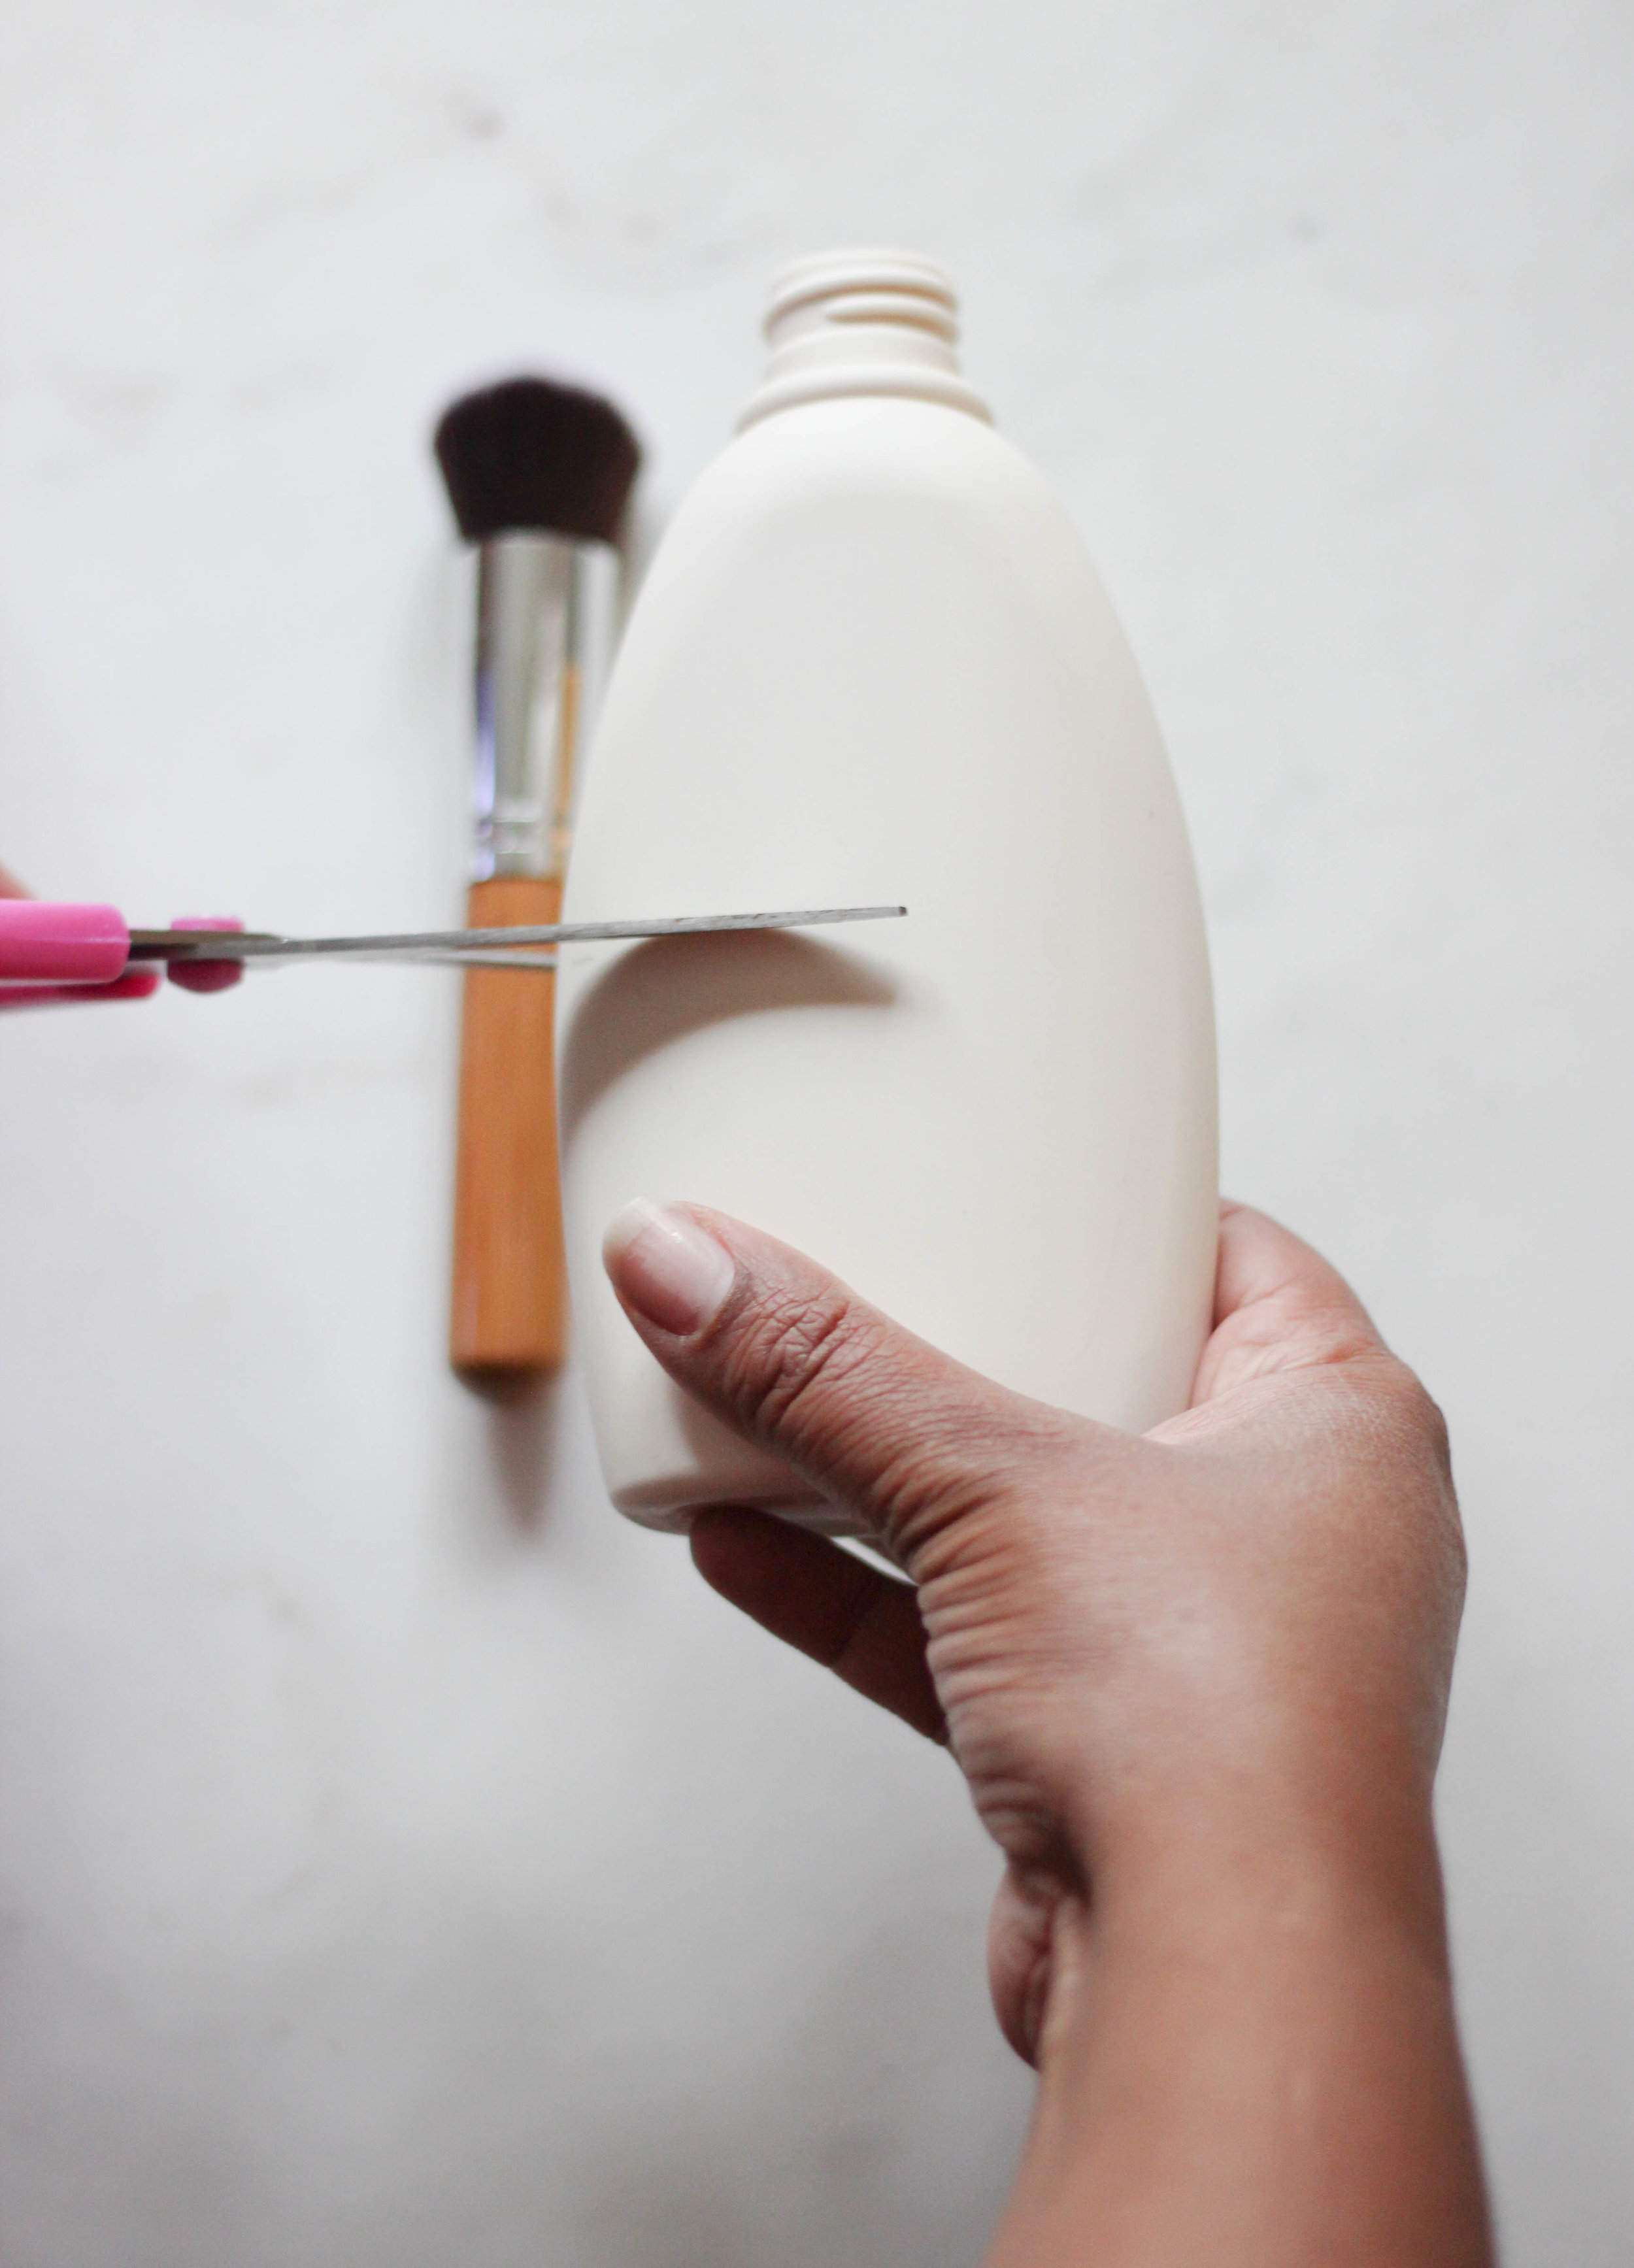
ONE. Once your Aveeno Daily Moisturizing lotion bottle is empty, remove the lotion pump and decide the height you want your makeup brush holder. I place my tallest makeup brush next to my bottle to help to determine the height and then mark a line with a pencil. Next, carefully peel off the sticker on the bottle front and back and discard.  

TWO. I used scissors to cut the bottle in half. I was surprised how much lotion I still had in my container, so going forward I’ll never toss a bottle without cutting it in half. It's crazy how wasteful I’ve been all these years! Using a spoon and funnel, I topped off my new Aveeno Daily Moisterizing Lotion bottle with the remaining lotion of my old bottle. Rinse the container out with soap and water and dry. 

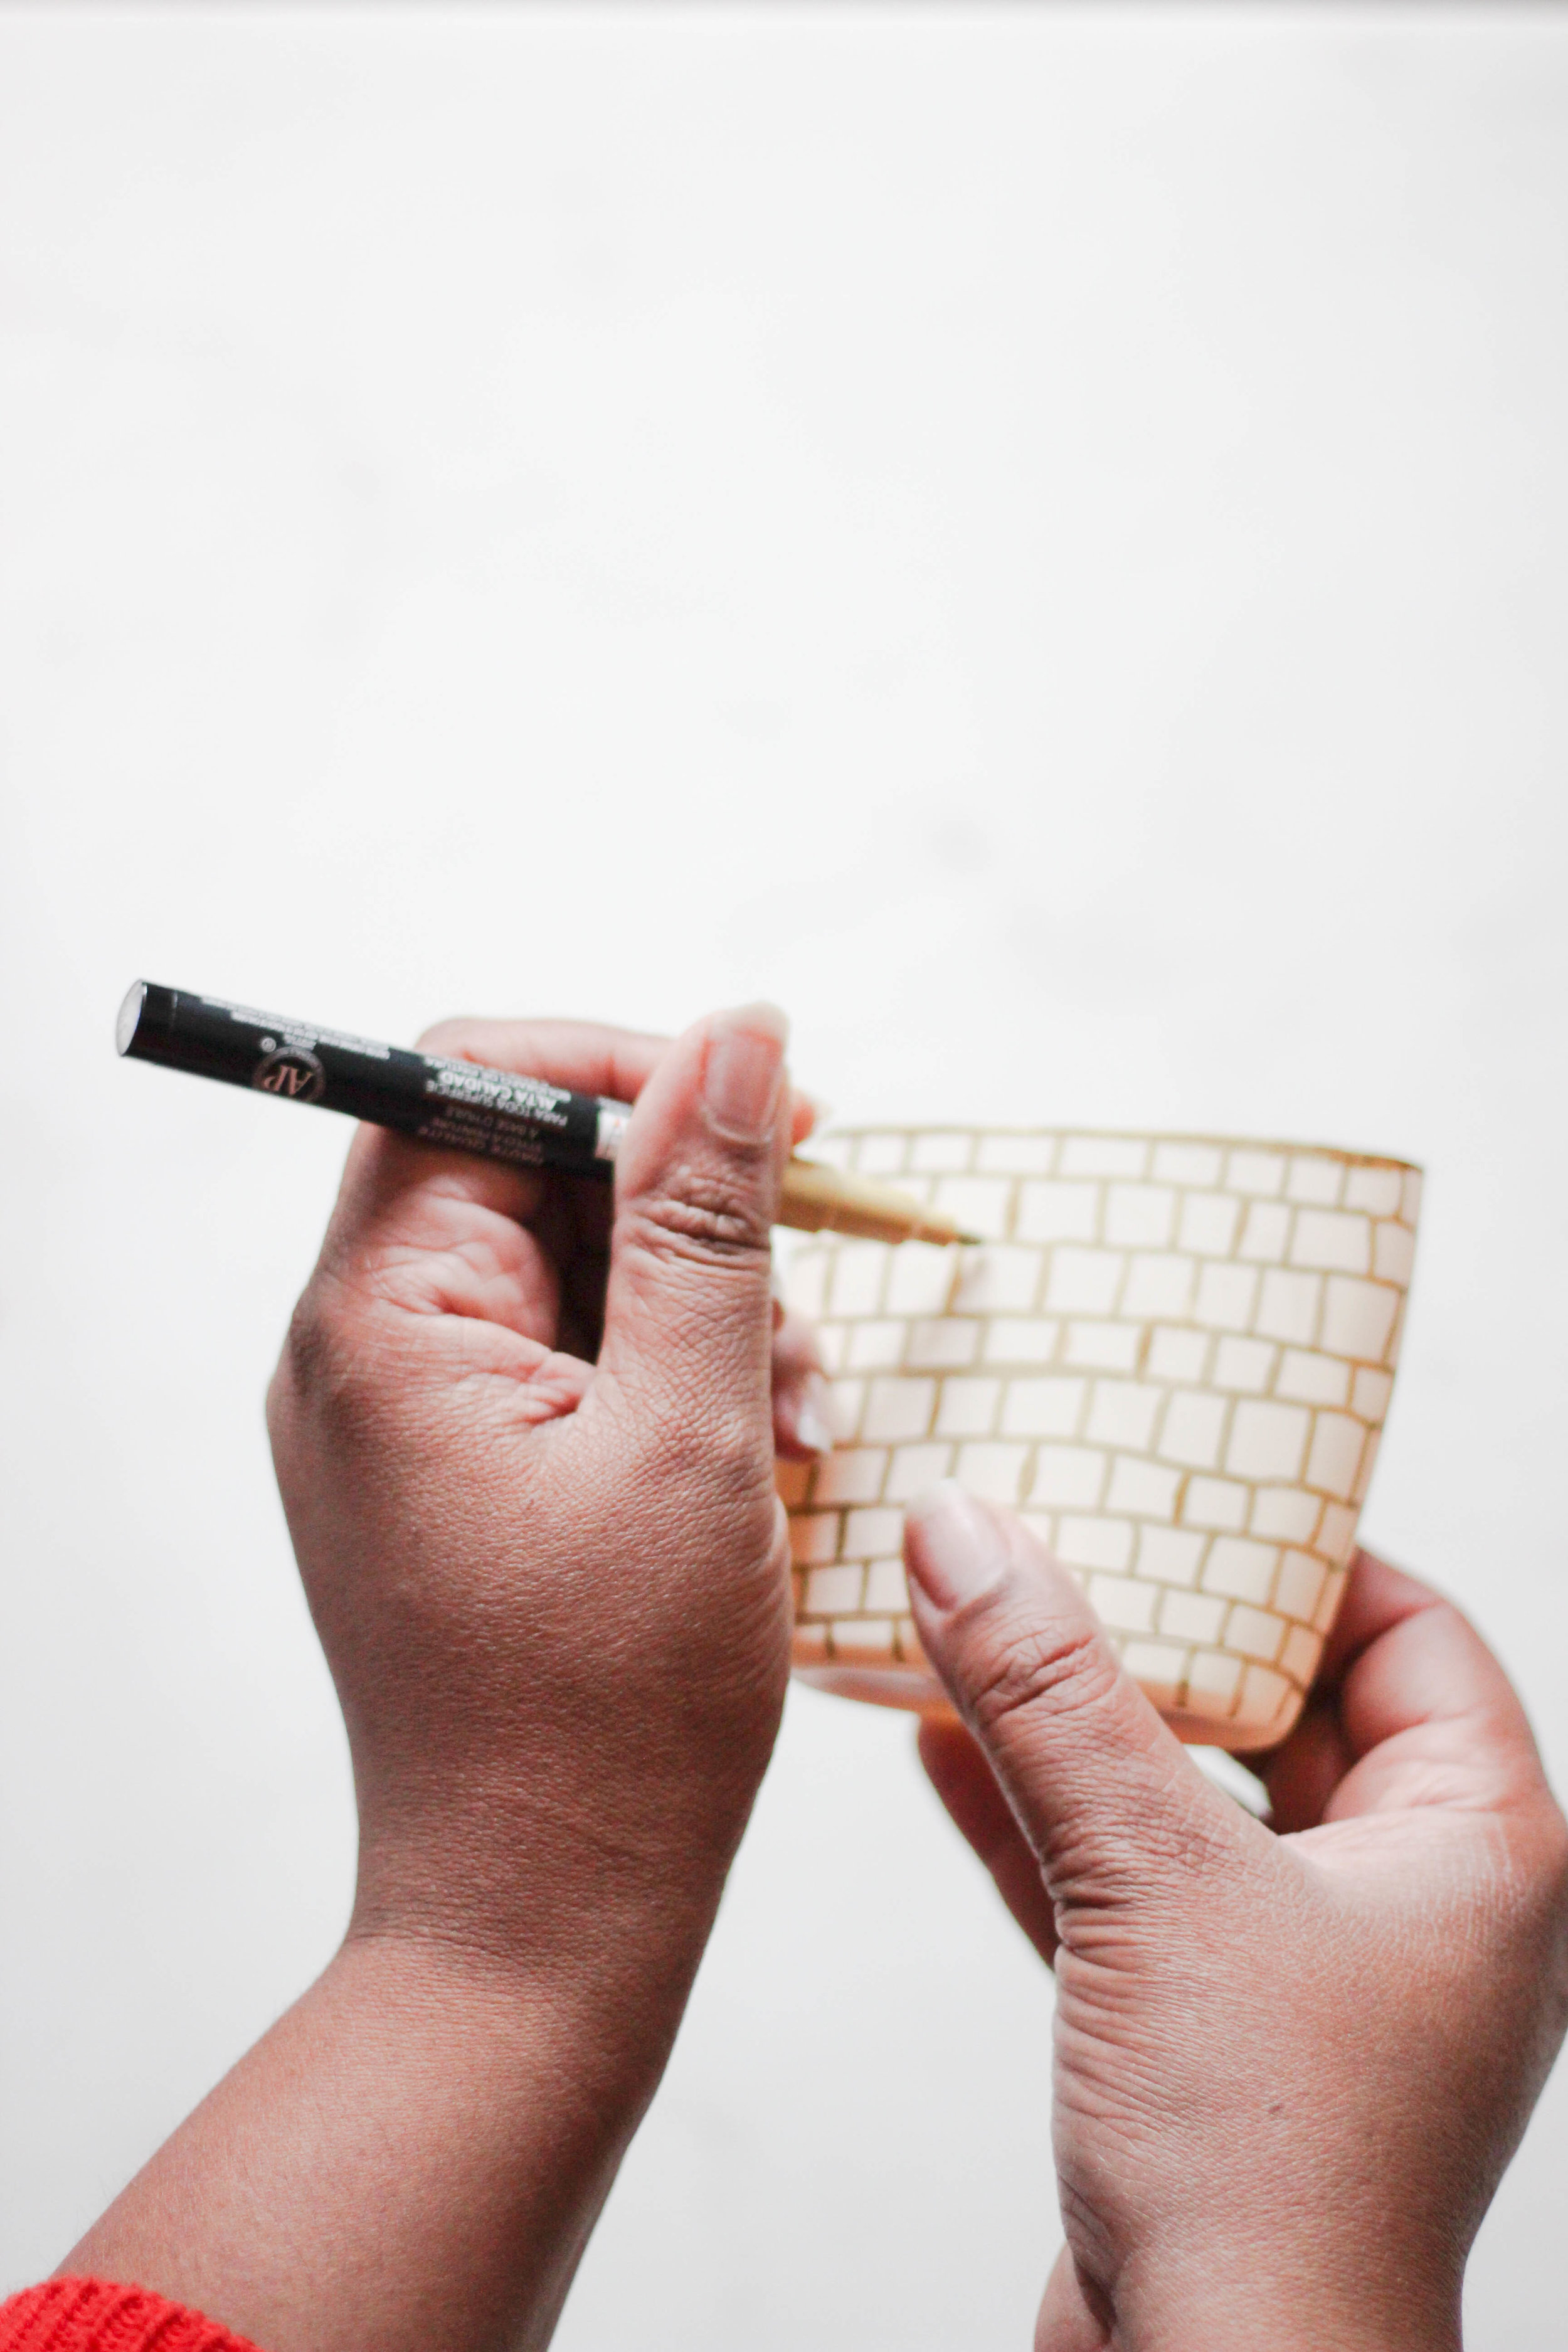
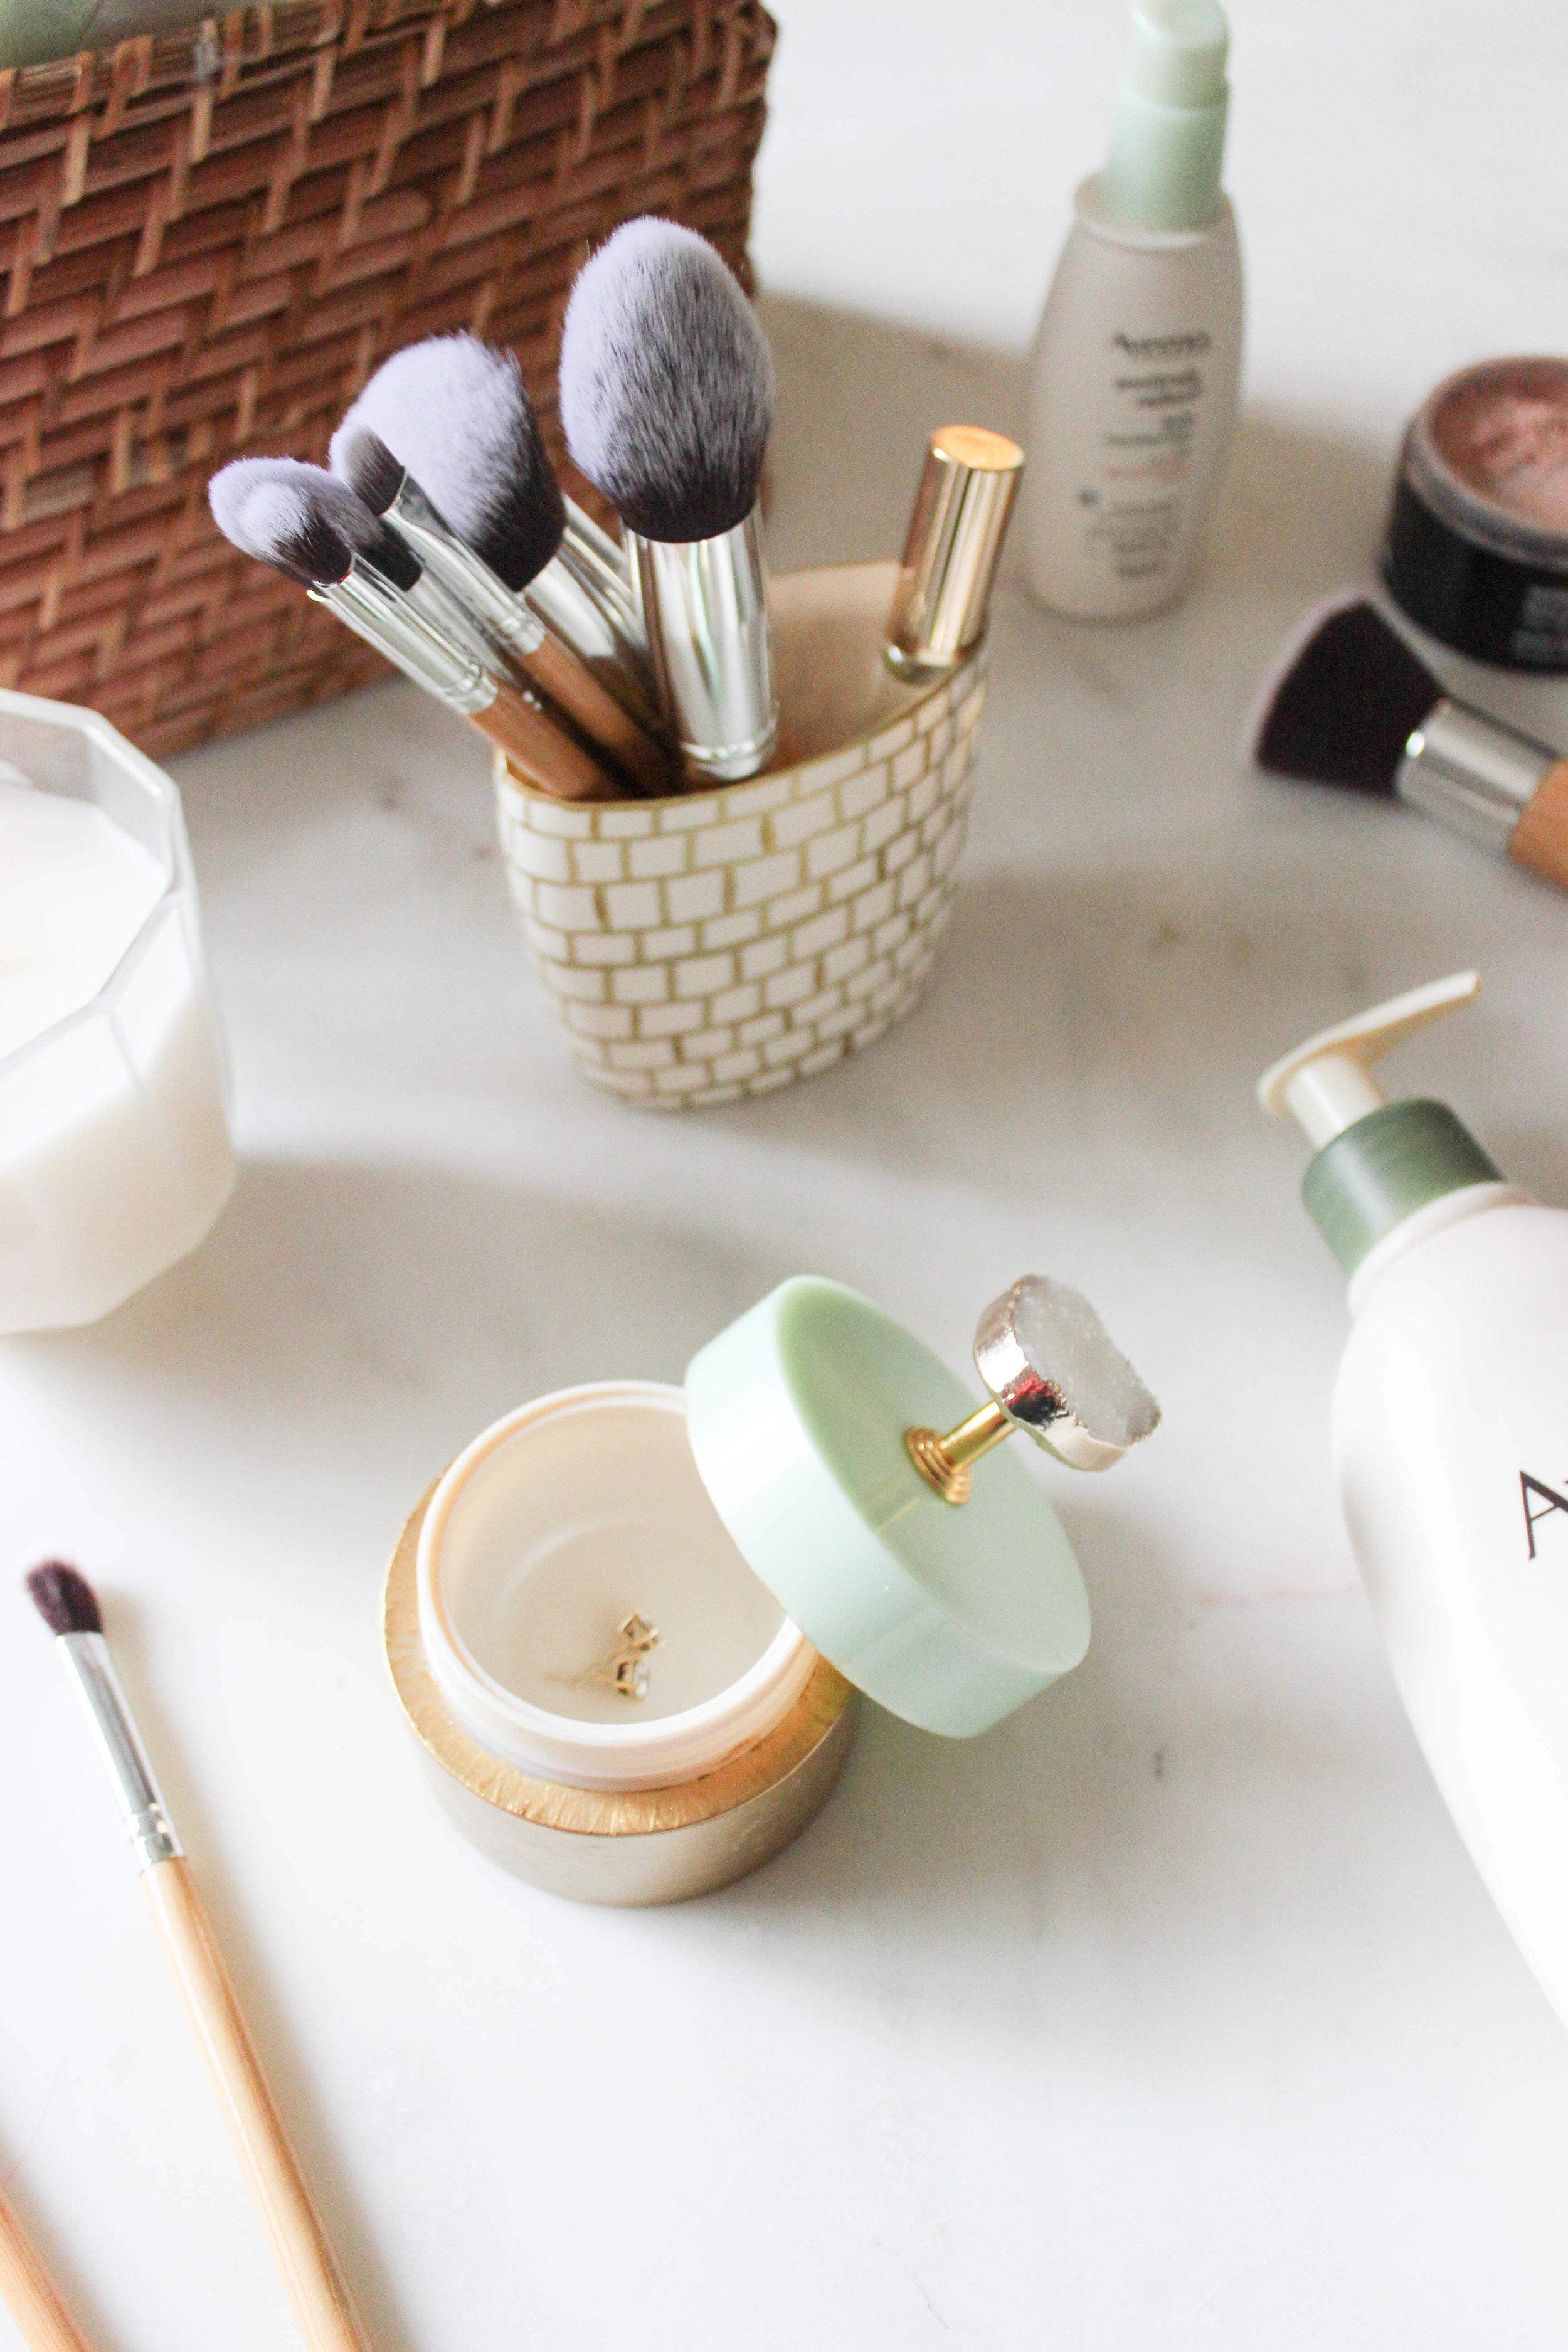
THREE. Using a gold leaf pen, I created a block design on my bottle to give a hand painted look. I love how the makeup holder turned out, simple and elegant. It's the perfect size and shape to hold my collection of makeup brushes.

IMG_5075.jpg


DIY JEWERLY HOLDER

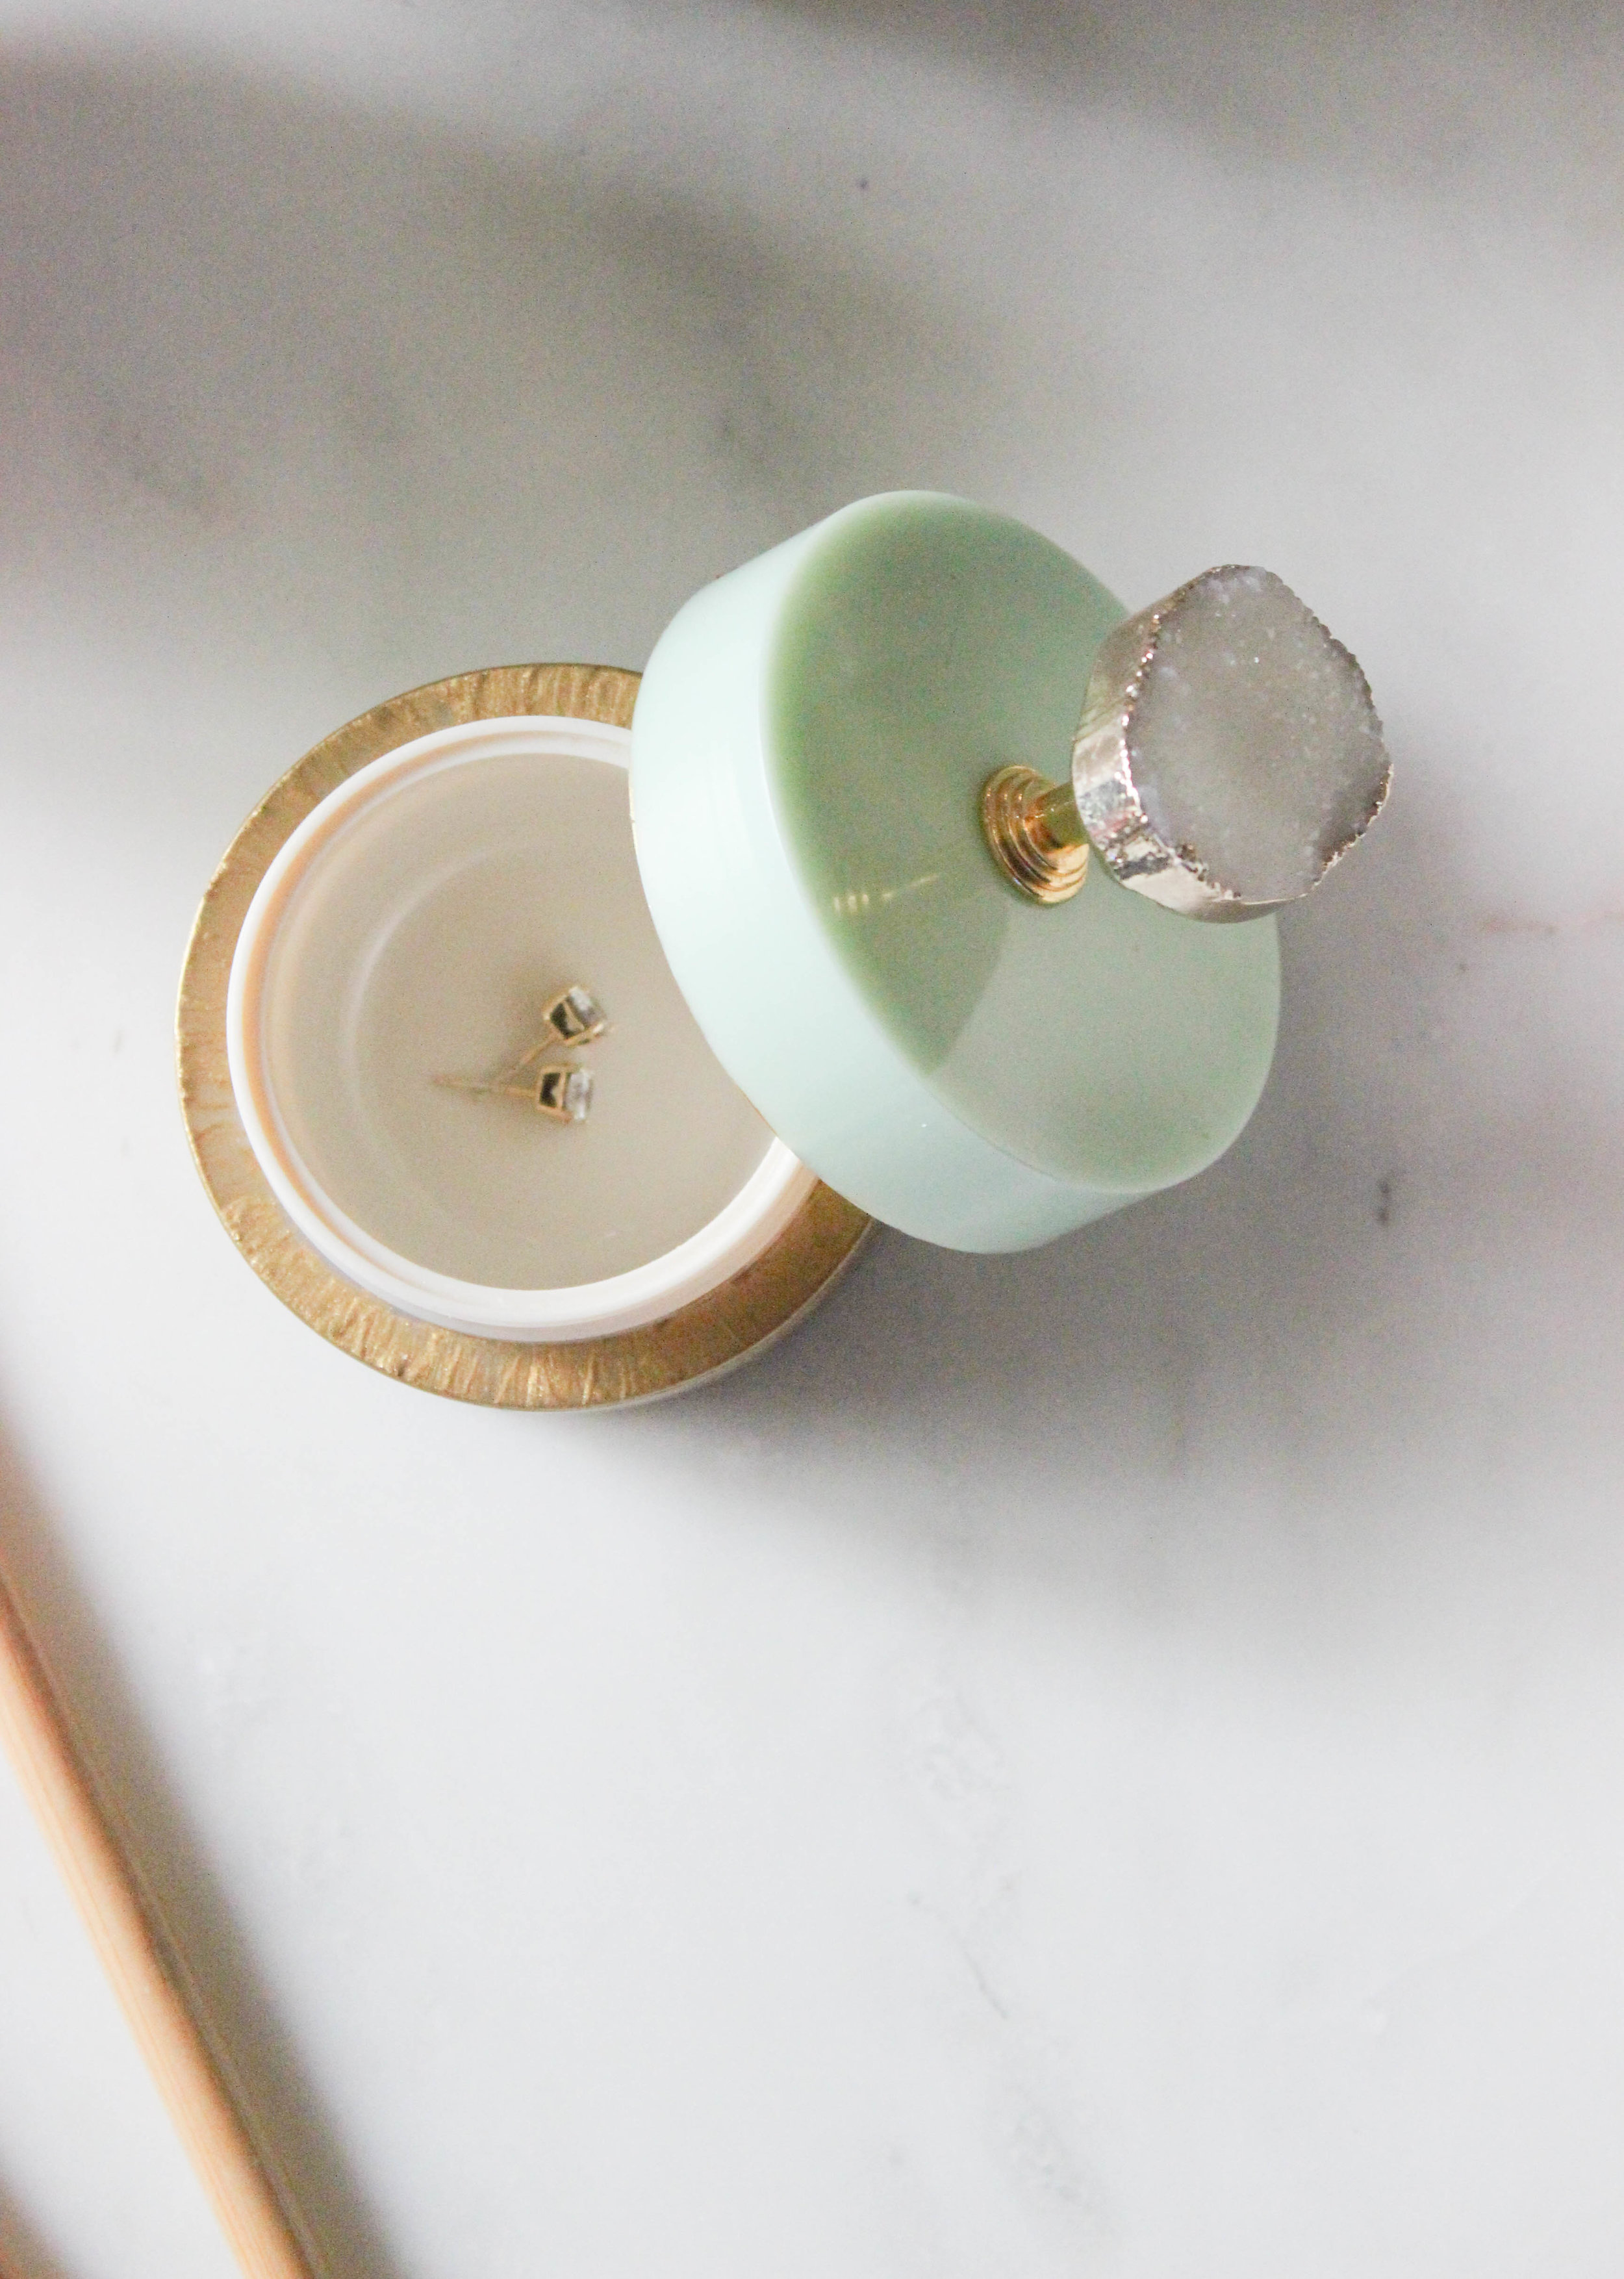
ONE. I loved the look of the jar and knew it would make a great jewelry holder for the bathroom. Once the container is empty, rinse it out with soap and water and dry.

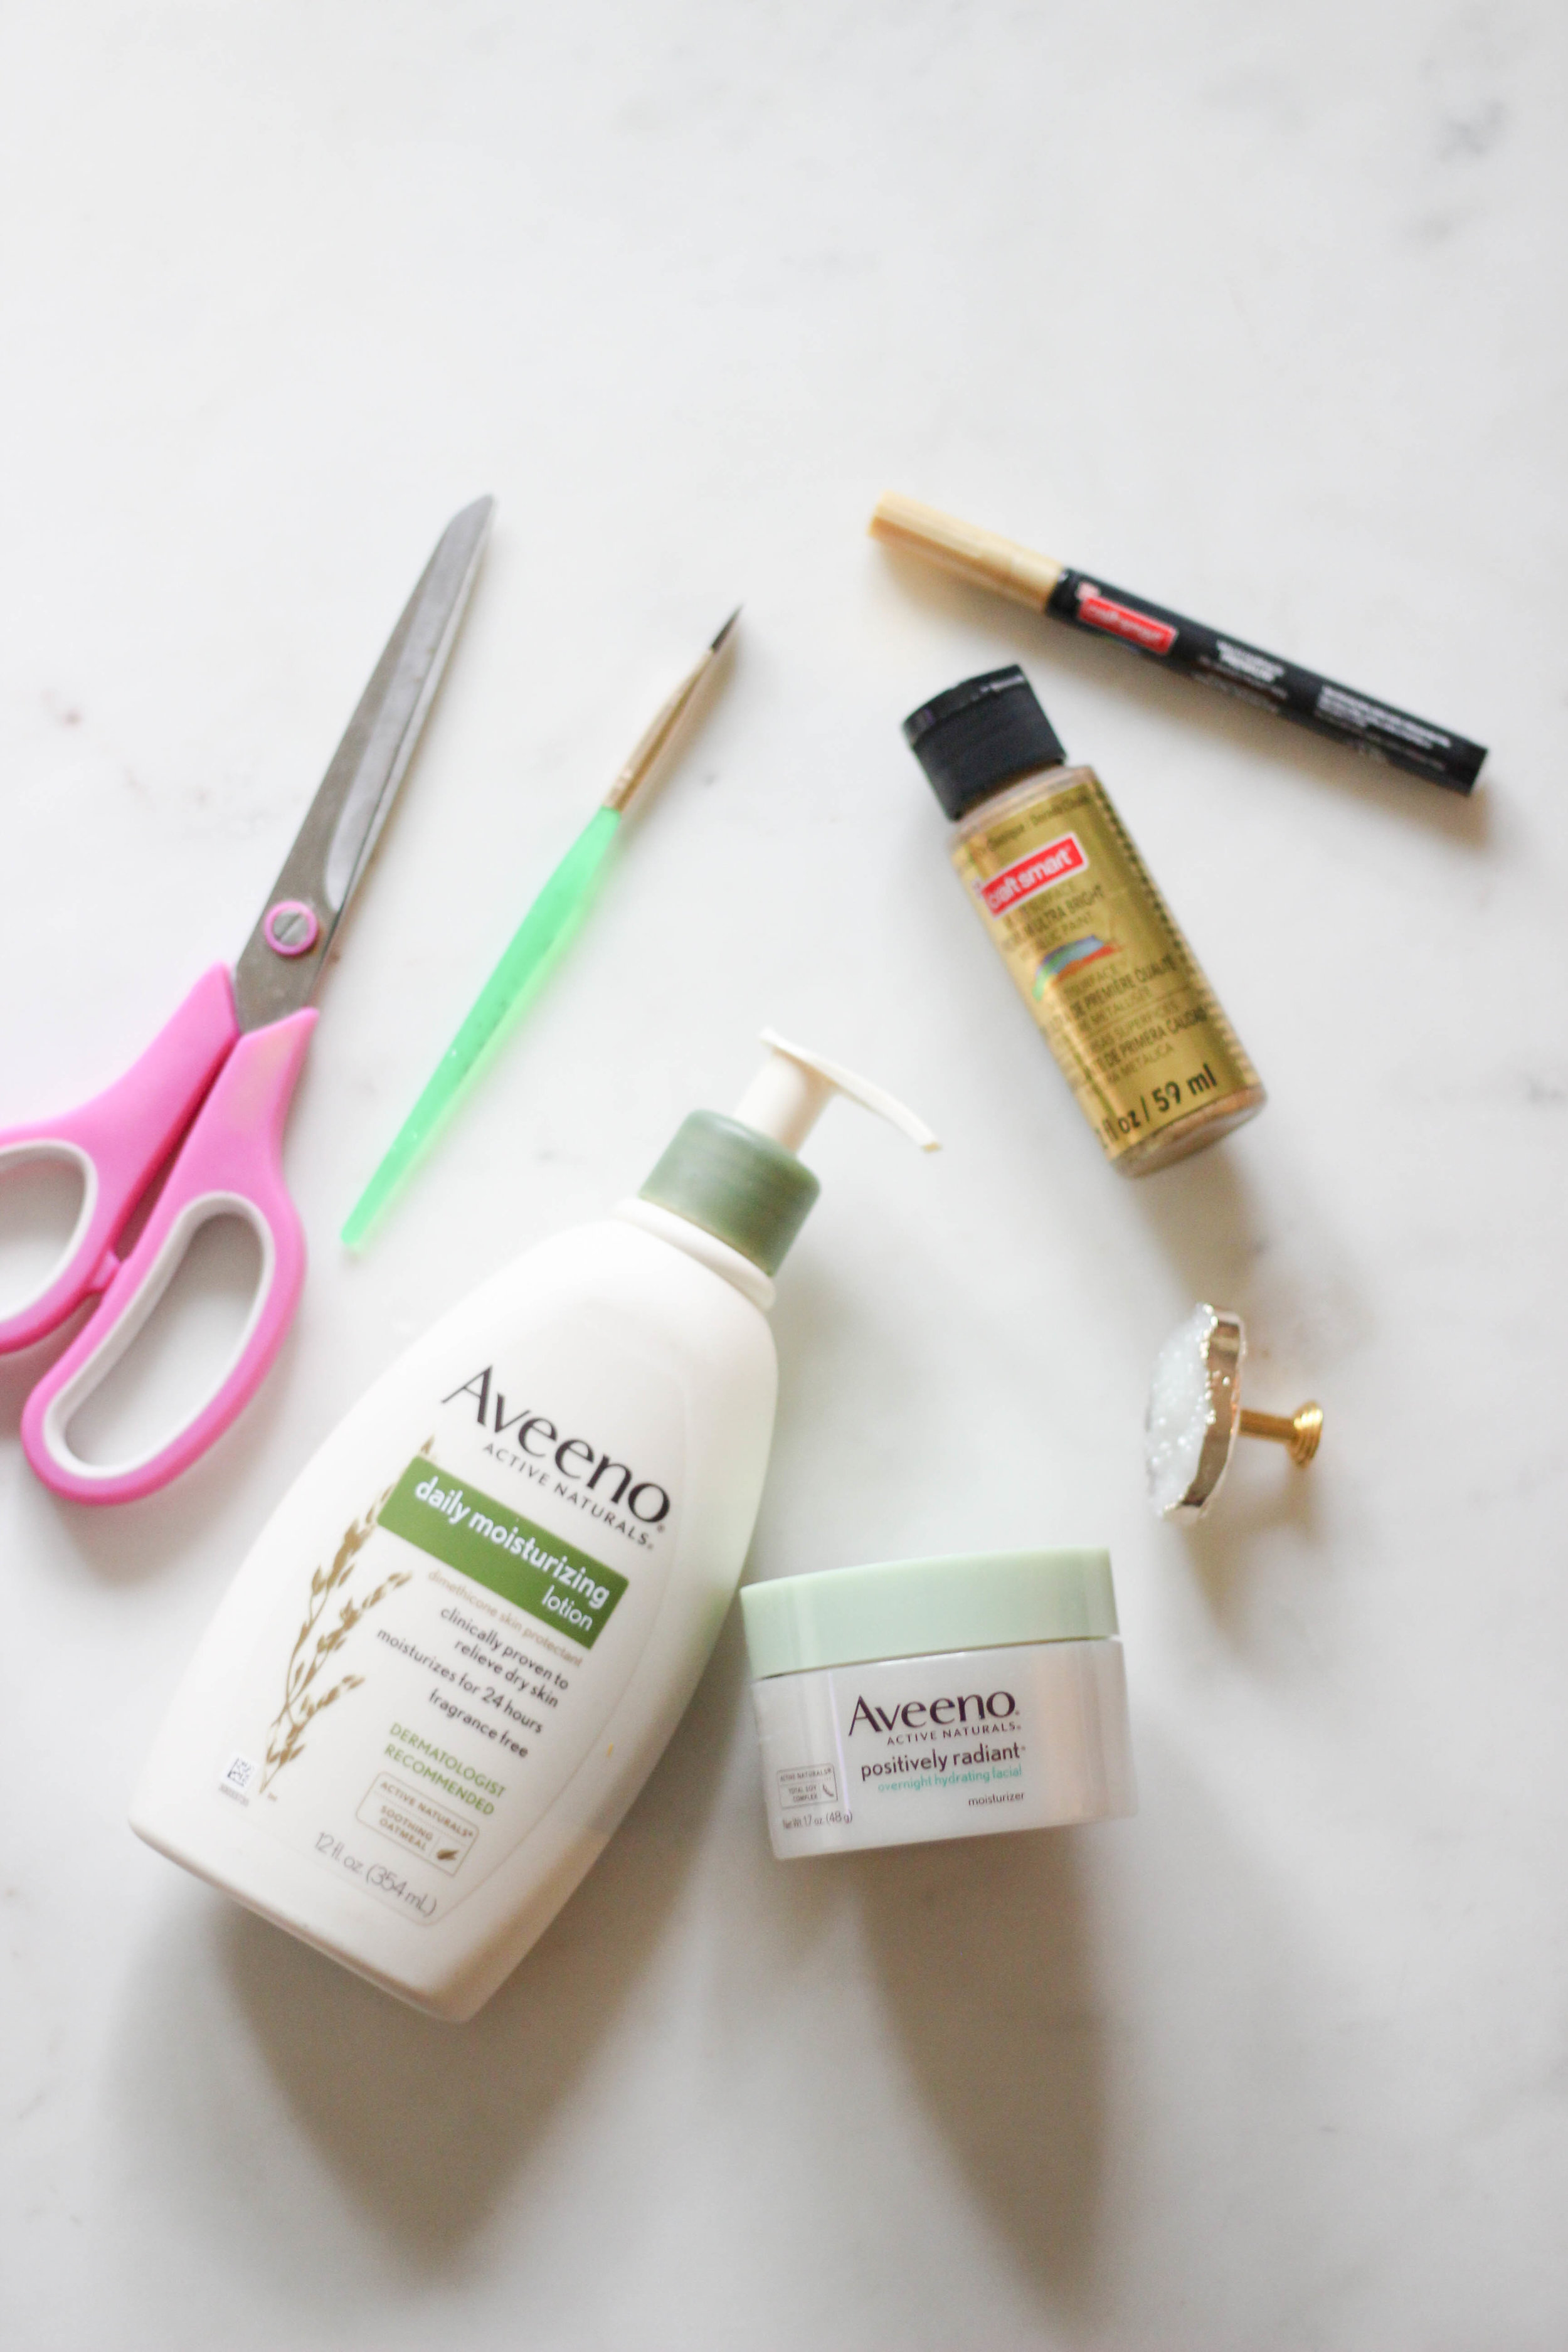
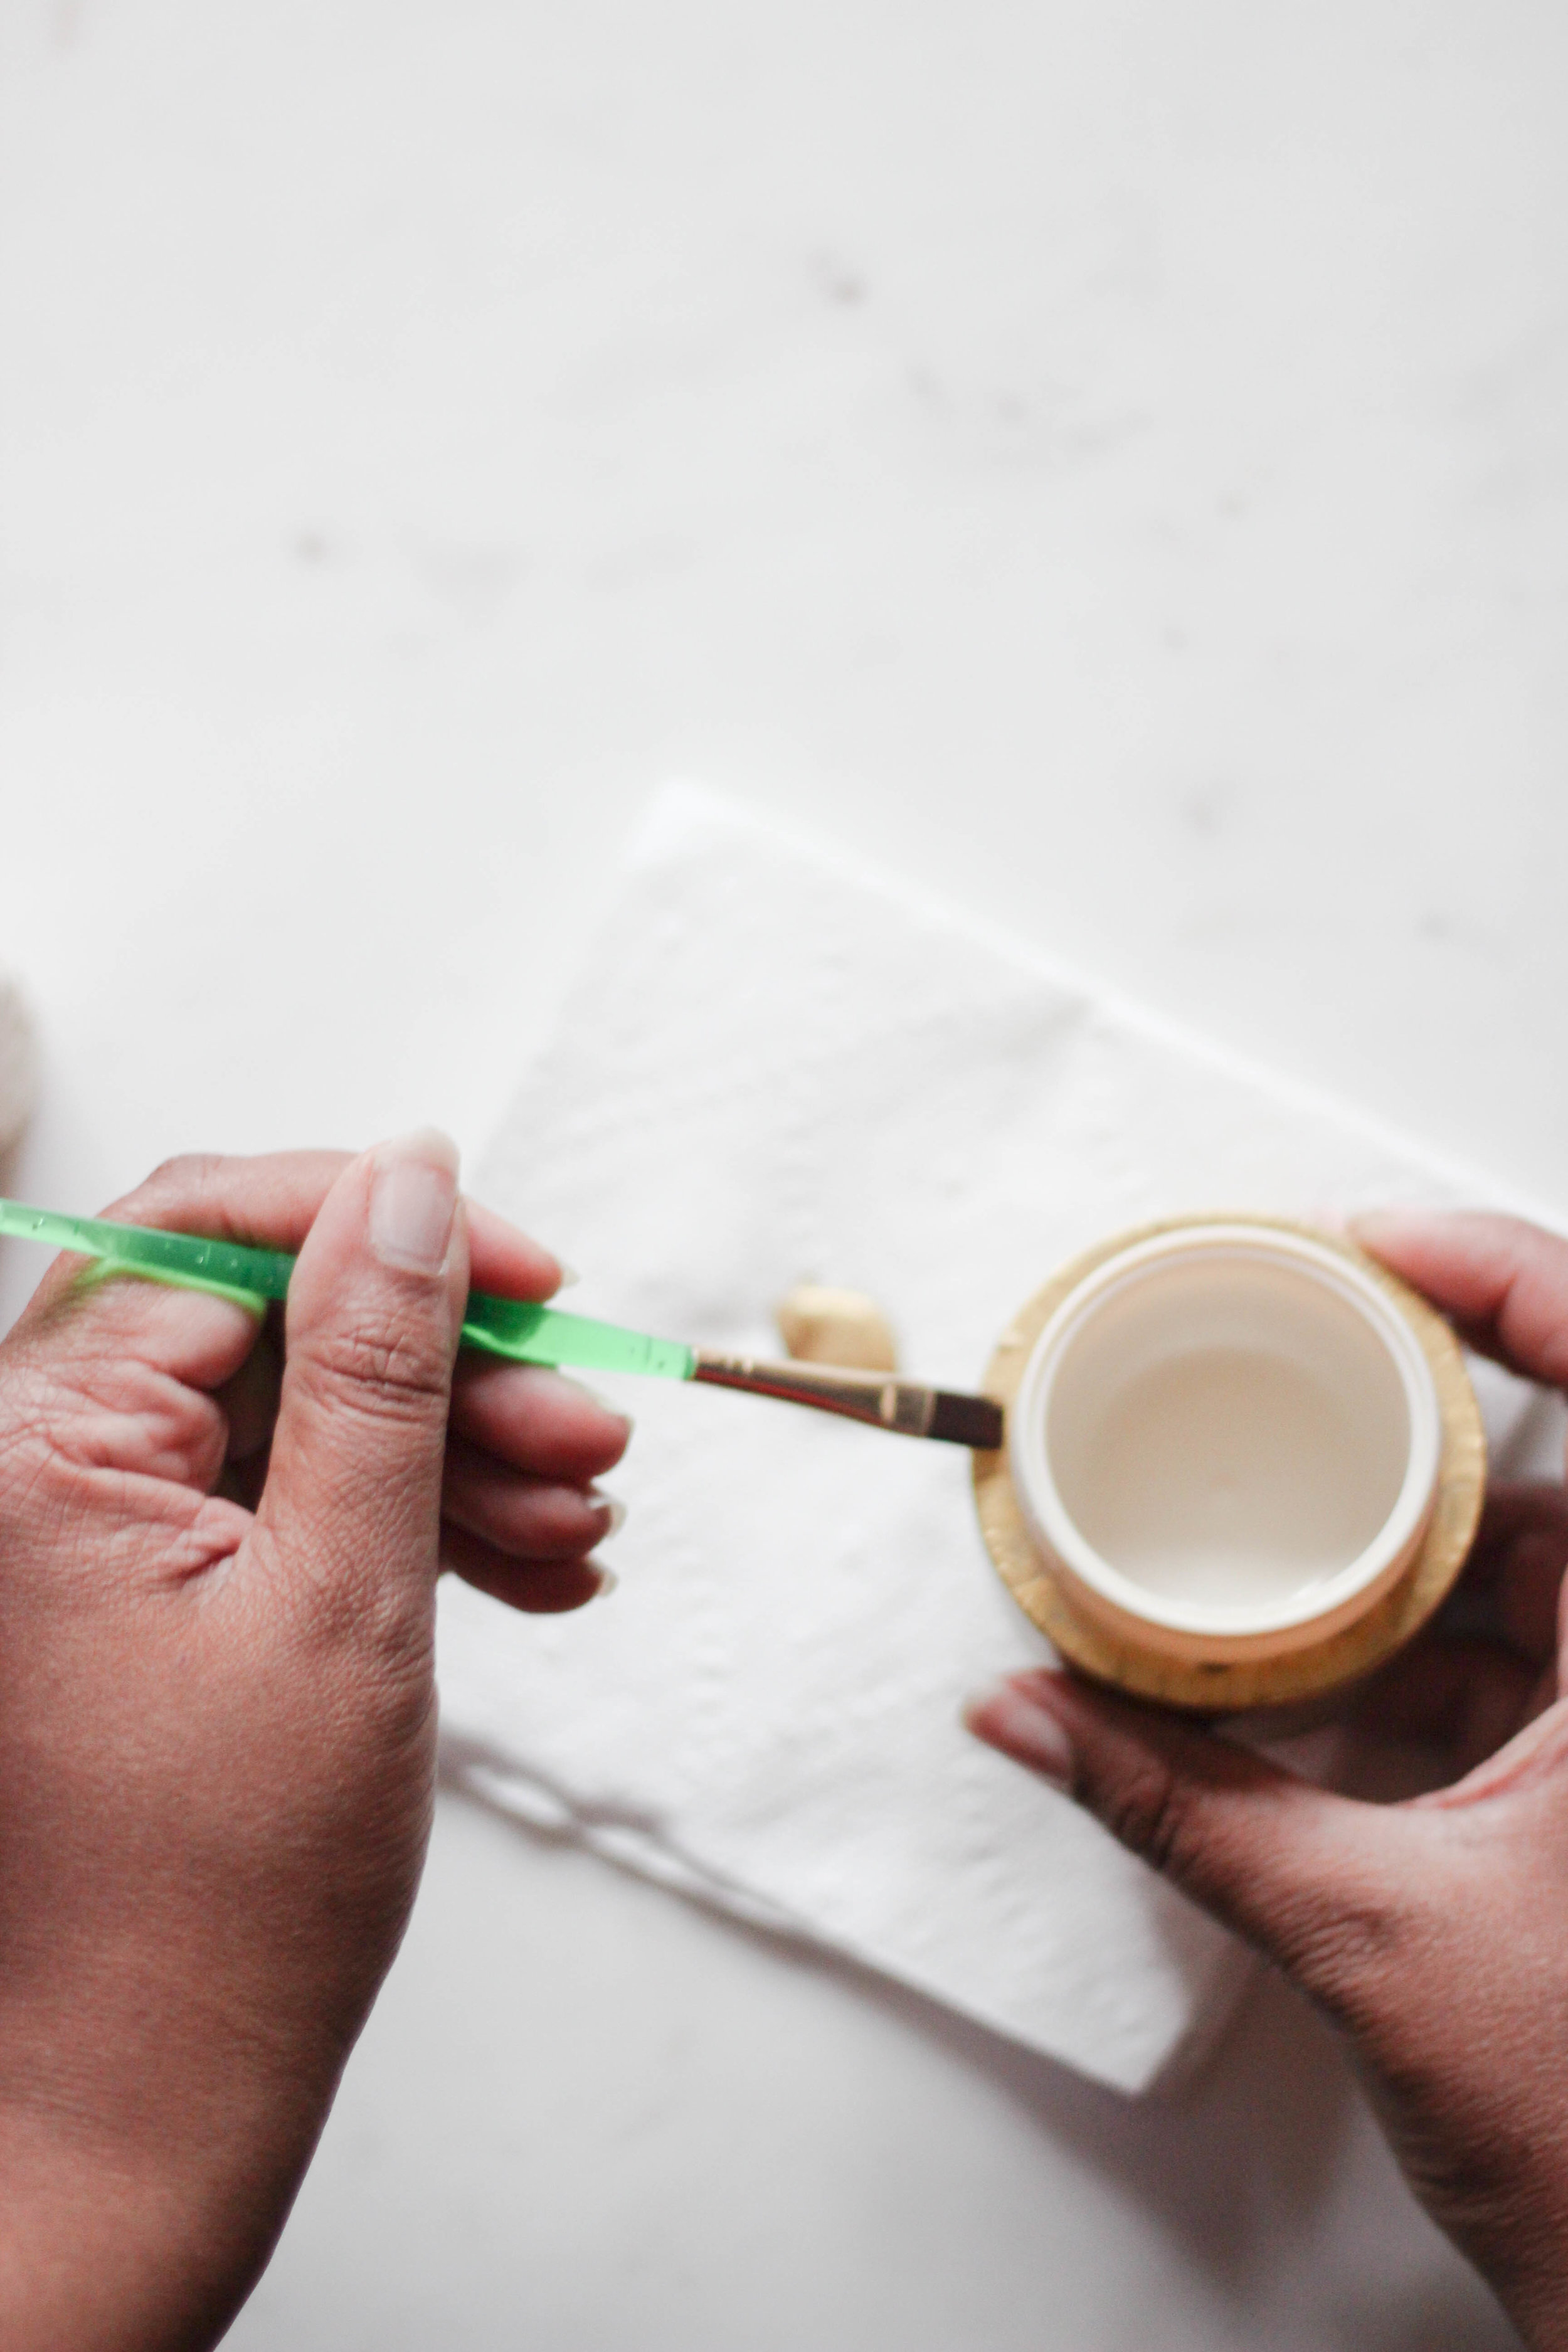
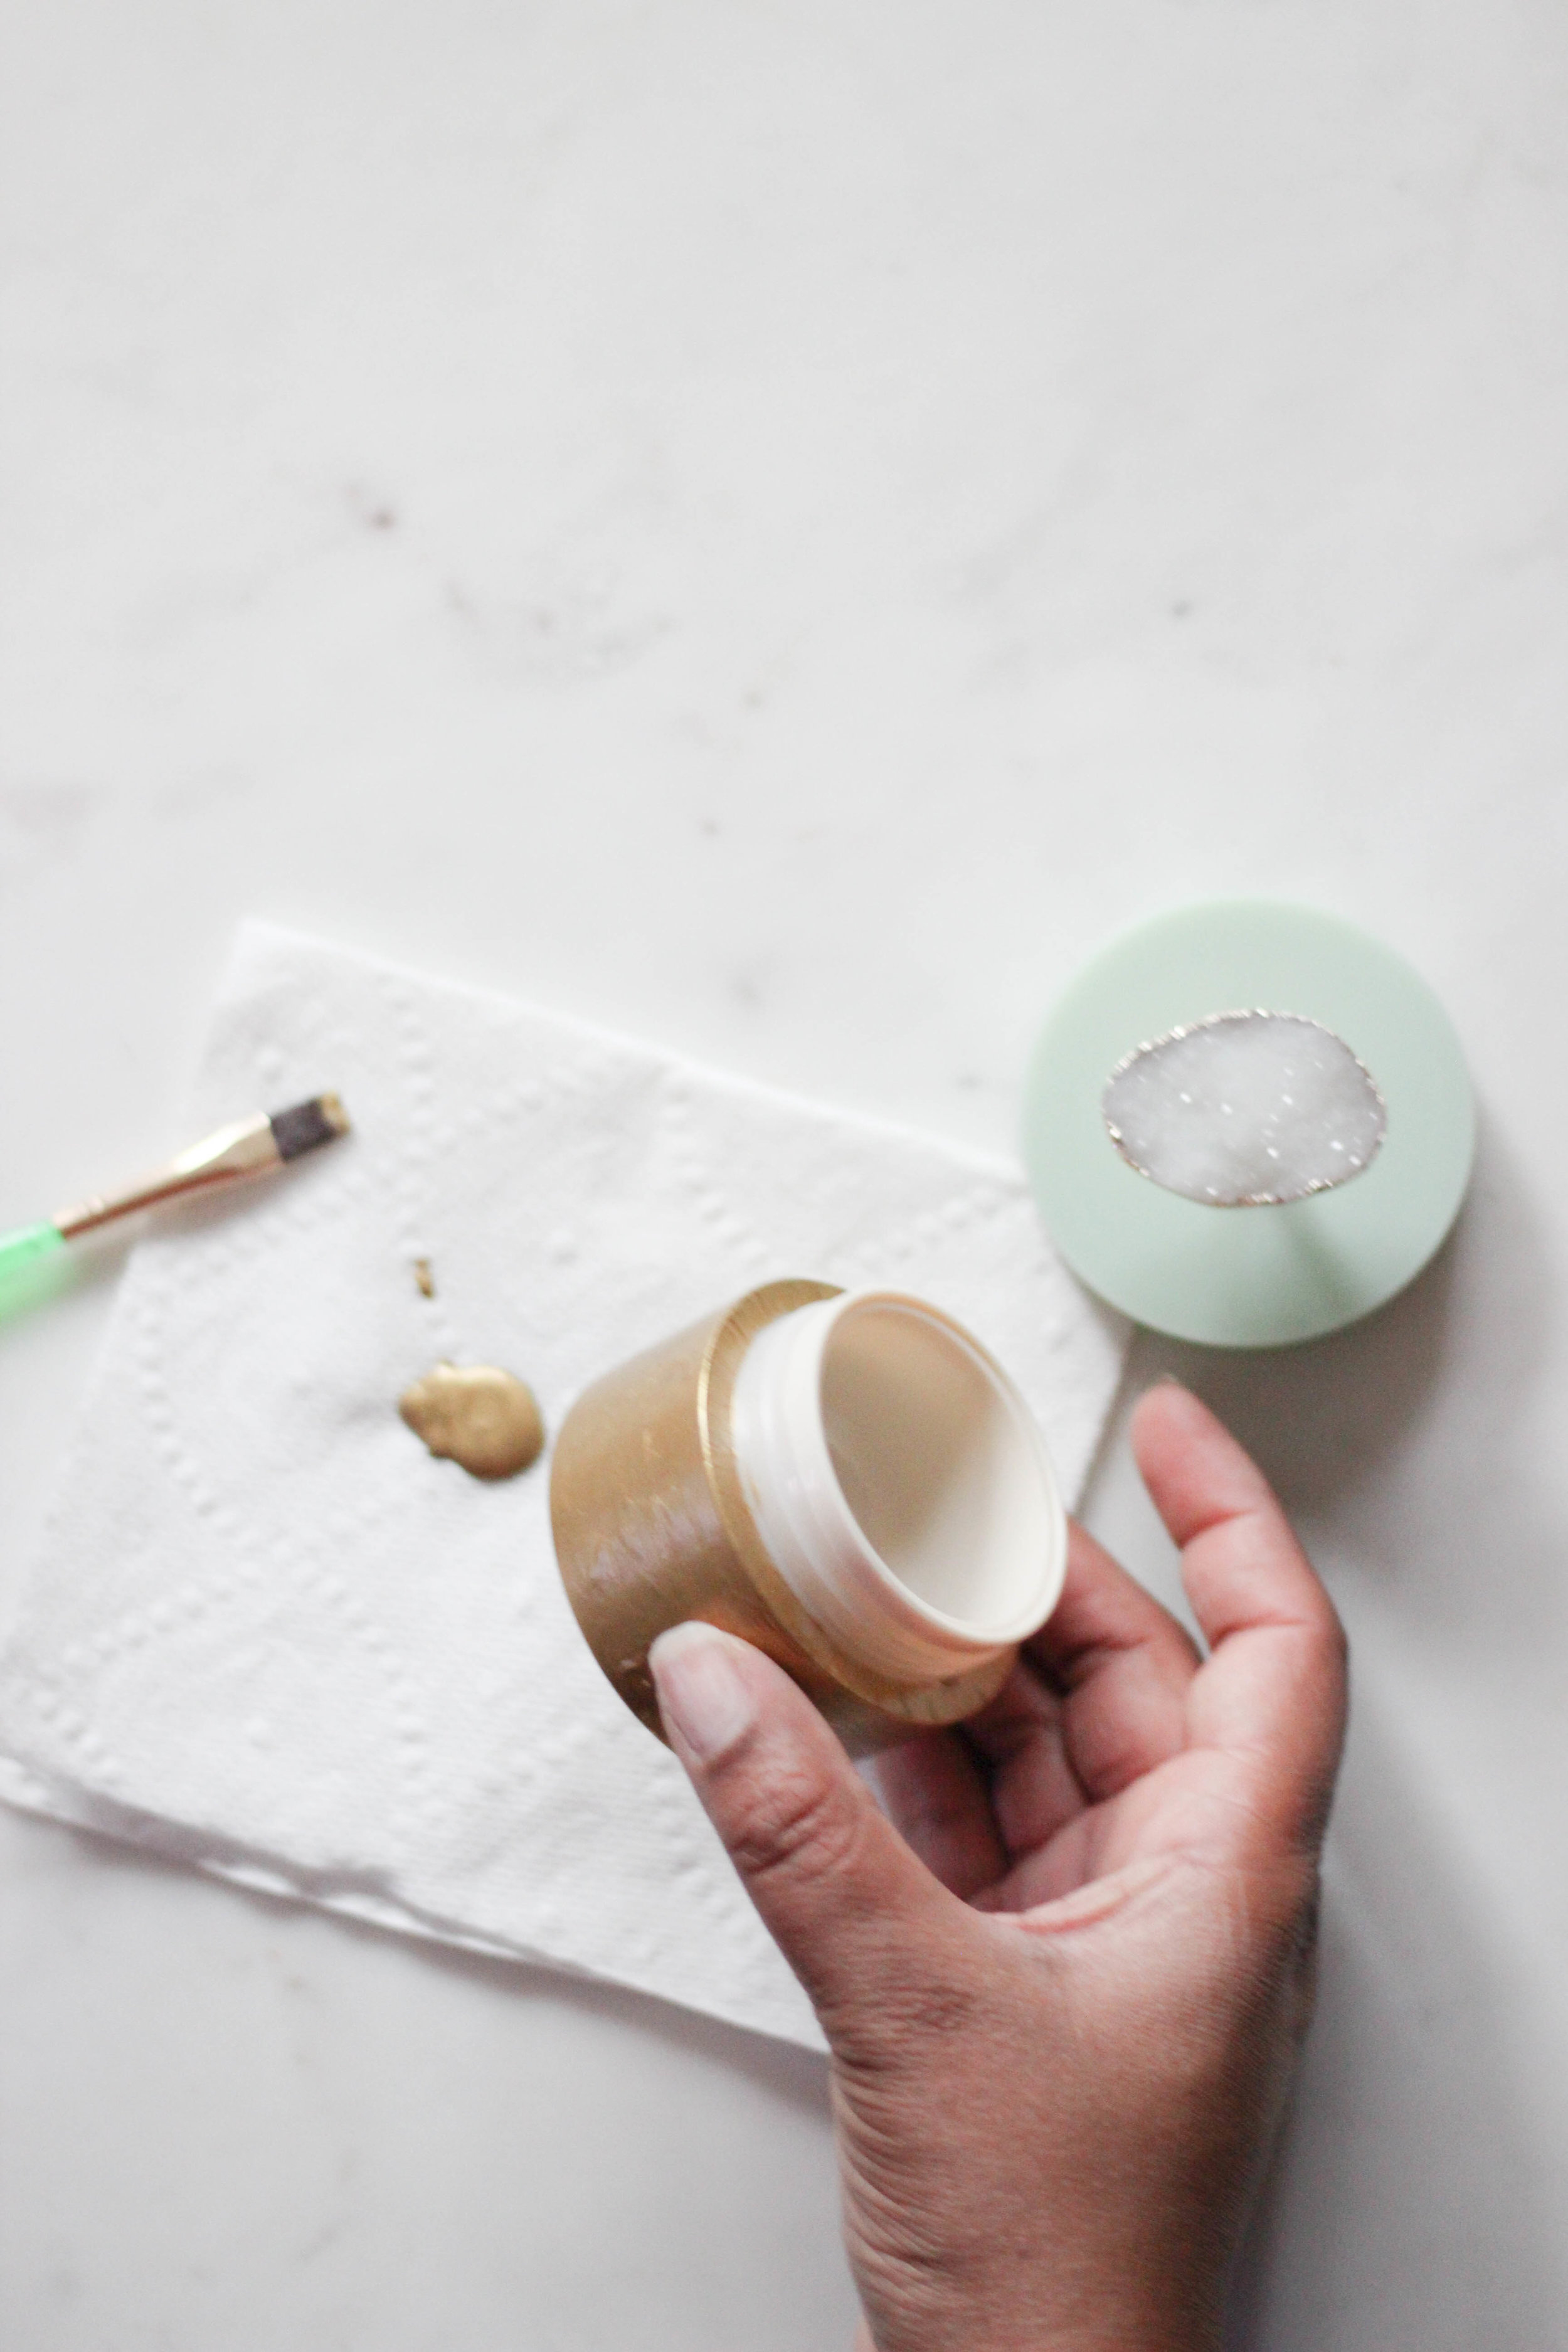
TWO. I used gold paint that adheres to plastic to paint the outside of the container with a small brush. It took three coats to get full coverage and cover-up the lettering on the jar. 

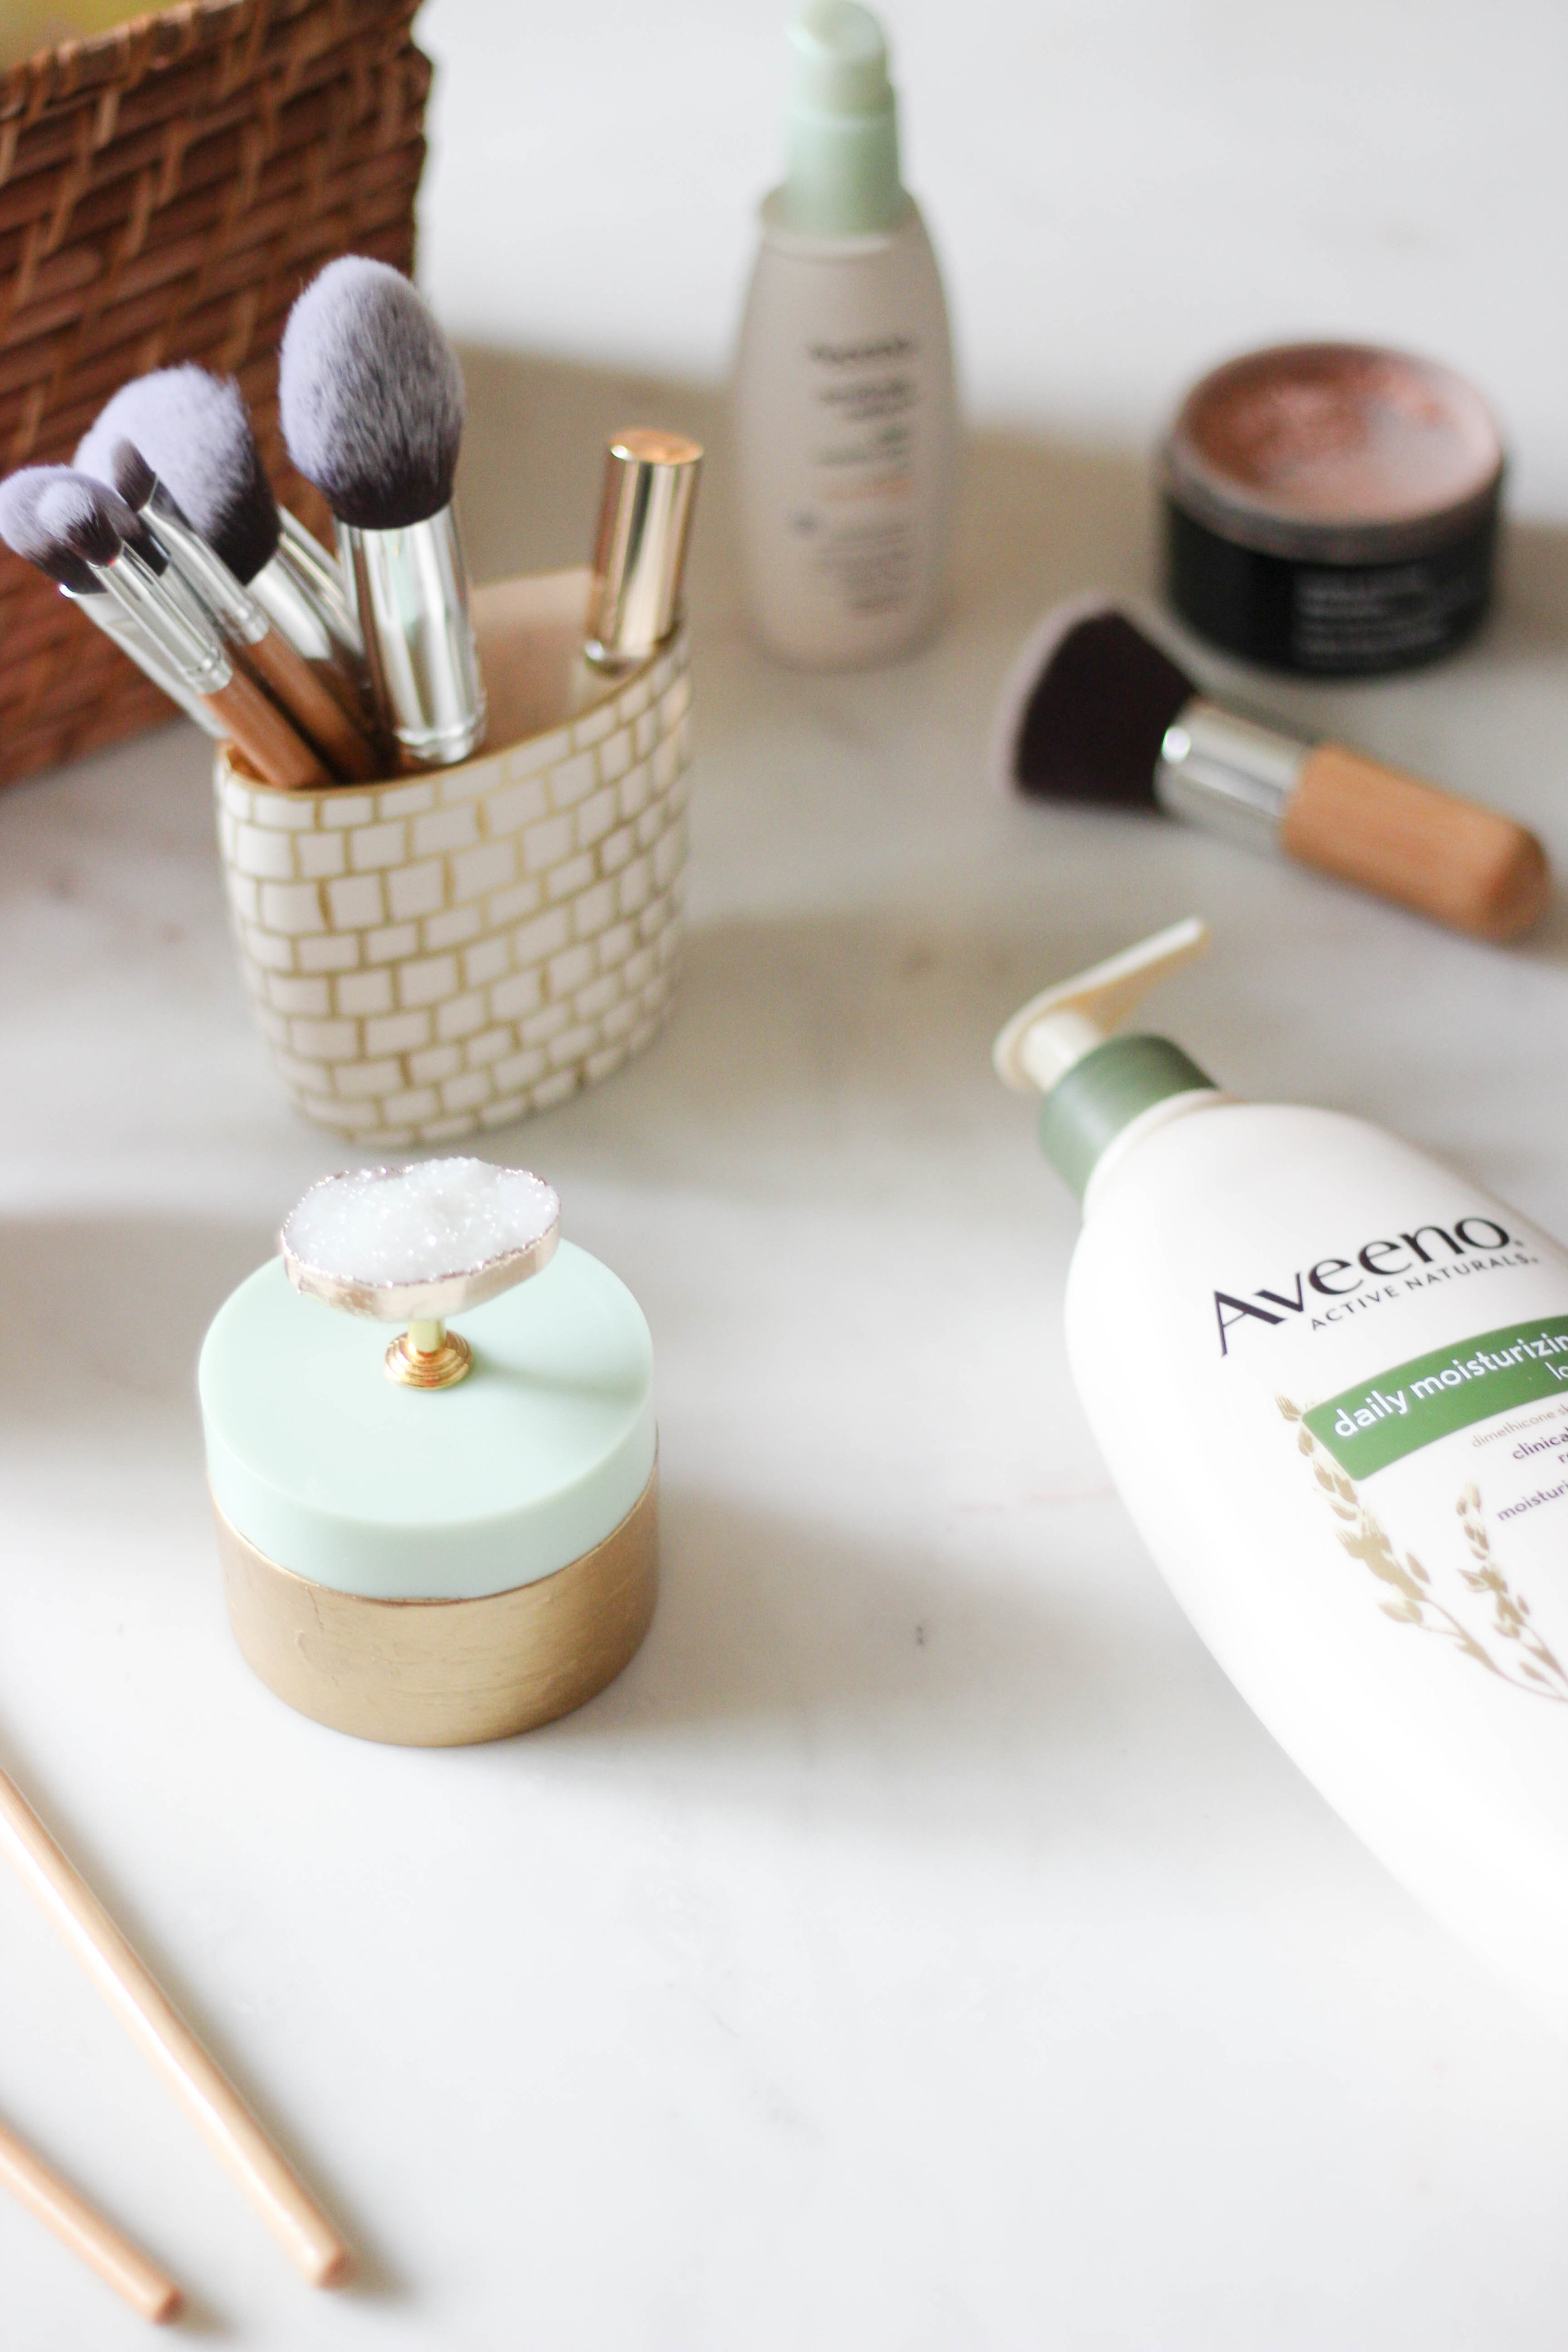
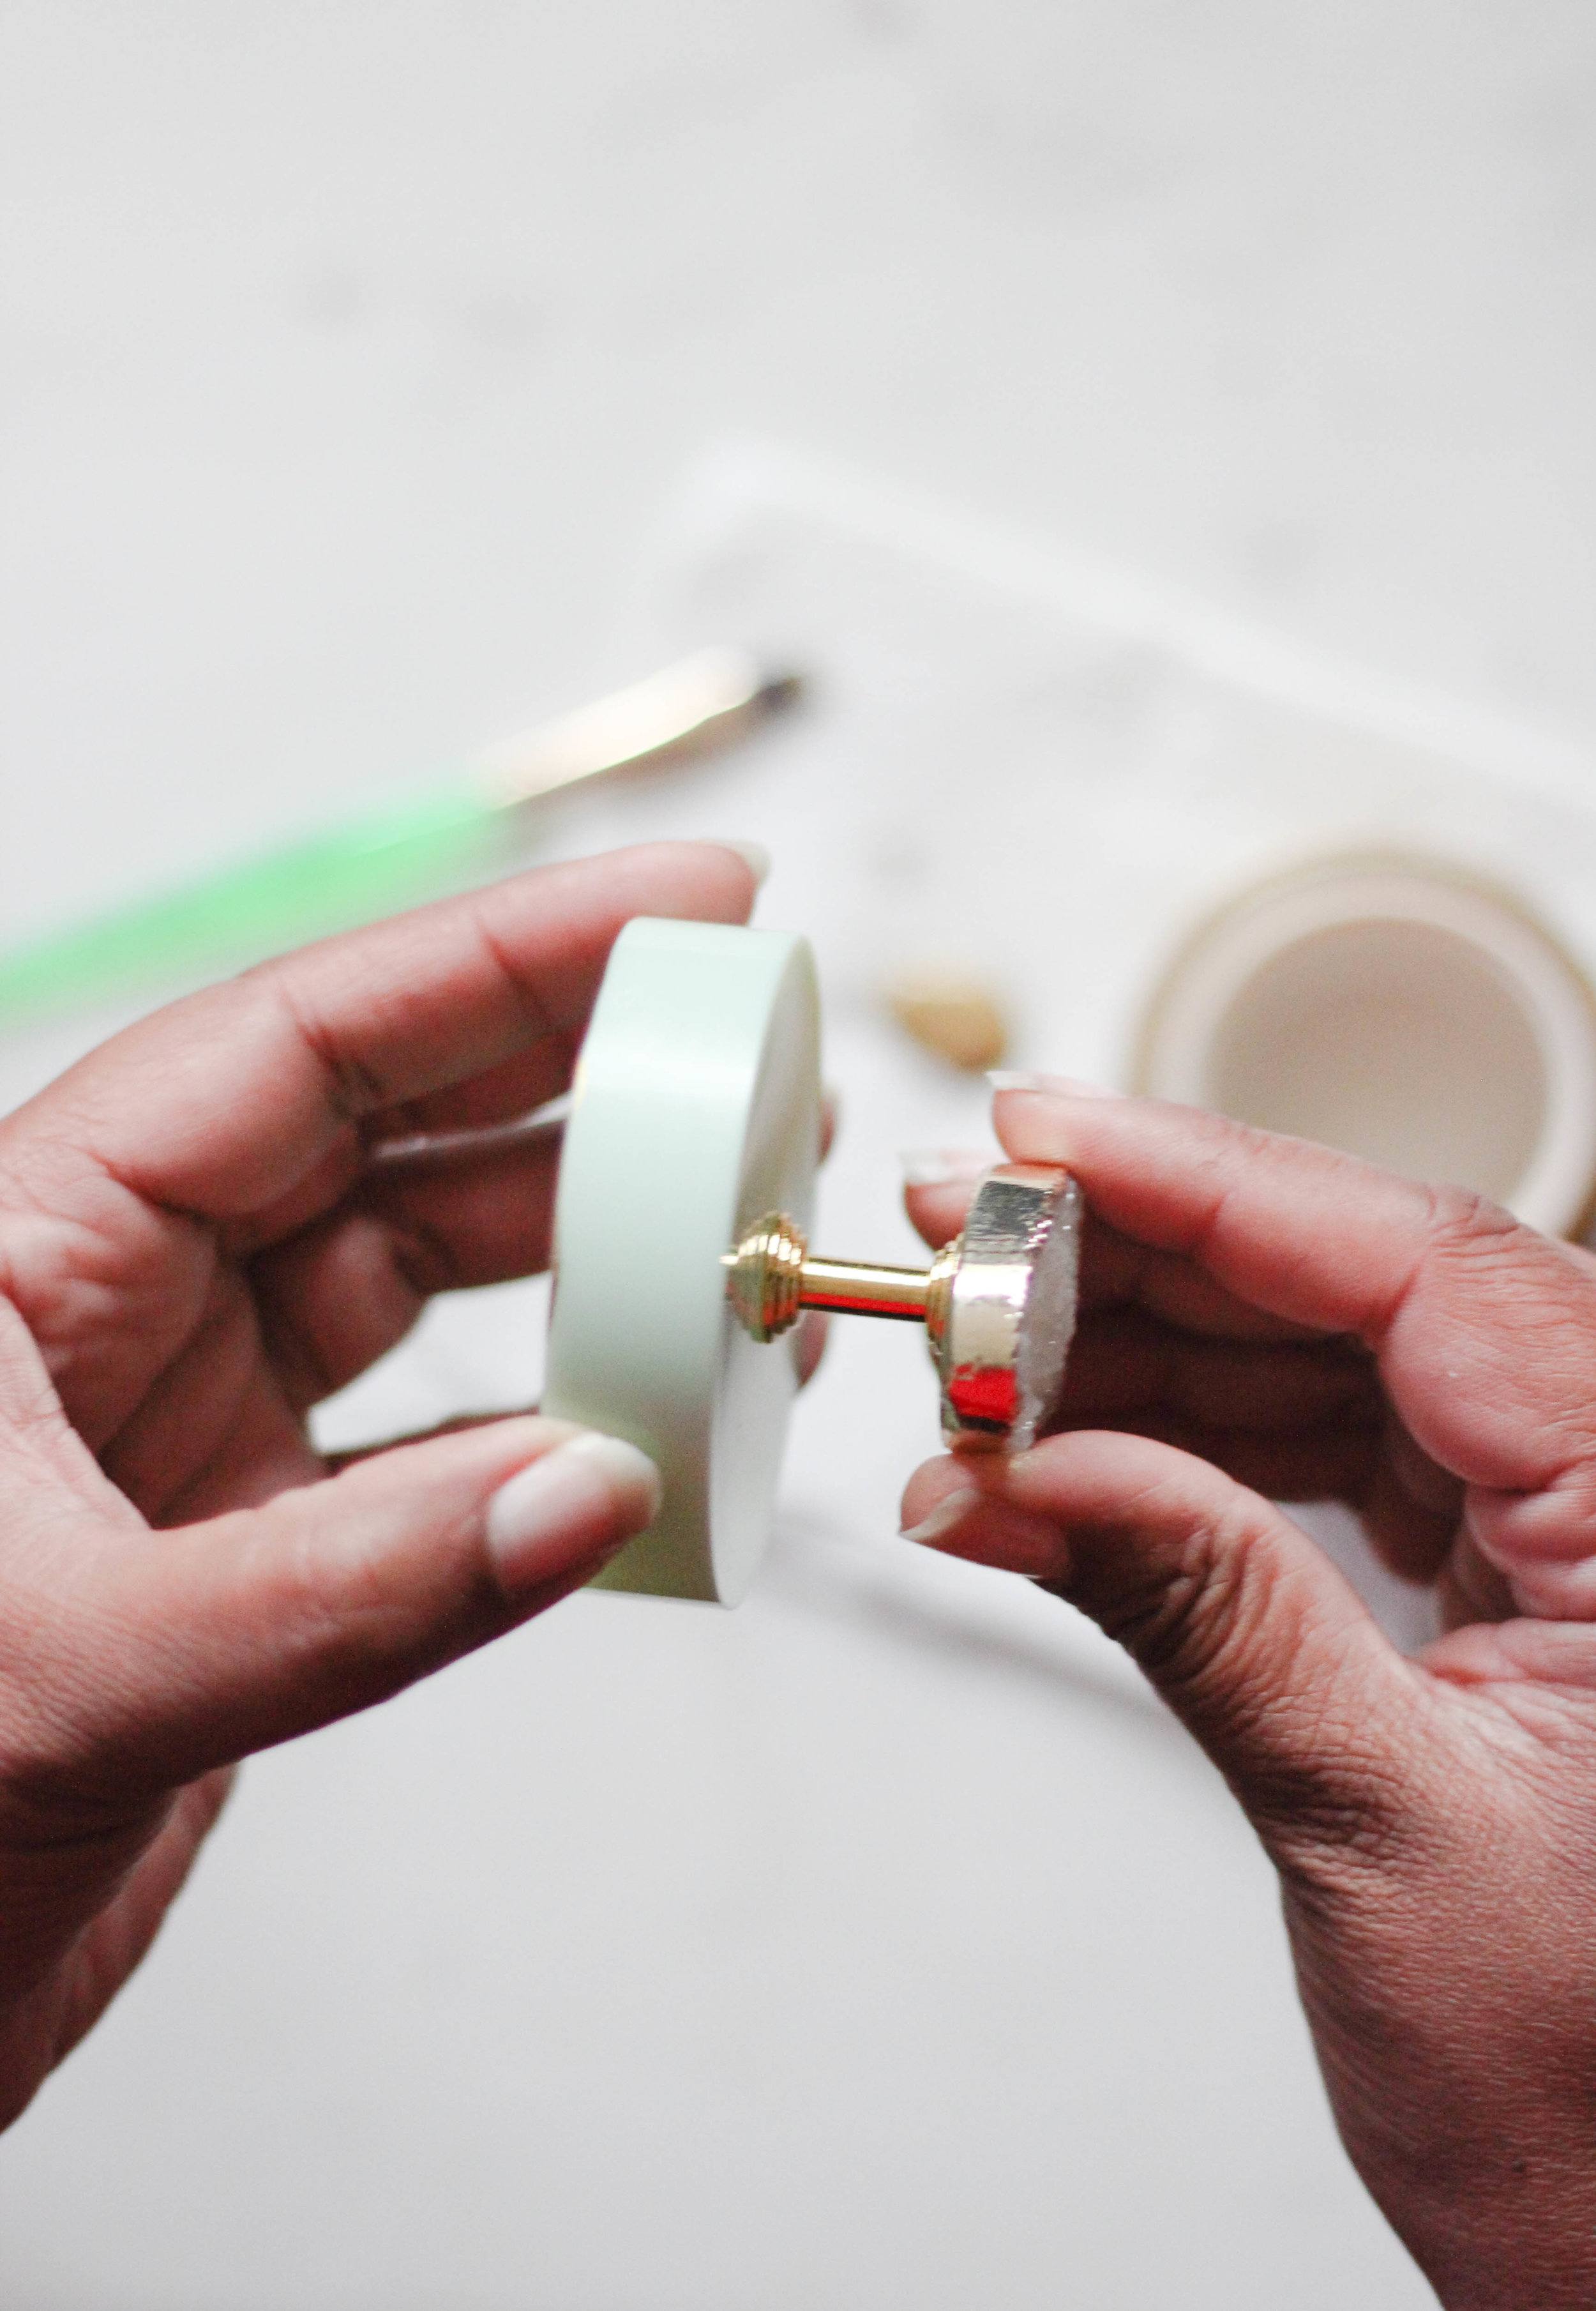
THREE. To give the container a little oomph, I added a pretty faux druzy knob I found at a local craft store to the lid. I drilled a small hole on top of the lid and then screwed the knob on. I left the lid pale green, to contrast with the gold body of the container and gold knob. I love that this little jar is the perfect size to keep my treasures safe in the bathroom, such as earrings and rings. 

IMG_5071.jpg

IF YOU LOVE THIS, PIN IT! 

DIY Makeup Brush Holder & Jewelry Holder.png

I hope you find these projects fun and easy to recreate next time you've finshed your favorite beauty product. A little gold leaf pen and gold paint can go a long way. What’s your favorite upcycling project you’ve tackled recently? 

To learn more about ways to recycle and upcycle, click here

Modern Container Gardening

The weather right now in Sacramento is beautiful; everything is growing like crazy, trees are filling up with leaves and flowers are blooming. Days like this have me excited to get off work rush home, make a quick dinner and do lots of yard work. If you caught my Instagram Stories this weekend, then you know we have so much yard work to tackle including cleaning up our patio and getting it ready for Spring. Also on our To-Do list is getting a new lawnmower since ours died.

One of the main reasons this time of the year is my favorite season in Sacramento is fully utilizing our outdoor spaces; it's like our home doubles in size which is a great feeling. One of my goals for our outdoor area is to make it feel like an extension of our home; I love the whole vibe of outdoor living. The thought of dining outside every night, weekend brunches, tending to my veggie garden (we're doing it this year! last year was a bust) and enjoying Spring days gives me all the feels. The past couple of years we’ve been slowly transforming our outdoor patios, adding both lounge and dining furniture. See more our patio transformations: How to Update Patio Furniture, Patio Updates and Our Summer Patio

I love for my outdoor space to feel lush and colorful; I add lots of greenery on my patio with plants everywhere. Planters filled with an array green plants enhance the look of outdoor spaces. I'm all for the more, the merrier! The Past two years, I've gotten really into container gardening, even planting two blueberry bushes in containers! I'm happy to report that 85% of the plants I planted in pots are still living and thriving. In fact, several of the plants I thought for sure were goners came back and looked better than last year brand new from the nursery. Here’s how my patio looked early last Summer, filled with plants galore. I love mixing up the height of the planters I use on my paito and I also love filling my BBQ Grill up with plants. 

IMG_0023.jpg

I love using modern planters to layer in color, mixing up the shape, size, and style add a sophisticated modern look in an outdoor setting. The fun thing container gardening is the ability to move plants around, of you, notice one plant needs a shady spot, just move it. I’ve had lots of luck planting various varieties of dwarf lemon citrus in large planters. I have a pink lemonade variegated tree just outside my patio door, and it looks perfect there! Container gardening is also a great solution of small spaces and apartments. 

I also think planters work great in garden beds. I add them to my garden beds to help disguise unsightly elements (like our sprinkler valves and faucets). Plus sometimes I  have better luck with plants in planters vs. the ground. Here are a few of my favorite looks for using containers in a modern way. 

image via The Fresh Exchange
image via Planters Guy 

image via Planters Guy 

Whether your outdoor space is large or limited, container plants are a must for layering color. Below I’ve rounded up some of my favorite Modern Containers including modern hanging planters for outside, a few of them I already own or planning too!

One can never have enough planters #TrustMe. If you’re in need of planter ideas for inside check out this post Oh So Modern Containers; this is one of my most pinned post ever! In need of more outdoor style ideas and DIY Projects, check out my Outdoor Style posts here

Modern Containers for Outside, Wall Planters and Hanging Planters.png

GET THE LOOK: ONE Howell Planters TWO Modernist Planters THREE White Rope Planter FOUR Wall Mount Planter - LOVE! FIVE Juno Planters SIX Lineal Planters SEVEN Texture planter - great for coffee tables EIGHT  Iris Stand NINE Dundee Planter - several sizes TEN White Weave Planter ELEVEN Iris Planter** TWELVLE Lillie Planter THIRTEEN Riverage Planter AND FOURTEEN Grey Hanging Planter - I lvoe filling these up with overflowing flowers or succulents 

** Thoughts on the Iris Planter from West Elm, on the site the it starts outdoor use only - I have three of these planters and use them outdoors (when I purchased mine 2-3 years ago it said indoor/outdoor use), I think it will depend on the climate you have if they're able to stay outside. I do wash the outside of my every year to keep them clean and cover in extreme weather changes. In Sacramento we have very mild weather so it hasn't been an issue. 


Are you also a fan of outdoor container gardening? What are some of your favorite ways to add color on your patio or deck?