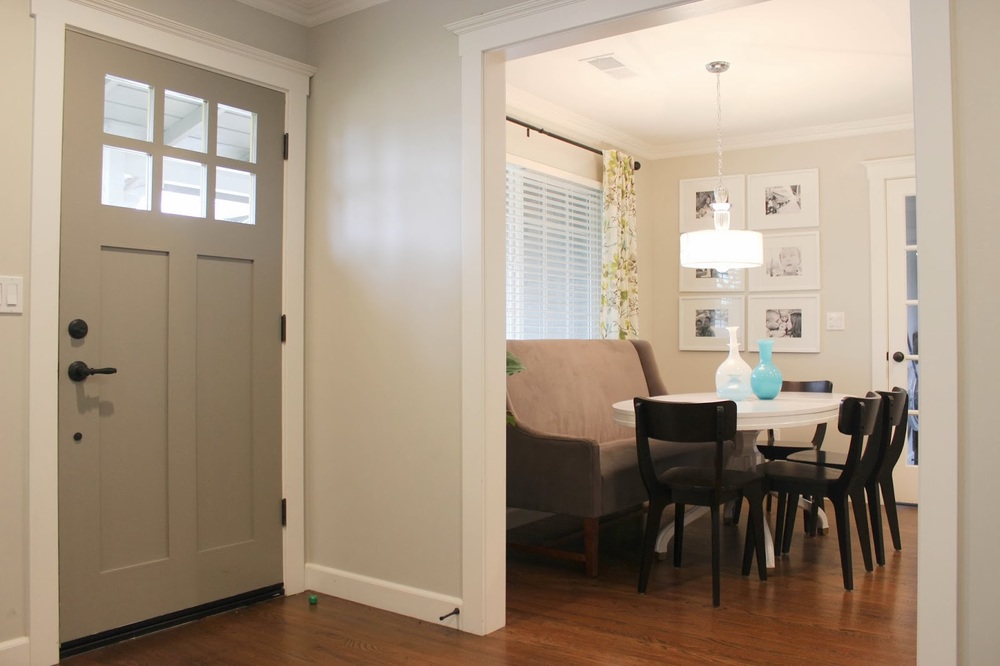
One of the things I love about my home now is being able to fit more than four for dinner in our 1950's eat in kitchen. We now can officially seat six in our dining room, which huge for our modest 1956 rancher huge! During the rebuilding of our home we decided to widen the doorway between our living room and dining and kitchen. This change really opened up our home and has made the adjoining rooms all feel larger. I think natural light from our large living room window, front door, dining room window and kitchen and laundry room all make everything feel bigger (love that!)
Before I share the recent change, here's a reminder of what are space looked like a few months after moving back in our home, click here to see what our dining room looked like before the fire (if your new to my blog, our home was damaged in a house fire in July 2012, we spent half of 2013 rebuilding our home)

One of my girlfriends was kind enough to let us borrow her dining room table that wasn't being used in ours until, I found 'the table.' Anyways back to finally being able to seat six! When I was looking for a vintage dining room table for our dining room, I knew I want it to be either round or oval with pretty pedestal legs. I passed on many tables holding out for just the right one, I found the right one stalked it and eventually bought it via Craigslist (some of the best money spend to date!) Read more about our crazy table adventure here. I fell in love with the Klismos dining airs from West Elm and bought four on clearance. I decided to only buy four, because I was hoping to add a banquette in our dining room. Well that day has arrived, I've been literally in love with the Hayden Banquette from World Market for like years, I mentioned it here & here. After stopping in World Market on Sunday just to poke around Hasani and I decided to finally pull the trigger and bring it home for a steal (but I'll get to the steal part in a few)
Over the past several months since moving back into our home, our dining room has evolved so much! I hung a curtain and rod high and wide and sewed back tab drapes (click here for the How To) Refinished our dining room table and hung a gallery wall full of black and white family photos.


Here's our dining room now that we added a banquette...can I just how much I'm in love with this view, the way it looks 'meant to be.'

One of my girlfriends was kind enough to let us borrow her dining room table that wasn't being used in ours until, I found 'the table.' Anyways back to finally being able to seat six! When I was looking for a vintage dining room table for our dining room, I knew I want it to be either round or oval with pretty pedestal legs. I passed on many tables holding out for just the right one, I found the right one stalked it and eventually bought it via Craigslist (some of the best money spend to date!) Read more about our crazy table adventure here. I fell in love with the Klismos dining airs from West Elm and bought four on clearance. I decided to only buy four, because I was hoping to add a banquette in our dining room. Well that day has arrived, I've been literally in love with the Hayden Banquette from World Market for like years, I mentioned it here & here. After stopping in World Market on Sunday just to poke around Hasani and I decided to finally pull the trigger and bring it home for a steal (but I'll get to the steal part in a few)
Over the past several months since moving back into our home, our dining room has evolved so much! I hung a curtain and rod high and wide and sewed back tab drapes (click here for the How To) Refinished our dining room table and hung a gallery wall full of black and white family photos.
The banquette is a really nice size, and fortunately fits perfectly in our petite eat in kitchen (thank goodness!) I was nervous it would be too big or stick out too far since its nice and deep. When its not 'in use' we have the table pushed back a tab so its looks tucked in just like chairs are tucked in under a table.


Now for the total steal part of this story, on Sunday the banquette was on sale for $279.00 regularly $449.00. The store we visited only had two in stock and one was promised to another customer who put it 'on hold.' After talking to the store manager and checking the shipping status to find out when they'd get more inventory, she offered to sale the floor model banquette to us for $ 239.99 plus taken an additional 15% for using our World Market Explorer card (words just like a Safeway club card, enter your phone number and bam instant savings!) We paid $ 203.99 for this beauty. Here's a snapshot of our receipt. I double and triple checked we could return the banquette at any time during their normal return period if we changed our minds, they said no problemo :)

I can't wait to have friends over and all gather round of table and sit on the banquette and socialize. Its amazing to see how truly transformed our dining room feels now that we added the banquette, such a good feeling.
What do you think of our new addition to our eat in kitchen?
Now for the total steal part of this story, on Sunday the banquette was on sale for $279.00 regularly $449.00. The store we visited only had two in stock and one was promised to another customer who put it 'on hold.' After talking to the store manager and checking the shipping status to find out when they'd get more inventory, she offered to sale the floor model banquette to us for $ 239.99 plus taken an additional 15% for using our World Market Explorer card (words just like a Safeway club card, enter your phone number and bam instant savings!) We paid $ 203.99 for this beauty. Here's a snapshot of our receipt. I double and triple checked we could return the banquette at any time during their normal return period if we changed our minds, they said no problemo :)
I can't wait to have friends over and all gather round of table and sit on the banquette and socialize. Its amazing to see how truly transformed our dining room feels now that we added the banquette, such a good feeling.
What do you think of our new addition to our eat in kitchen?