Today, I’m sharing my recent update in my living room & dining room a quick update I tackled over the weekend. This update in my home truly gives my home a refreshed look on a budget! I feel there are three top ways to change the look and feel of the room without buying all new furniture and spending big bucks.
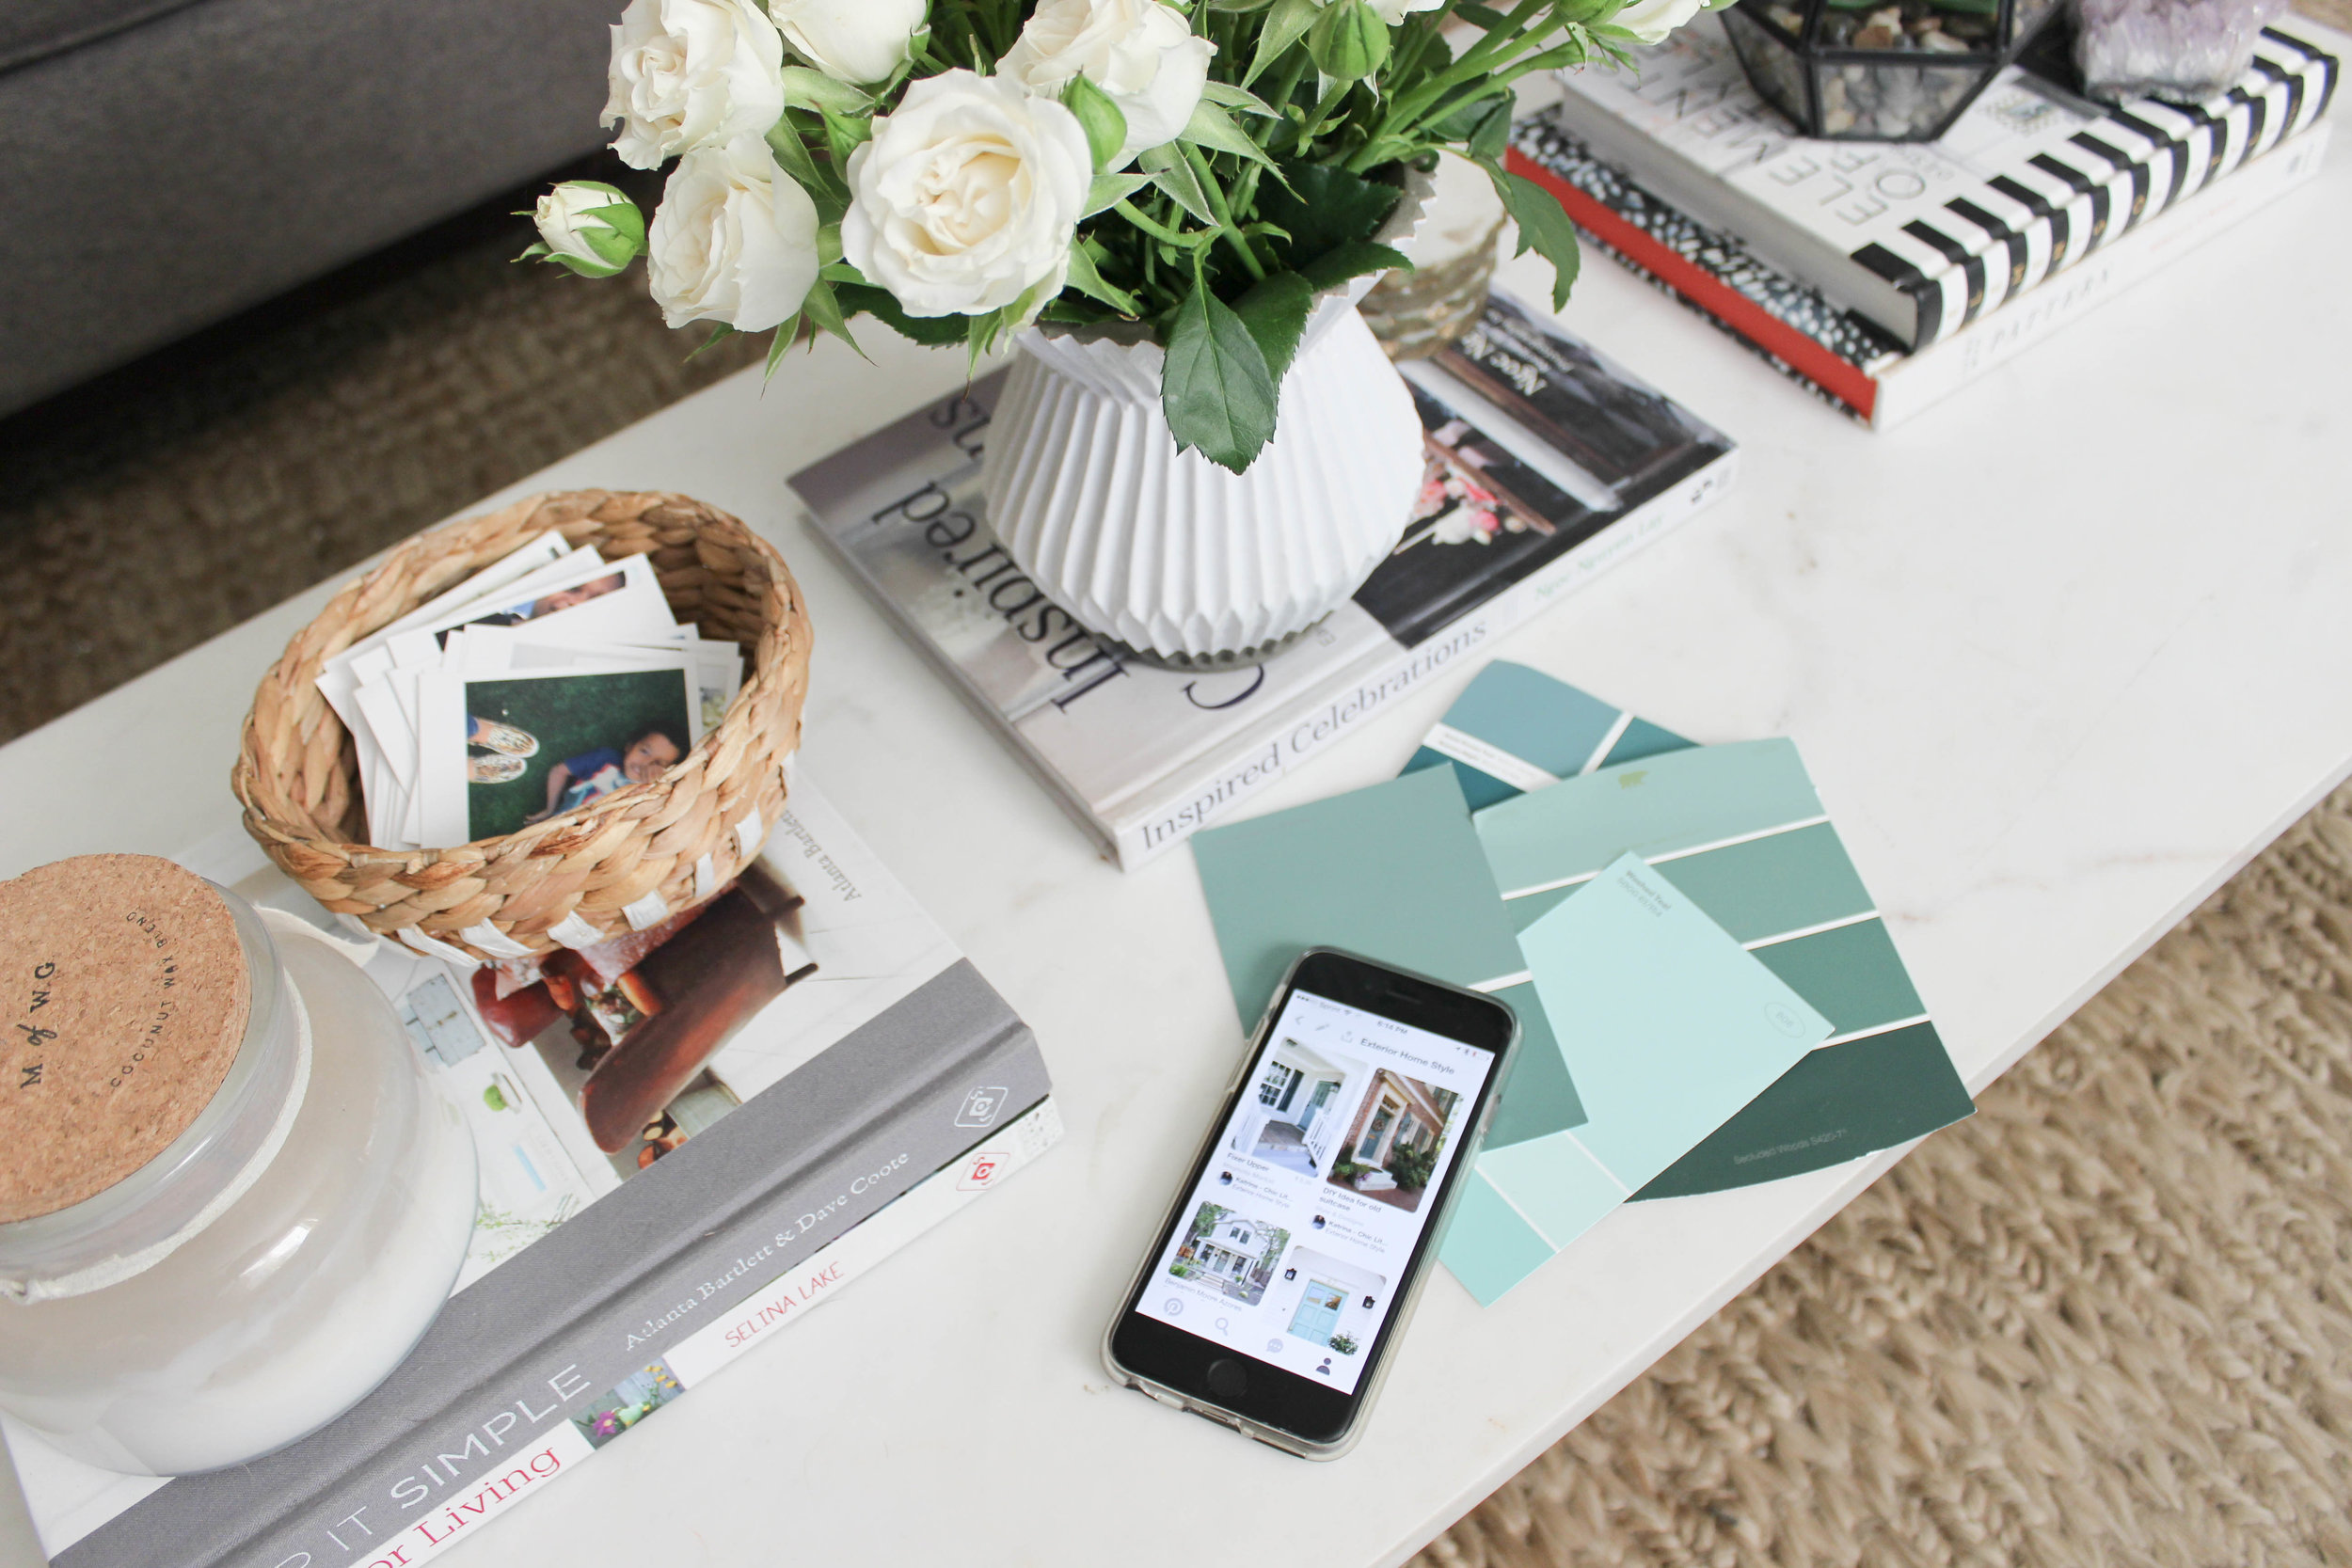
ONE. Update Paint: freshly painted walls and newly painted trim instantly refresh the look of a room. When you find the right paint color your walls just sing; when we tested Designer Grey on our living room walls we knew it was the one since then I’ve fallen in love with several amazing greys, click here to receive your free version of the Grey Guide.
TWO. Add New Pillows: More pillows the merrier, swap out pillows seasonally to update your sofa on a budget, don't underestimate how beautifully patterned pillows, or solid pillows can refresh the look and vibe of a couch.
THREE. Window Coverings: Window coverings are often overlooked when it comes to an updating a room. Old school style drapes, valances, too short curtains and metal blinds can quickly date the appearance of a room.
Woven Roman Shades on a Budget
A few weekends ago, I removed our faux wood blinds and installed our new woven Roman shades. They look incredible! I'm loving the added element of texture these woven Roman shades add in my living room and dining room. We installed our old blinds fours years ago, right before moving back into our home after rebuilding. While I adore the clean look of faux wood blinds and the ability to open and close the slats with ease, I was ready for a change for three main reasons. One they're super heavy to raise and close. Secondly, they get dusty and cleaning blind slats is not my idea of weekend fun lastly, I was ready for a subtle change. I love the look of roman shades. In fact, I customized fabric roman shades for my kitchen and child's bedroom. More deets below on a DIY Roman shades.
Last year after we added a jute rug in our living room, I realized how amazing woven shades would look in our living room and dining room. I just knew they would look bananas good! I love how pretty woven blinds look and all the texture and color variations each reed has. Also, I love how easy they are to open and close.
These were super easy to install, this can be a quick solo project, but it's also nice having an extra set of hands to hold screws, etc. in place before drilling. Since we have a puppy and child and the cords get extra long once the blind is open, we installed the a cord cleat. I love that it's clear and totally out of sight thanks to our drapes + I can hide the cords. YAY for the illusion of cordless roman shades.

The woven shades are from Levolor and are ready made blind in stock Roman shades from Lowes. I had the blinds custom cut in the store (for free!) at Lowes to fit our windows perfectly. I’m thrilled, I got the look of custom roman shades without the custom price! Just a heads up, not every window needs a ‘custom blind’ trust me! I selected the Levolor Woven Roman Shades in natural with a pricey liner. Typically in-stock woven Roman Shades don’t come with liner; in fact adding a privacy liner to most custom woven Roman shades is an upcharge and not standard. I paid only $99 each for two woven Roman Shades that fit my windows perfectly. Below is a good color representation of the new woven Roman Shades look in my living room and dining room.


A few things I quickly got used to, since we opted for an inside mount the woven shades stack into the window frame and if I want natural light in my home which I crave, we gotta open the shades. With our old blinds since they were so heavy, I often just opened and closed the slats.

Back in the day, I used to sell custom window blinds and custom drapes below I’m sharing some insight on how to properly measure and when to go custom.
How to Measure for Window Blinds
Inside mount: Measure your window in three places and use the smallest width of the three measurements. Whether your buying your blinds in-store or custom they will automatically adjust your blind measurement for you, no need to do any deductions! Measure the length in two places and use the longest length. *Remember its always best to measure twice for accuracy.
Outside Mount Blinds: Measure your window and then add 3-4 inches on both sides for extra privacy, some with height. *Keep in mind that blinds & woven shades that are an inside mount stack inside the window, if you have a really short window consider going with an outside mount so the blinds/shade will stack above the window.

Tips on Buying Ready-Made Blinds
Ready made blinds are you buy off the shelf, and they’ve come a long way in quality, style, and function! In fact, many of the big names in window fashions Bali and Levolor offer ready made blinds for standard window sizes - most homes have standard window sizes 24 - 36 - 48 - 60 and 72 in varying lengths. If your buying blinds, you can easily shorten the length of the blinds by removing slats. You can also easily shorten the length on fabric roman shades. If you have an extra long window, you can buy 2-3 blinds and but in them together on an inside mount, instead of buying a custom 3 on 1 header blind which can be very expensive! (3 on 1 header, means three blinds all connected to one head rail)
If you have old windows or extra long windows or non-average windows you may have no choice buy to buy custom blinds. *Tip never pay full price for custom blinds, shop the sales! Check the return and restocking fee policy when buying custom blinds.
DIY Fabric Roman Shades

Above I mentioned how I customized basic Roman shades with fabric for my kitchen window and child's bedroom; this is an easy DIY to tackle in a weekend! Click here for the full how to on customize basic Roman shades. Please pin the Image below!
Pin it!

What do you think of my new woven Roman Shades?