
I love how amazing my front garden beds look, everything has grown in so lovely, even better its blooming season right now. However, my large backyard garden bed was Hot Mess. I seriously cringe whenever I'm in my backyard. The garden bed is full of weeds, rocks and is lumpy for digging a trench last year to add power to the Cottage Studio (read more about the project here)
I'm so going for that California Casual meets Hampton's backyard vibe, which for me means a mixture of lush green grass as far as the eye can see and garden beds that burst with color. Until a few days ago it only weeds and only lone gardenia (that's been neglected) filled my 10x17 garden bed. I had three goals in mind for my garden
Garden Goals
- Remove Weeds & add Weed Protection
- Level Soil
- Add an abundance of COLORFUL plants that will grown in over time

I'm happy to report my garden bed turned out amazing! Its totally possible to transform a weed riddled garden bed and give it new life in a weekend! Yes, it's going to be lots of work but it all feels so worth it once you're done. Here's my large garden bed before in my backyard that sits below my sons bedroom. Awful view right? Lots of large rocks and spider like weeds filled this area.

I started planning my garden bed out a few weeks before, visiting a few local nurseries to get ideas on what I wanted to plant. When it comes to gardening, I'm so not the type of person that wants to replant every single season. I'd much plant once and watch everything grow in time. I'm totally an auto pilot gardener.
The garden bed receives partial full sun in the morning and then by 1-2 shaded filtered light covers the area, when selecting plants I kept that in mind.
What Type of Plants to Buy
- Evergreen Plants: I love how they stay green yearlong
- Drought Tolerant Plants: I love low maintenance plants once established
- Color: I love for my garden beds to burst with color in a variety of shades from chartreuse to deep green
- Perennials: I love plants that come back year & after year. Auto Pilot Gardening!
- Growth: I love fast growing plants, it means I'm doing something right, right? When plants grow in fast, your entire yard looks 'pulled together' + it almost makes for carefree gardening
Where to Shop
I swear planting shopping during the Spring months is my hobby, here's where I shop for good plant deals: Local Plant Nursery: Green Acres, Sacramento Farmers Market: Mine has lots of plant vendors, I love seeing what have, and bought a few this year for my garden at really good prices! I also shop the 'big box' retailers garden section for plants both Lowes & Home Depot. In your area search out the 'big box' store that has THE best garden selection and you won't be disappointed. I typically buy my plants in groupings of 2-3, I love the repeat as everything fills in. I only bought one butterfly bush for this area, since I know how large they can get & I love that!
Here's a step by step of how I tackled my large 10x17 garden bed in a weekend, by myself + plus sharing the plants I choose for my garden.
How I Transformed My Large Garden Bed in a Weekend
Friday: Friday evening after I picked up my preschooler, we headed to our local nursery and I began selecting the plants I had previously looked at a few weeks prior. I carry my phone with me and look up any plants I'm not a 100% will work in my area (Partial Full Sun & Afternoon Full Shade) seriously smart phones make everything easier. Once I got home, I placed all the pots in the garden bed to determine the keepers and what was getting exchanged.
Next, I started pulling out all the weeds, making sure to pull to remove all the way down to the root. My garden bed was filled with what I call spider like weeds. Once all the weeds were removed, I watered the ground a with a sprinkler for 10 minutes to make sure the soil was moist and easier to dig the next day.
Saturday: My husband had to work on Saturday, so I did all the digging and replanting myself! On Saturday morning, I exchanged a few plants that weren't a good fit for new plants. I picked up one Butterfly bush and two Chinese Snowballs (Viburnum bushes). I placed all the plants in the garden bed and arranged all the plants, so over time there will be layers of differing heights in the garden bed that will help create visual interest.
Laying out all the plants before digging, helps you see the 'bigger picture' and how each plant will look in relation to each other.
Before digging, I leveled the uneven portion of my garden bed, using the back of a rack to smooth everything out. Then I began digging holes and placing the plants one by one, making sure breakup the root ball of every single plant. Inside each hole, I would add garden soil about half way, and then add a 50/50 mix of dirt and soil, that I mixed by hand in a wheelbarrow. All the dirt I removed while digging was transformed into my wheelbarrow to mix with soul. After I was done planting, I used the back of the rake to smooth and level the garden bed again. I set aside in large rocks I dug up to the side, I placed a few 'rock' piles in the garden once finished.
I used three hose tackle all the digging
- Digging Shovel
- Small Pick Axe (love this garden tool!)
- Garden Rake
- Garden Hose to help keep the soil moist as I dug


Sunday: I prefer buying my mulch in bulk, instead buying several small bags of mulch from the big box store, I buy mulch for our local gravel store. Gravel & Stone yards typically carry have a huge assortment of rocks, soil, garden soil and mulch that you can buy and bulk & save time and money.
We purchased 1.5 yards of mulch. The mulch filled the back of my husbands entire truck bed! Click here to see my Instagram picture, I'm literally standing on top of all the mulch in my husbands truck! Shredded Cedar is one of my favorite mulch choices, plus since its fluffy and thick it goes along way and last a long time. Shredded mulch also seems to help keep the moisture in, unlike bark nuggets (which I avoid) I like to refresh my garden beds every other year with mulch, we plan on buying another load of mulch this weekend to refresh the remaining parts of our yard.
Before applying mulch, I laid down several layers of newspaper, wetting each layer with a spray of water. I recently read newspaper acts as a natural weed barrier. Next, I applied the mulch and then gave the garden bed a nice good water.
I have a few areas in my garden bed that I'm unable to add a plants to (sprinkle system & pvc pipes irrigation) instead of leaving large areas open, I placed a couple of pots in the garden bed, they add visual height and color. I personally love planters in garden beds, I did the same thing in the front of my yard.
After a weekend spent pulling weeds, digging an insane amount of holes and mulching, I'm so thrilled with how amazing the garden bed looks now! I'm so excited about watching this area grow in over time and crossing my fingers, I'll be able to do some cuttings once the flowers mature. Here is my finished garden bed.


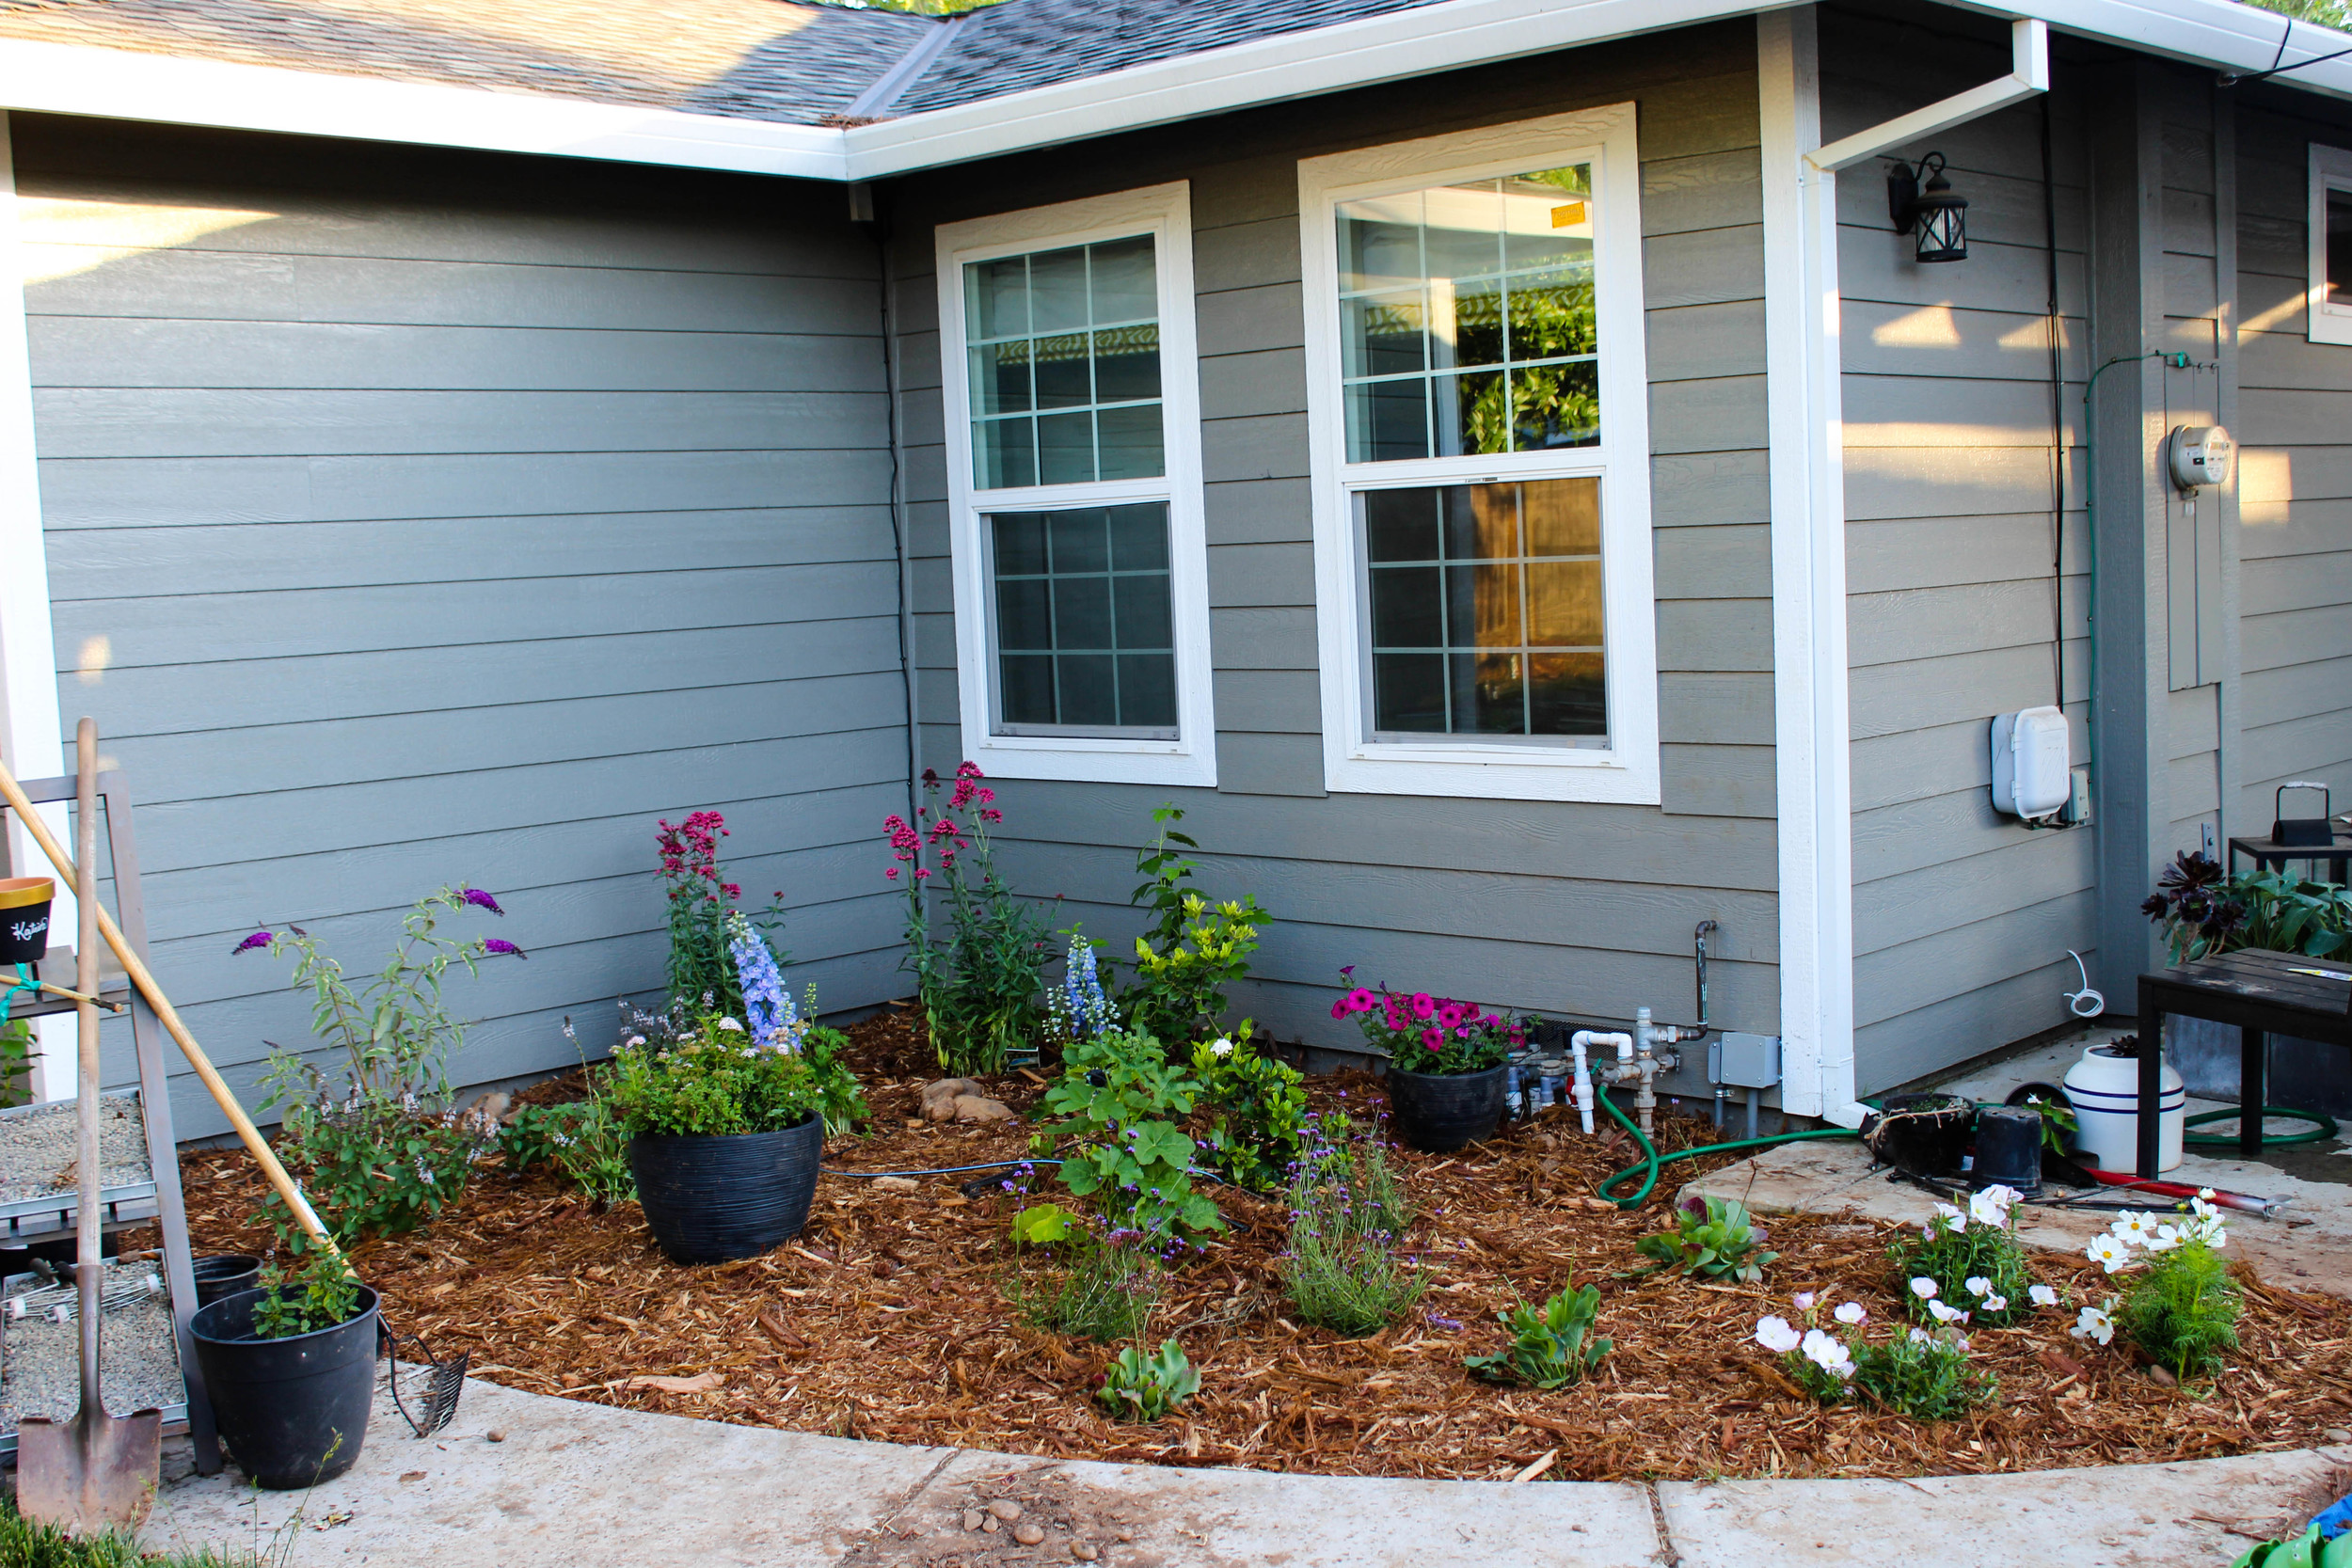

I plan to water the garden bed every morning for a few weeks, and then water every other day depending on how they're doing. I'm thrilled to have this project wrapped up and I can go back to my auto pilot gardening. and enjoy everything filling in over time
Here's a quick run down of what I planted.
Front to Back: White Cosmos, Oenothera Siskiyou Pink, Sea Lavender Statice, Little One Verbena, Holly Hock, Gardenia, Ornamental Basil, Butterfly Bush and Red Valerian and two Chinese Snowballs. In my planters I planted petunias and small flowering evergreen bush.
Are you working on any outdoor projects this Spring? What do you think of my new garden?


