My oldest son, recently graduated from high school and will be living at home for the next couple of years attending while attending college, before transferring to a University. I’m so excited about his transition from teen into young adult. Most of all I’m thrilled, I get see him everyday before he moves away. Motherhood is hard and I’m glad he’ll be close while he navigates his first two years of college. To celebrate his transition as a young man, I wanted to give his bedroom an update. His bedroom was stuck in the young teen look for several years and it was time for a refresh. Behind his room look too young, it was just blah, didn’t have enough storage, his desk was too small and the layout was all wrong.
Like most 1950’s bedrooms, his room is on the small size and the current layout was emphasizing that very fact. Below is a sneak peek at his bedroom now. This project was completed in partnership with The Home Depot, to give Tabari’s bedroom a complete makeover.
** **This post contains affiliate links and I will be compensated if you make a purchase after clicking on my links.

CREATING A DESIGN PLAN
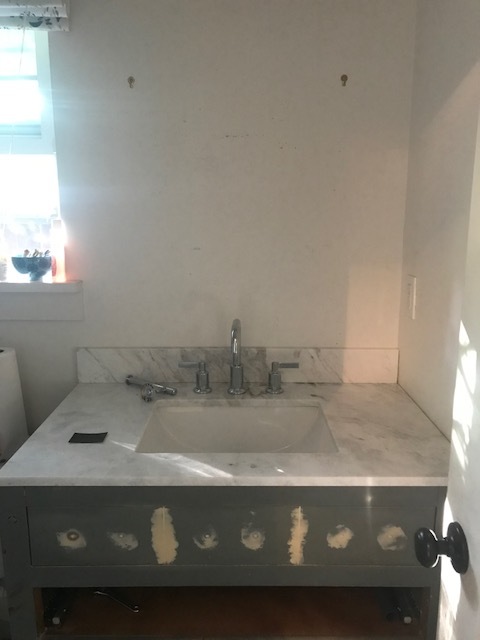
Here’s how his bedroom looked before getting made over. As you can see in the below photo, his room just felt jumbled and messy. The over-sized light fixture was perfect when he was entering his teen years, but now he bumped his head everyday! His bedding was worn out, desk was too small and felt too bulky next to his bed. The layout the once worked in this small space, was now all wrong.


The design plan for my sons bedroom, was to bring in a new desk, new overhead fixture fixture, update his bedding with layers. Create a work zone in his bedroom for schoolwork and a zone for relaxing and sleeping, along with streamlined lighting and storage.
After talking with my sons about the functionality of his bedroom, we decided to make some shifts to his bedroom layout. We moved his bedroom to the opposite wall, giving the feeling of more space in his bedroom now that is was away from the desk. I really wanted to create a focal in his bedroom and opted for wallpaper! Instead of using traditional wallpaper, I decided to try grass cloth peel and stick wallpaper, to bring in texture and color. It’s such a great affordable way to transform a room or wall! Plus, I love the affordable commitment and how it can be removed without damaging the wall. When the Grey Tibetan Grosscloth wallpaper arrived I was amazing by how textural and real it looks!

INSTALLING PEEL AND STICK WALLPAPER
I tackled installing the grasscloth wallpaper myself, and was surprised with how easy it is to install! In fact I only used a few tools to install the peel and stick wallpaper, I used a wallpaper smoother and utility knife kit . Using a ruler, to make sure I started level, I gently pulled back the sticker sheet away from the wall paper and began attached the wallpaper to the wall. Quick reminder, be sure and start with clean dust free walls and remove all outlet covers. To prevent air bubbles and better adhere the wallpaper, I used the smoother working in small sections. I used the utility knife to cut the wallpaper once it touched the baseboards. Following the directions closely, I also made sure to overlap the sheets of peel and stick wallpaper, which helped mimic the look of ‘real grasscloth'.’
Once I added the second wallpaper panel to the wall, I fall in love! Tabari loved the look of the wallpaper, but wasn’t sure it would like it once installed, happily it loves how it turned out!

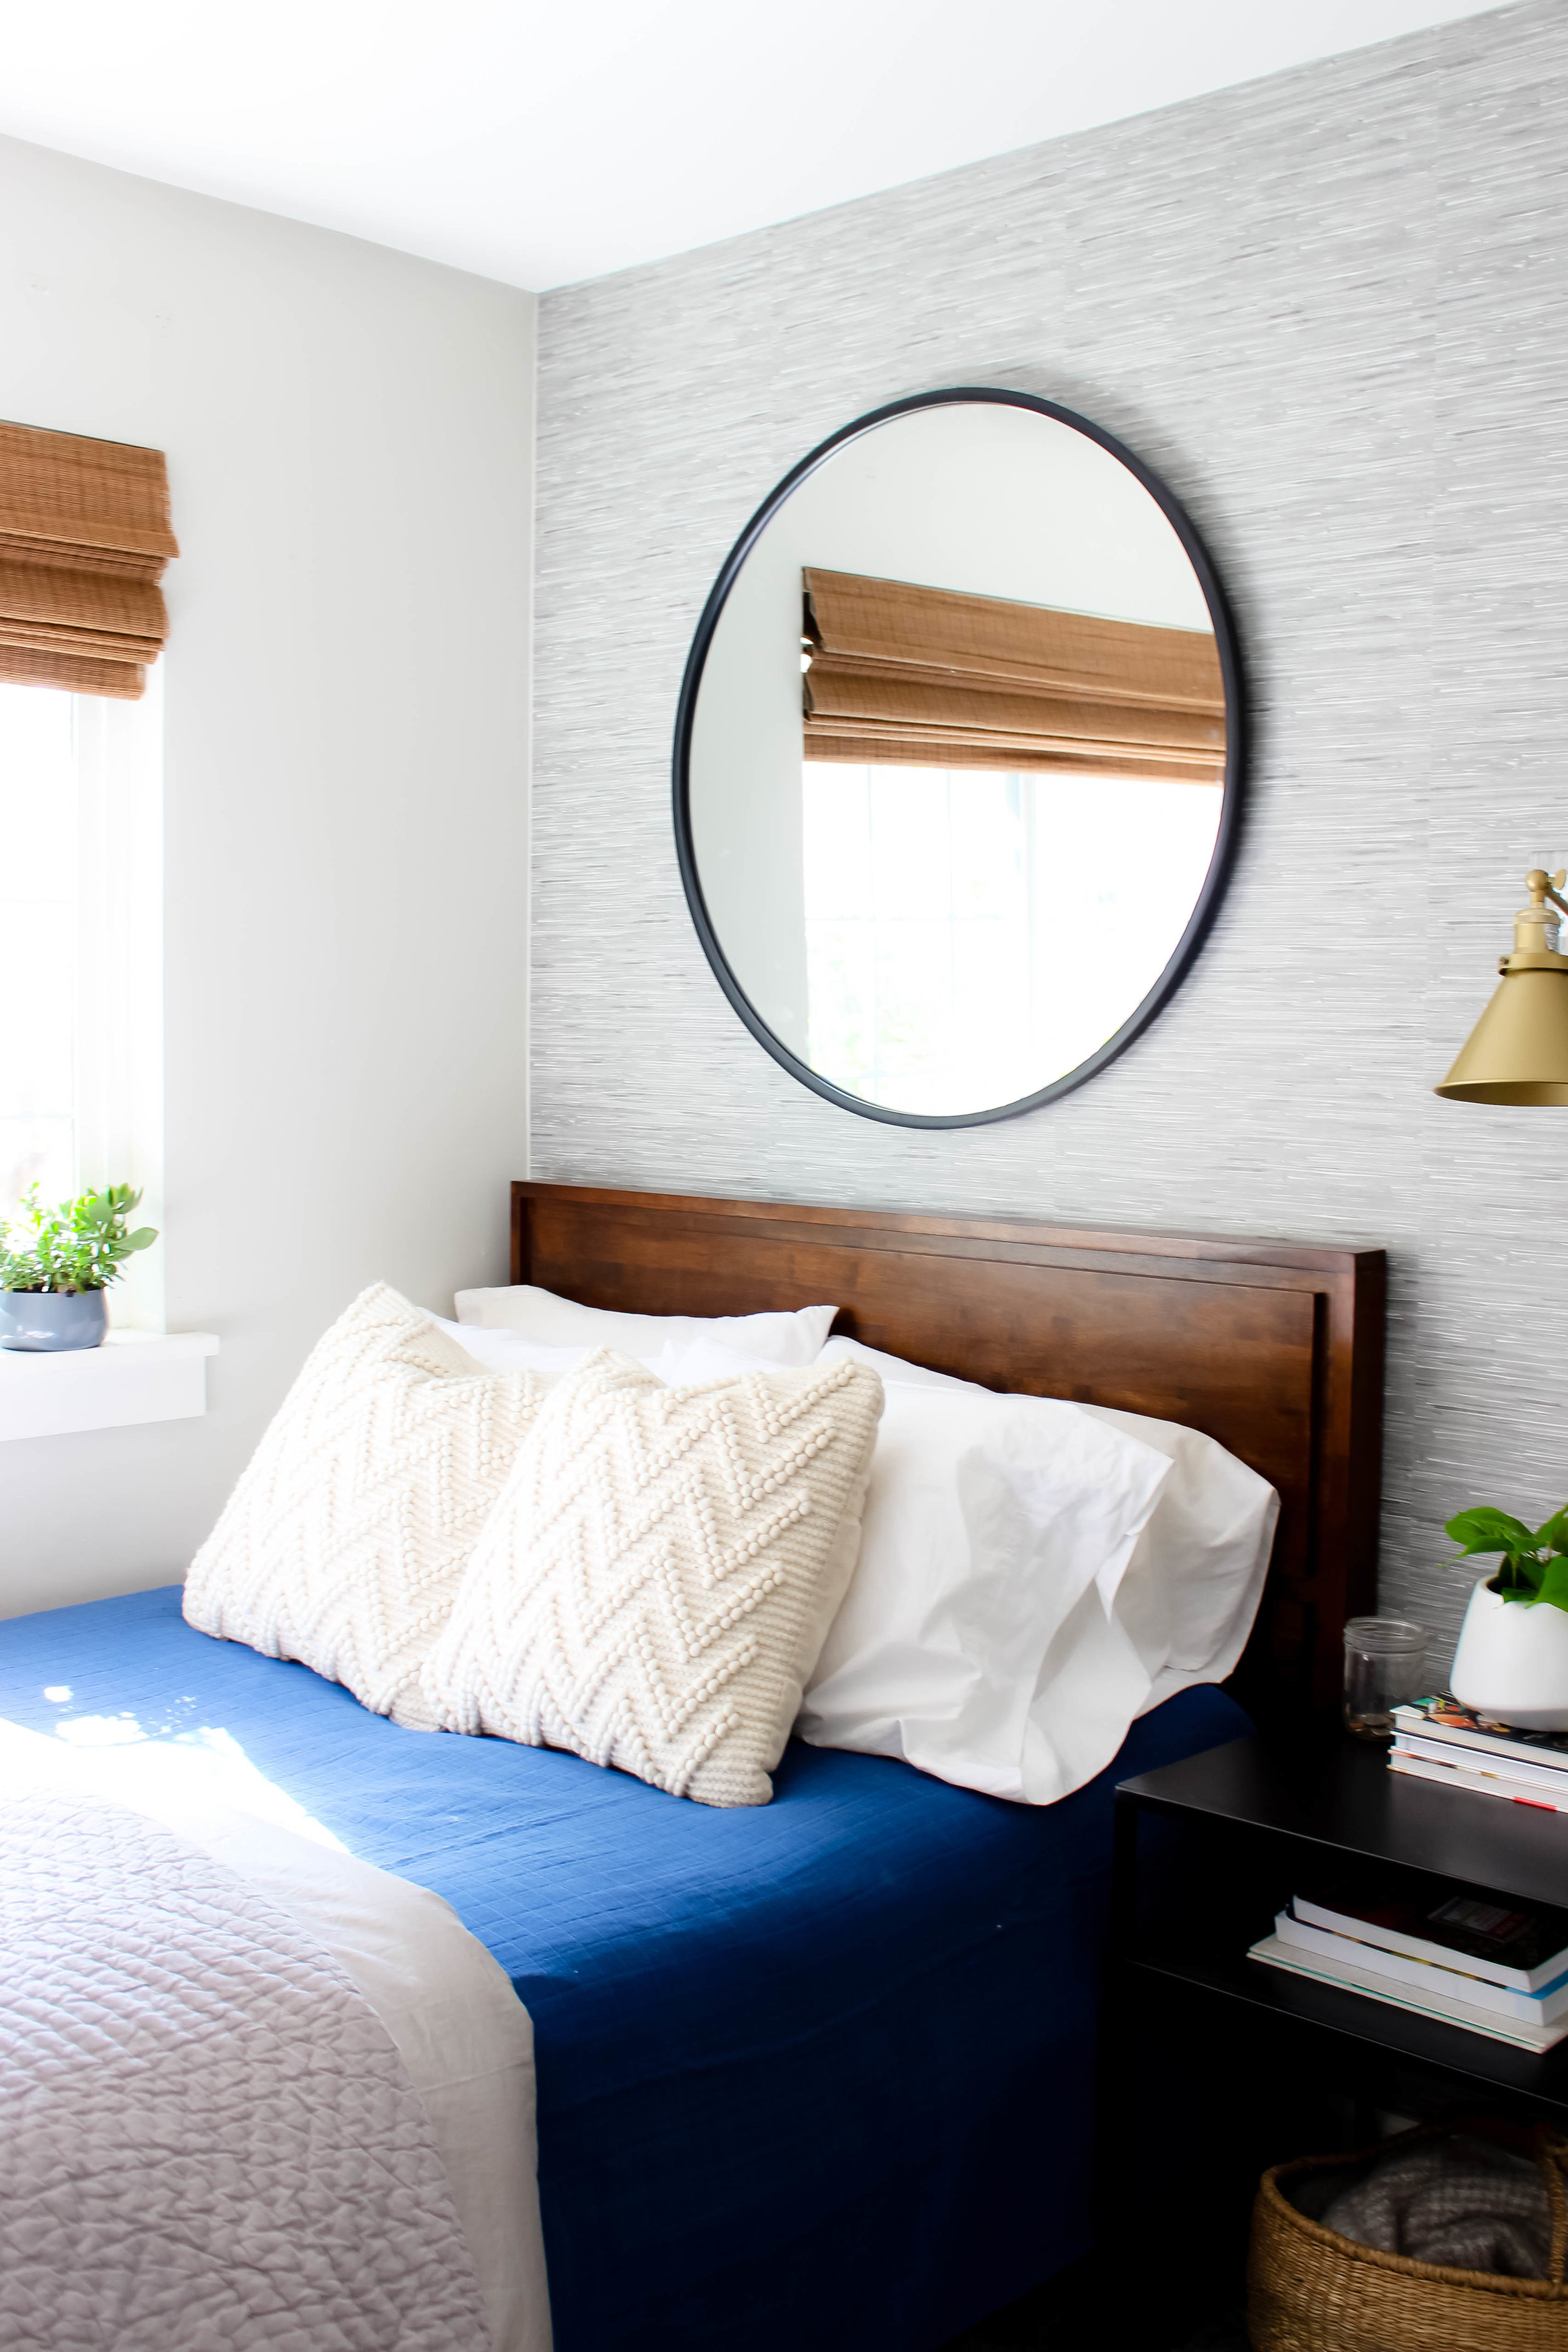
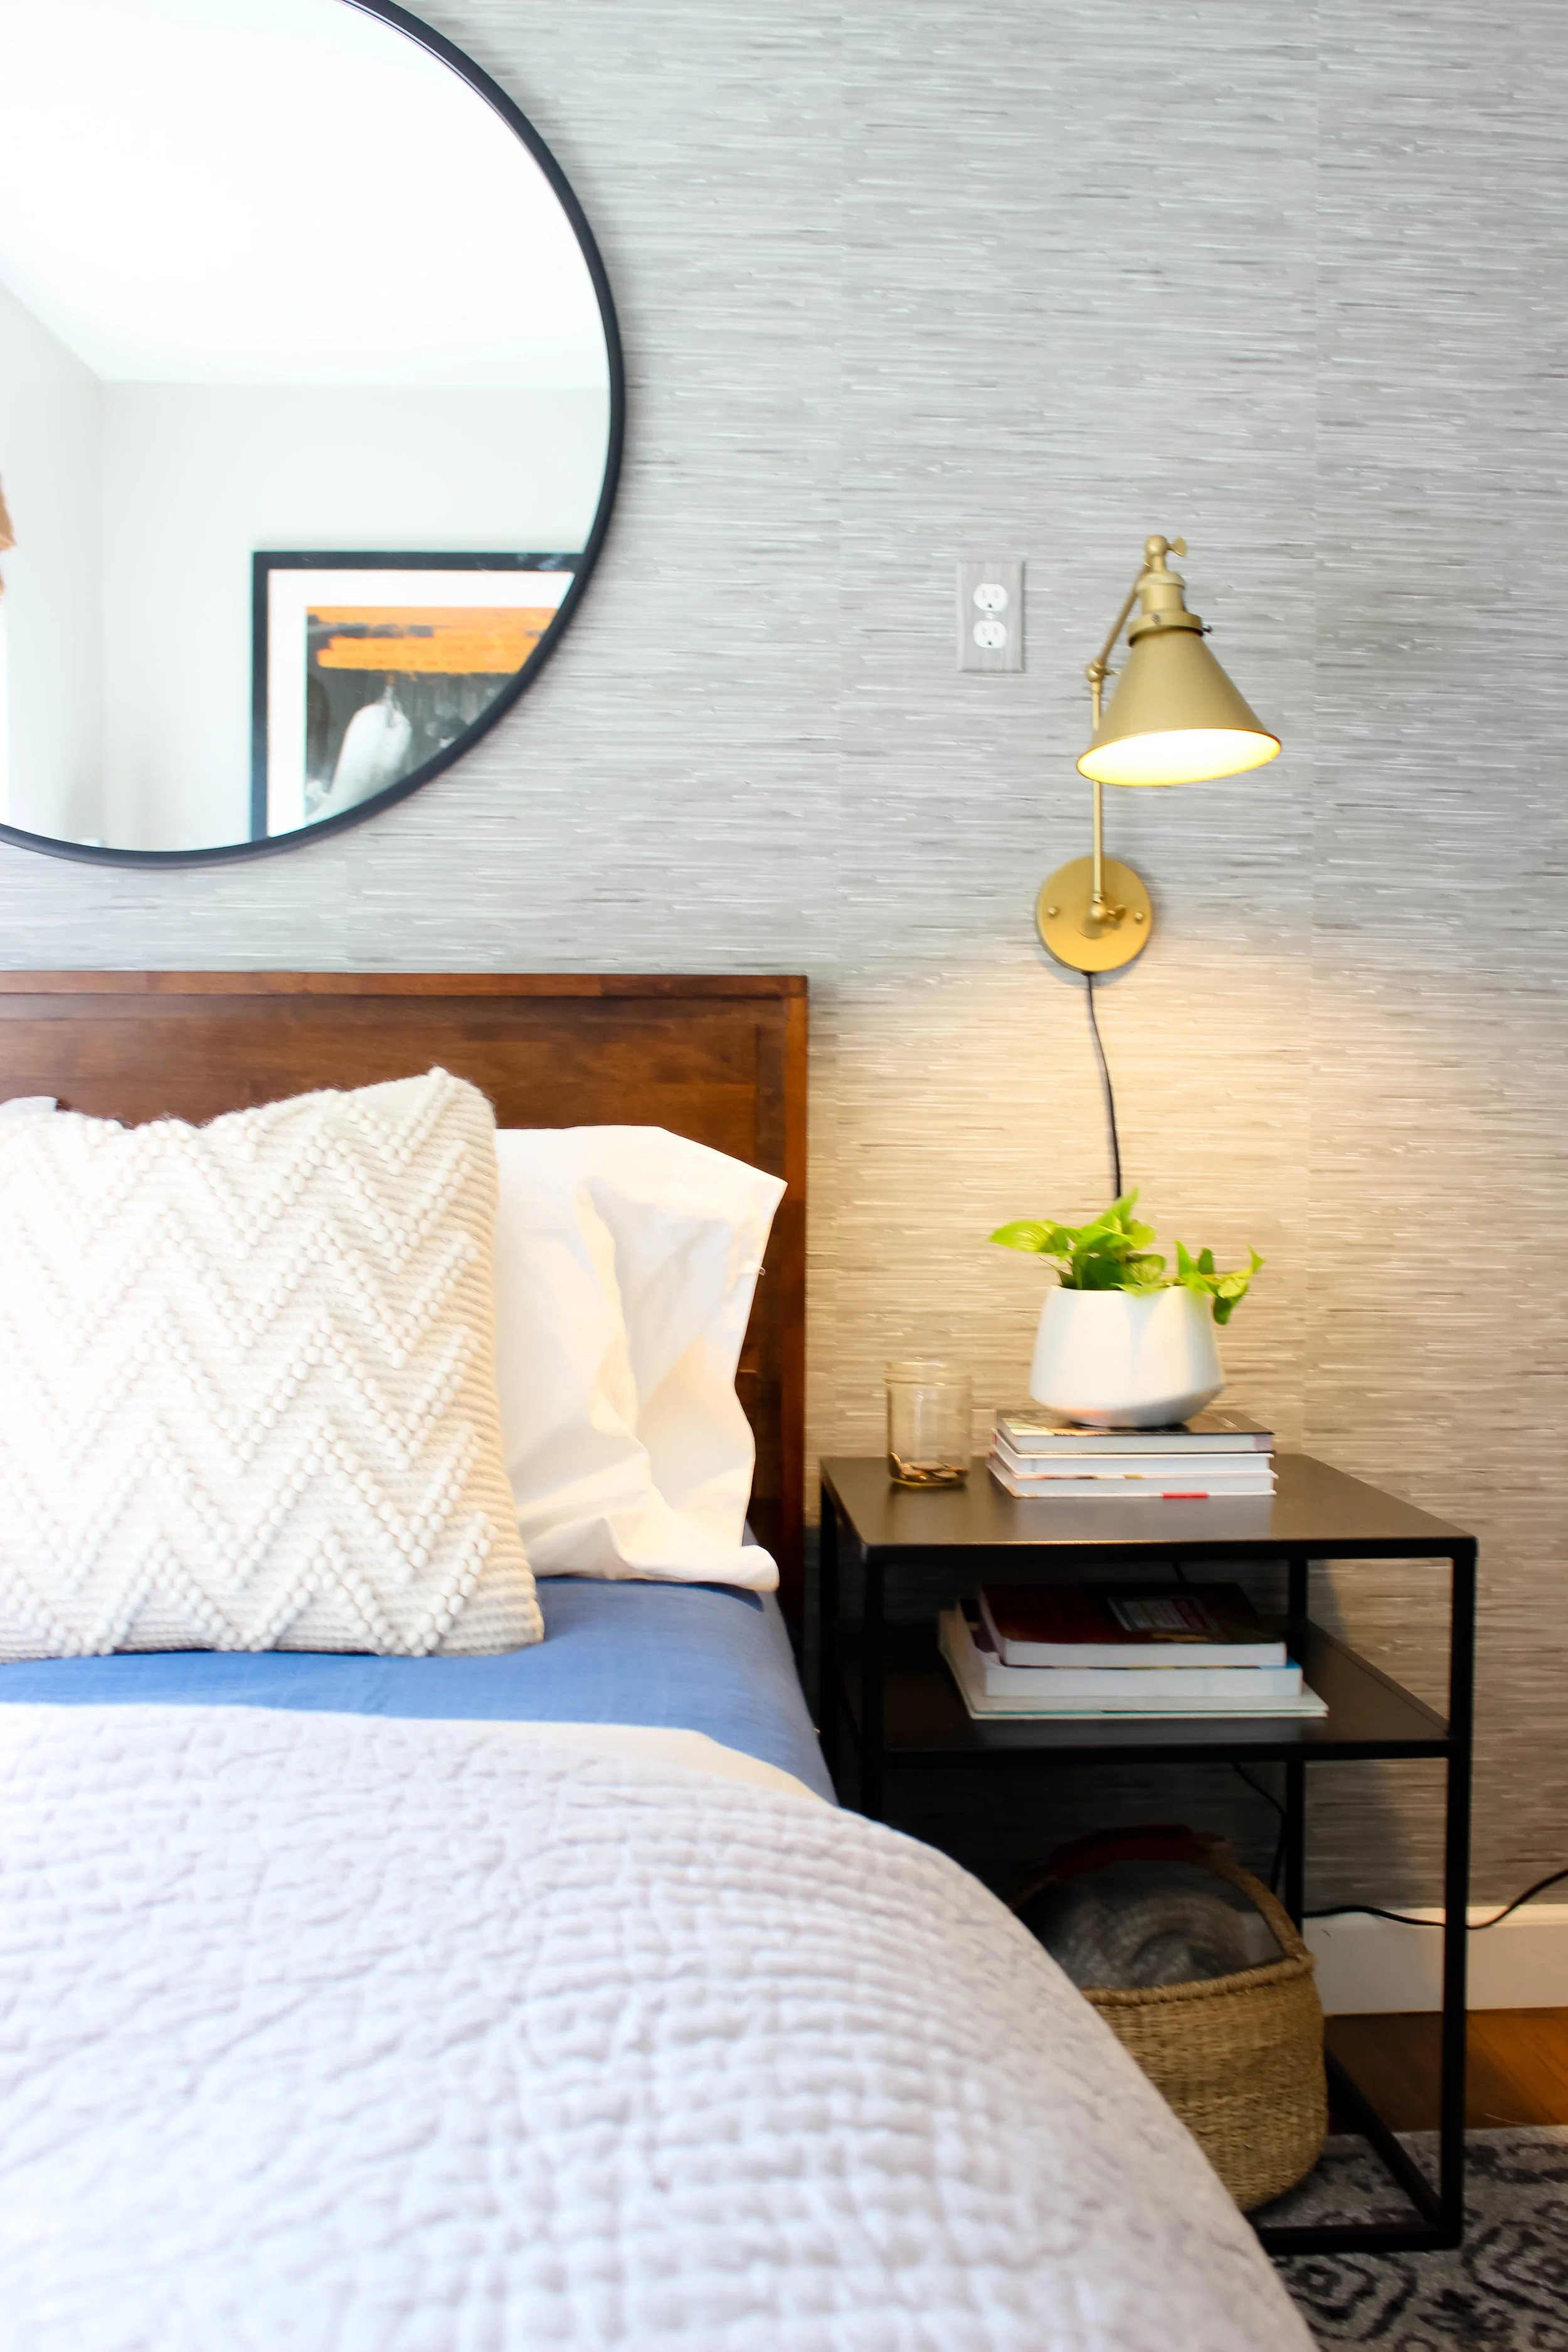
When it comes to designing in a small space, I’m a firm believer in go big or why bother! To add more visual impact on the wall, I added a Large Round Black Mirror above his bed, it helps his room feel more sophisticated and masculine. We kept his bed and brought in new linens and pillows for his bed all found on Home Depot: Large Euro Loop Pillows, Pillows, Organic White Sheets and Navy Bedspread, Duvet Insert, Grey Sateen Duvet Cover , Mattress Topper
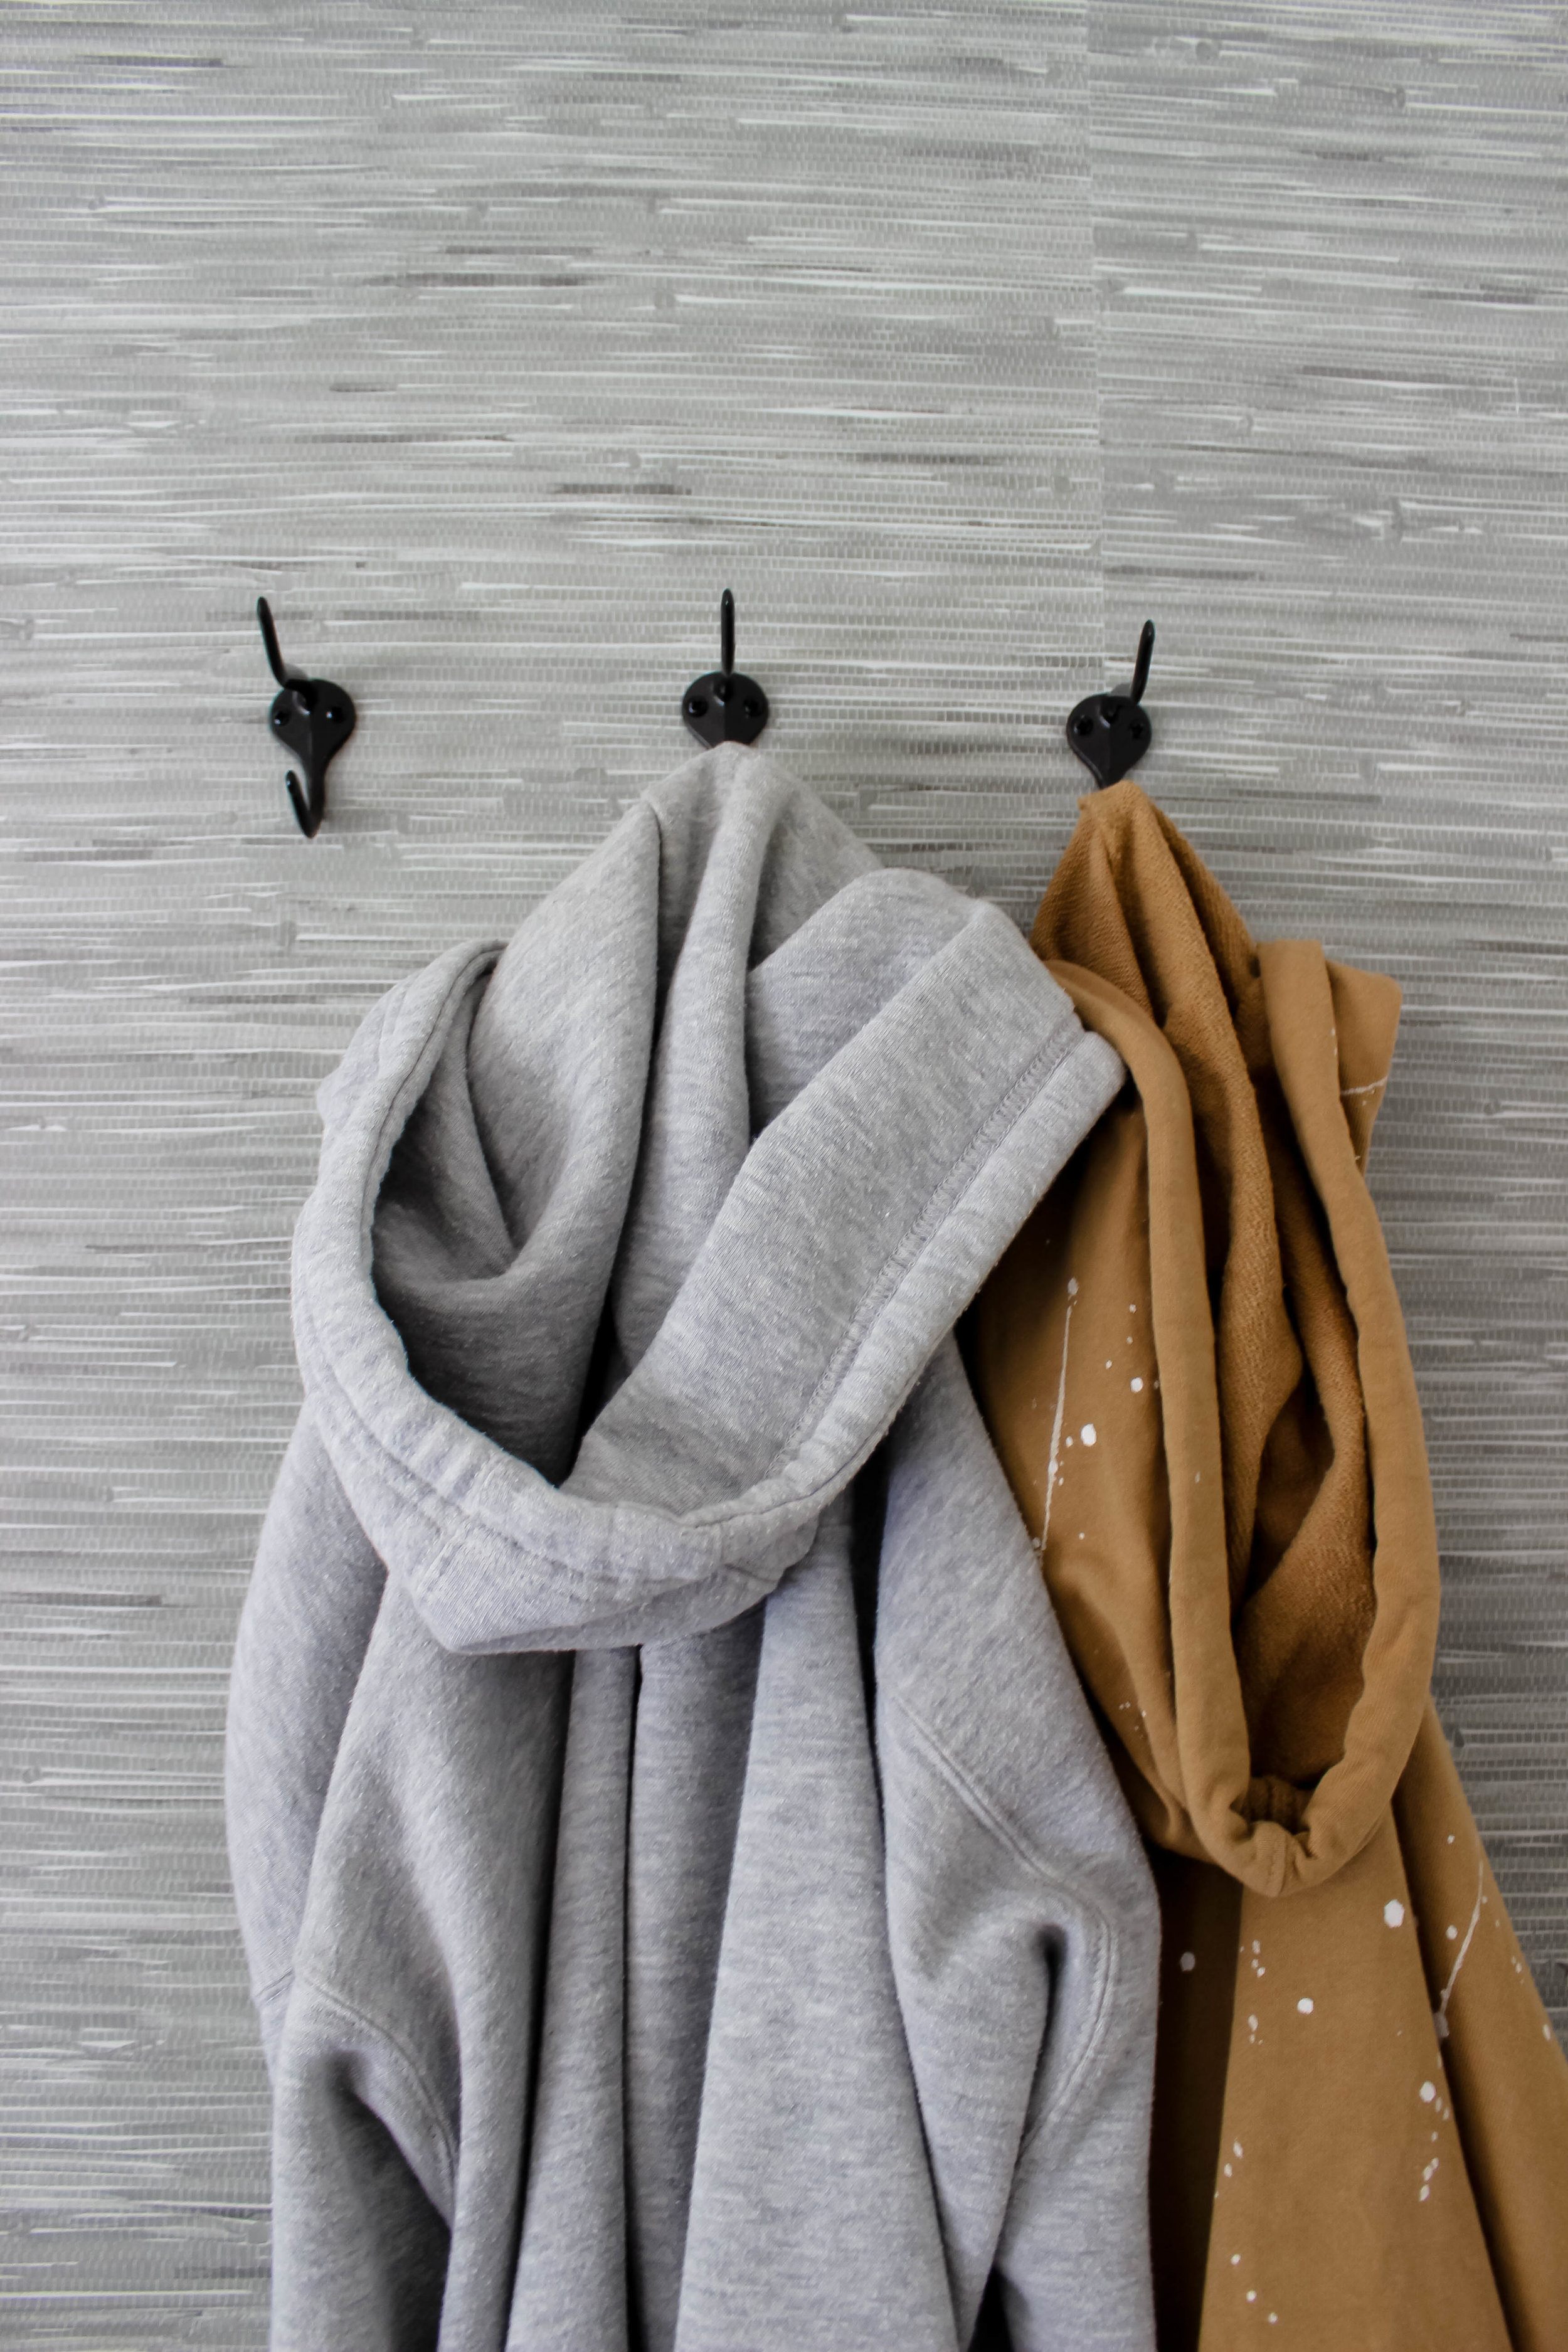
I love having several lighting options in a bedroom, since his bedroom is tight on space, I opted to bring in a wall sconce instead of a lamp. I love the Gold Wall Sconce, it can be hard-wired or plugged into the wall. Having a wall sconce instead of a lamp, helps free up space on the simple side table. I added a woven Seagrass basket under the side table to hold books and extra sheets. Behind his door, we added a row of Black Coat Hooks to hang his hoodies, he has a so many hoodies and by adding hooks outside his closet it helped free-up closet space.

On the wall opposite bed, I hung a large print of Muhammad Ali. The art is huge, but it makes impact and I loved the quote on the art, “ I hated every minute of training, by I said, 'I don't quit. Suffer now and live the rest of your life as a champion.” A good reminder for Tabari as he starts the next chapter is his young life. To bring in more color and texture in his bedroom, I selected a grey tribal style rug for his room. I swapped out the over sized light fixture for a Walnut Wood Flush mount light fixture.


I love how his bedroom turned out! For more details and before and after pictures of his bedroom makeover, visit The Home Depot blog!
What do you think his bedroom makeover?