Laundry Room Update: Butcher Block Countertop

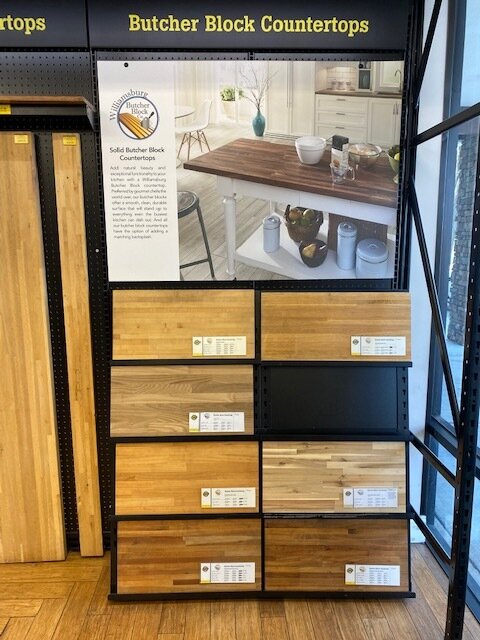
Sponsored by LL Flooring and ShopStyle. Over the weekend, we made a huge upgrade to our small laundry room and had a new butcher block countertop installed over our washer and dryer from LL Flooring. LL Flooring offers high quality flooring options from hardwood flooring, engineered hardwood flooring and laminate flooring and all the supplies you need from your flooring project at great value. They even offer services like professional installation with their floors! In addition to flooring, LL Flooring also offers a large selection of butcher block countertops in several varieties of wood and butcher block island counters.

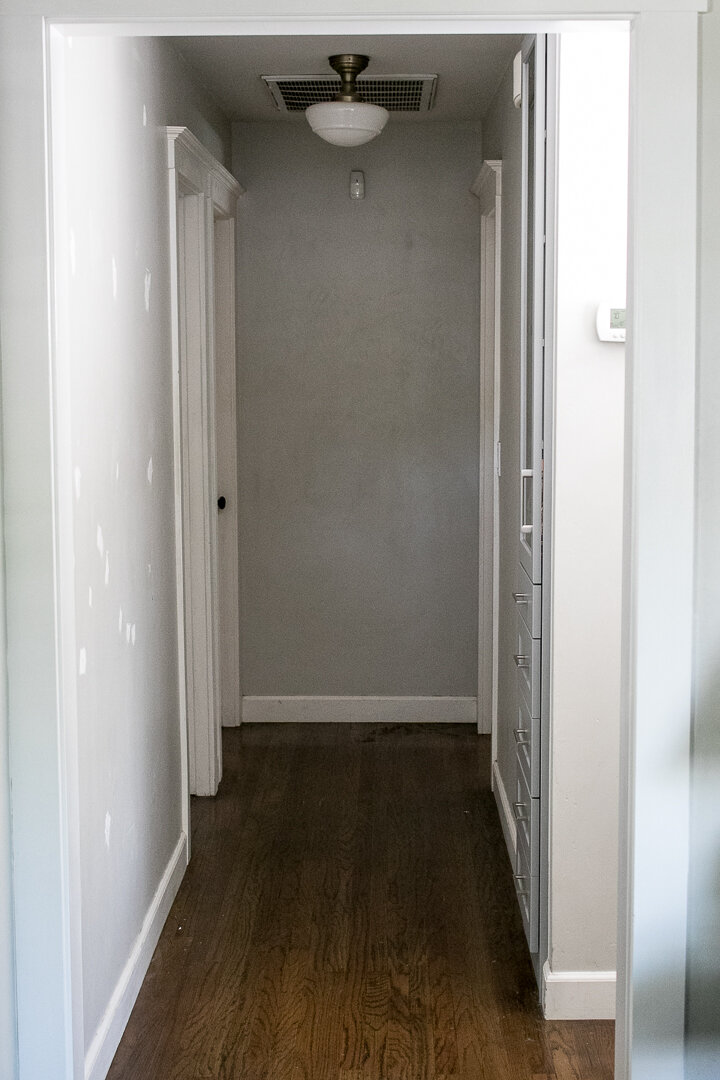
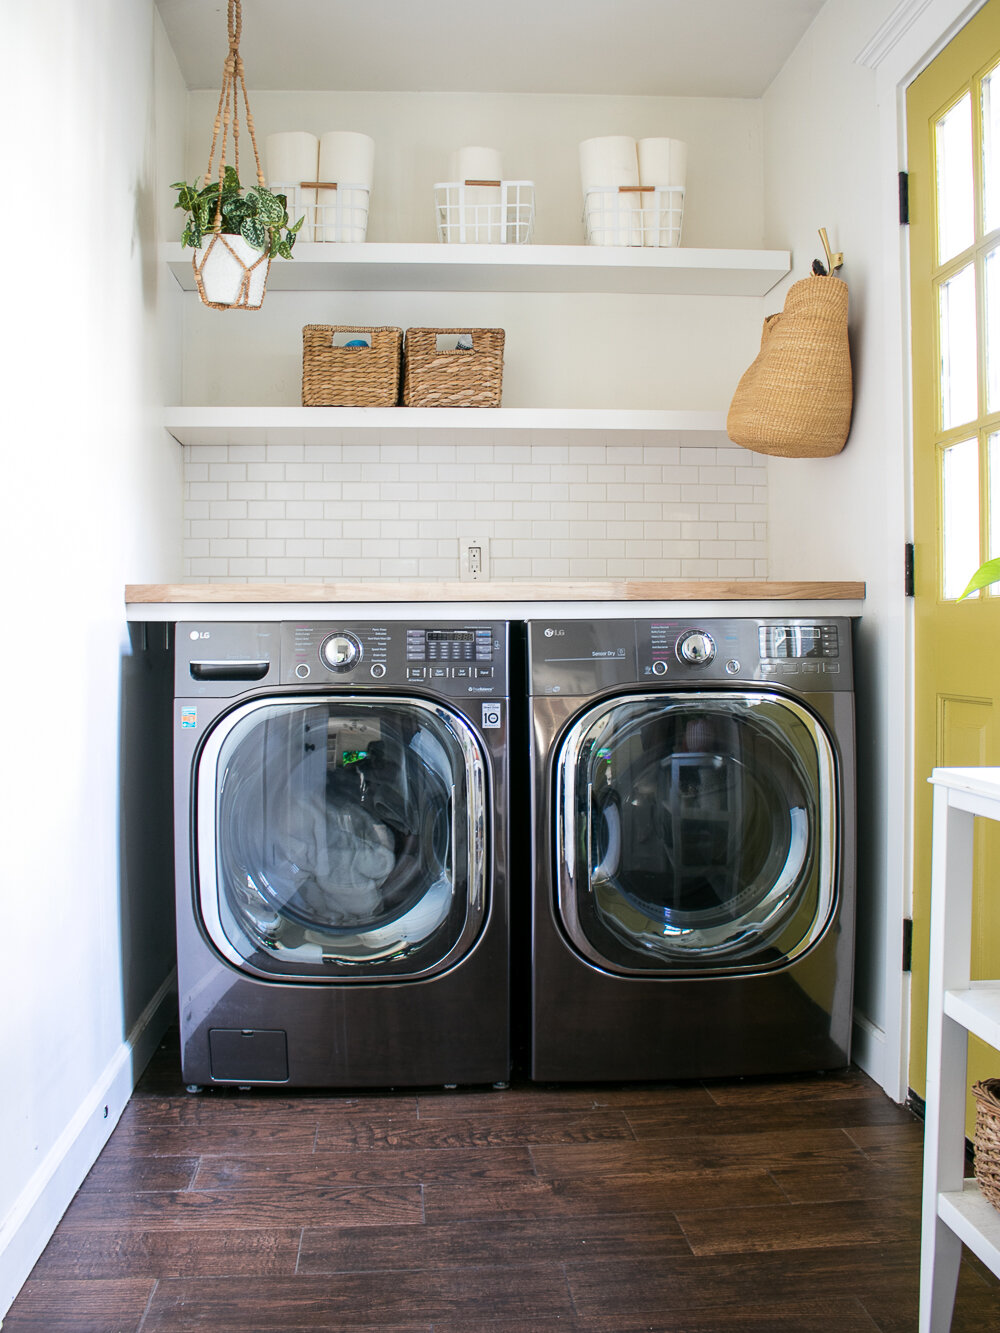
I partnered with LL Flooring and ShopStyle on updating my laundry room with new counters, all opinions and words are my own. Here’s my laundry room before, not bad but the old plywood counters didn’t perfectly fit thanks to our uneven walls and easily stained.

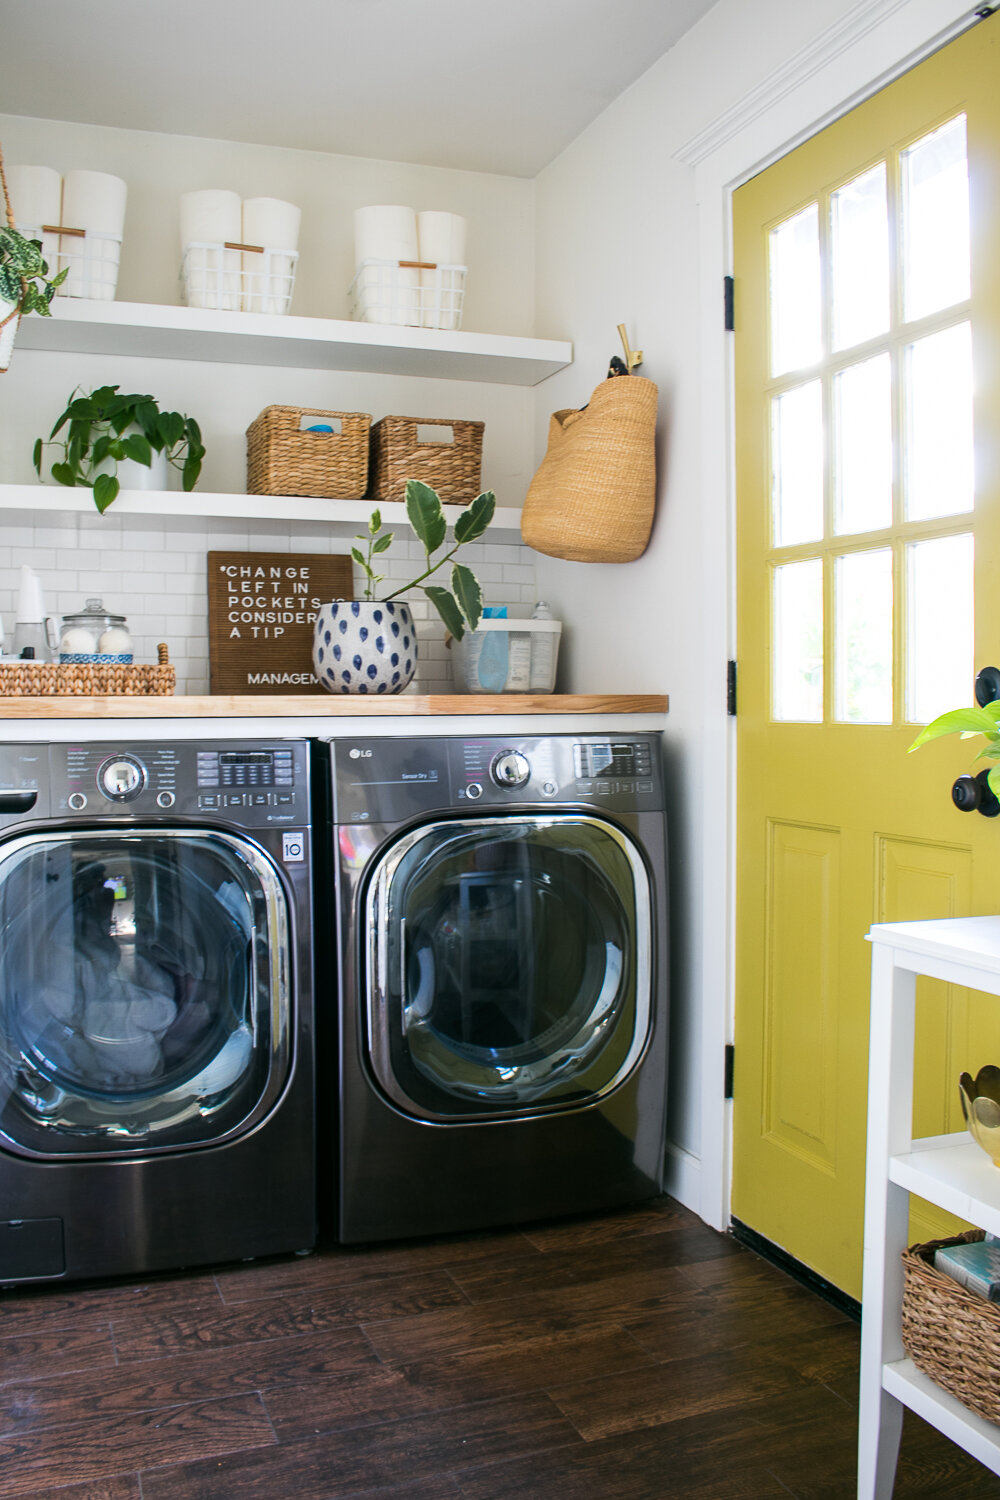
I visited my local LL Flooring store to look at Butcher Block counter options in person. After looking at the countertop options, I decided to use a butcher block island countertop that would give me the depth to sit above my washer and dryer. The butcher block counters LL Flooring offers are so beautiful! In fact they offer over eight different species of butcher block counters. After looking at all the wood species, I quickly fell in love with the American Walnut, Unfinished Maple and Unfinished White Oak.   

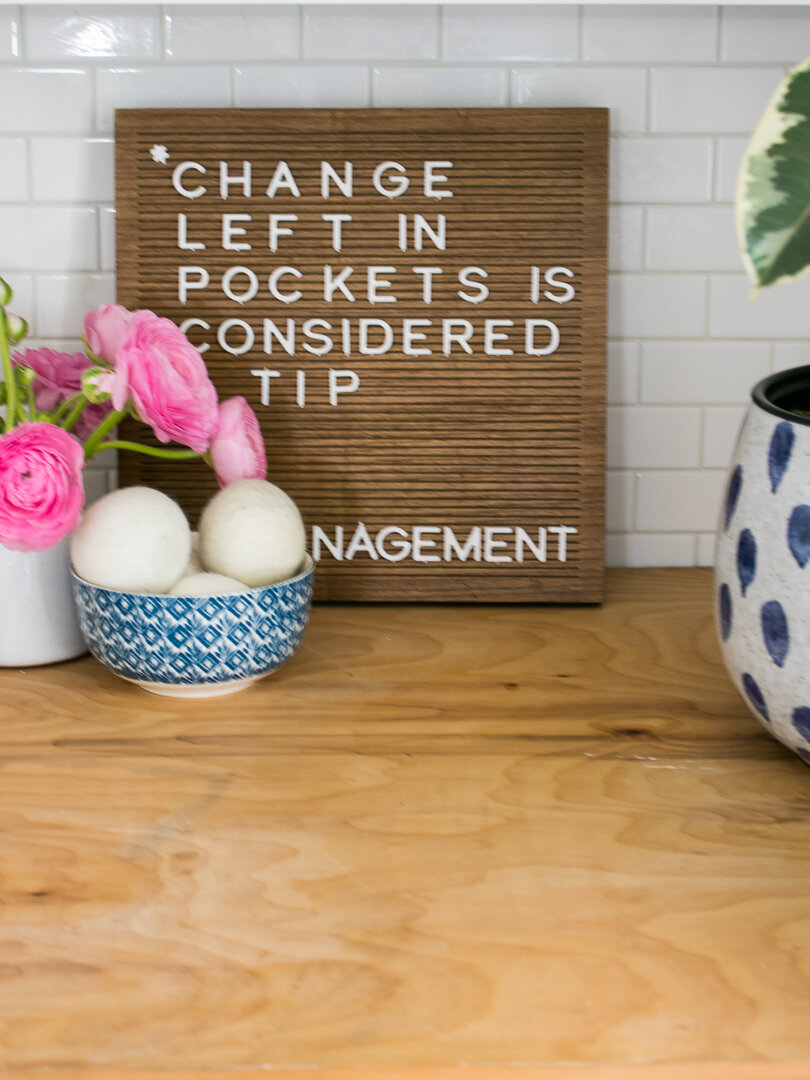
I love the timeless look of butcher block and how much warmth and beauty they add to spaces. When my husband and I installed our old counter, I knew someday we’d replace it with a butcher block, the beauty of butcher block is undeniable.

After looking at all the options, I decided the Unfinished White Oak would be a beautiful addition in my laundry room. 

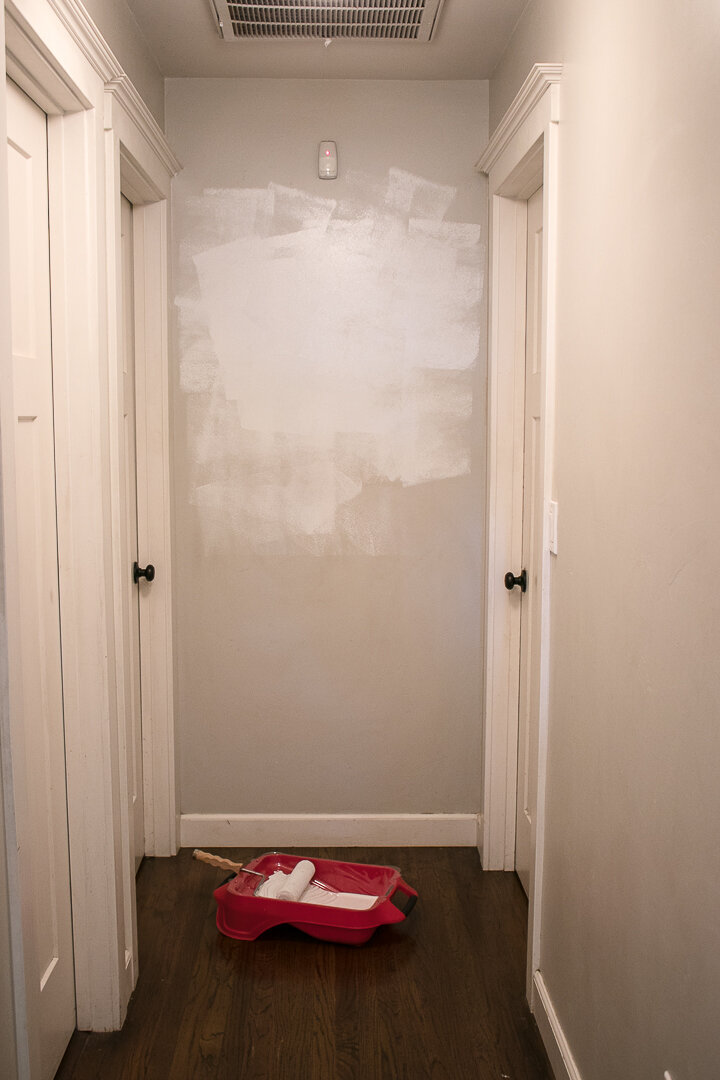
Over the weekend, my Contractor Installer came to my home and measured our laundry room and confirmed that our walls are very uneven! Thankfully he was able to create a template using the old plywood and make adjustments to ensure a tight fit. My installer used to make butcher block blocks and was very impressed with the quality and beauty of the Unfinished White Oak from LL Flooring. To cut our butcher block counters, our installer used saw blades specifically for cutting butcher block countertops to ensure a clean cut. Our new countertop was heavy! He made adjustments to our existing framing to ensure they would hold the weight of the new counters. 

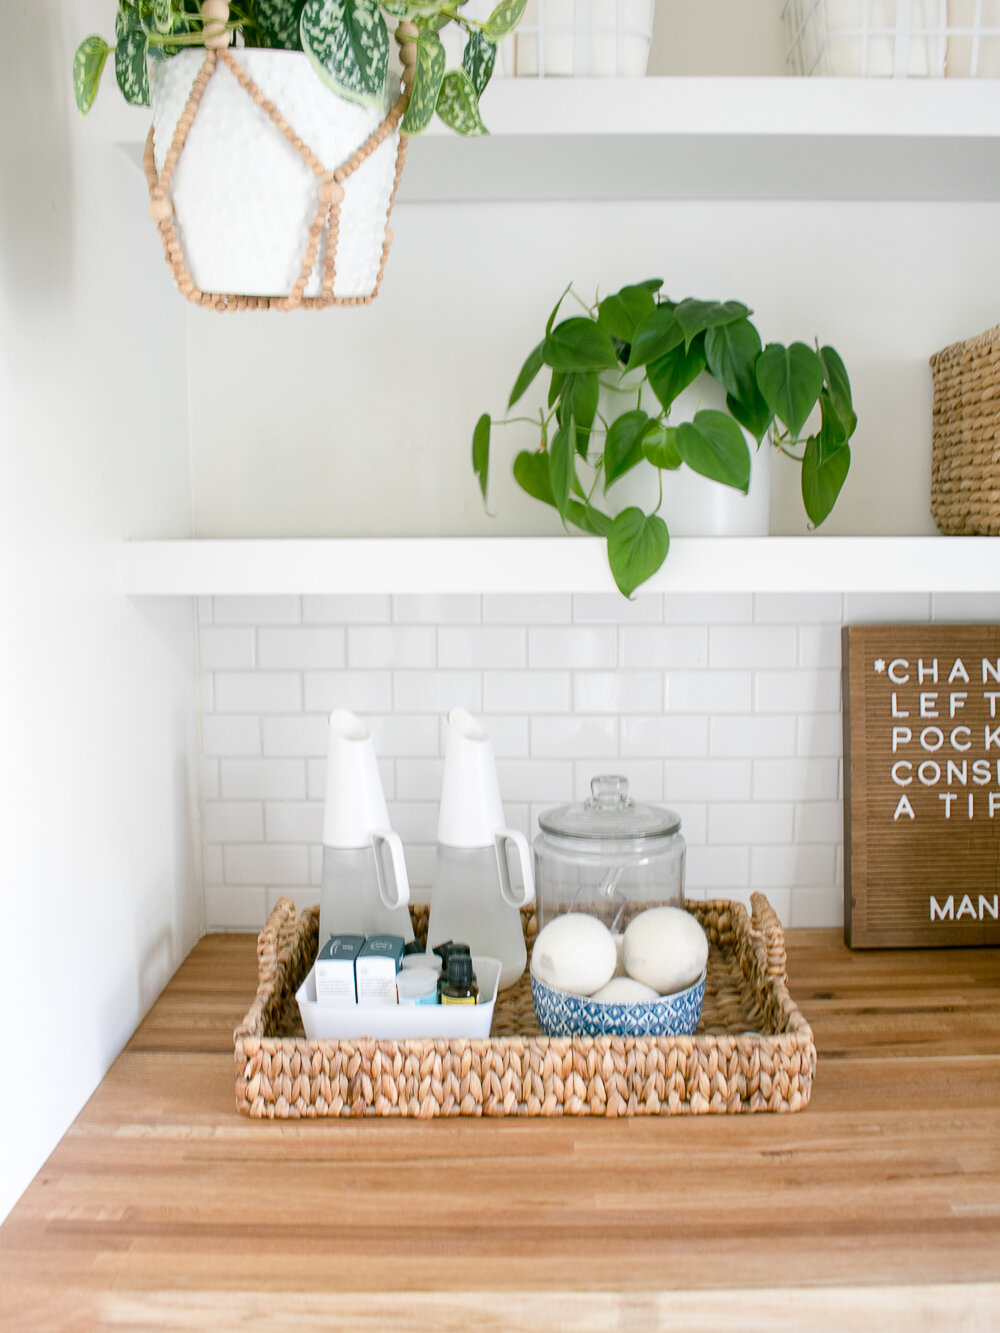
The countertop installation was seamless! They looked incredible, the beauty of wood and all the tone variations just blew me away, I’m in love. The Butcher Block countertop update is a huge upgrade and now when I walk into my laundry room it feels substantial and looks amazing. 

kbxllflooring-1.jpg
kbxllflooring-2.jpg

After the installation was complete, I applied Butcher Block Mineral Oil to the counter to help protect the wood from moisture and stains to help keep wood counters like new.

kbxllflooring-8.jpg

I love that mineral is also food grade and can be used on kitchen islands and kitchen counters. The mineral oil brought out the beauty in the wood tones and looks incredible! I’m so in love with how the project turned out! 

kbxllflooring-6.jpg

Remember to use code KATRINABLAIR5 for 5% off regular priced merchandise until 9/30 (exclusions apply).

Hallway Paint Refresh

My small hallway in my home has been in need of a paint refresh. It’s one of the most traveled spaces in my home, and it's taking a beating: nail holes, handprints, and pencil marks! Over the weekend, I gave my small hallway a paint makeover, and I love how it turned it!

KILZ Premium 3 Interior and Exterior Primer

KILZ Premium 3 Interior and Exterior Primer

When tackling spaces for paint, prep is always super important! I always use primer regardless of the project I’m tackling, from painting cabinets, furniture to painting a room. I’ve been using KILZ® Primer for years, ensuring that my painting projects have a professional finish.

This post is sponsored by KILZ® Brand, but the content and opinions expressed here are my own.

Whatever it is, the way you tell your story online can make all the difference.

Whatever it is, the way you tell your story online can make all the difference.

Before heading to my local Ace hardware store to pick up the KILZ primer and paint for my project, I visited the KILZ website to help me determine which primer to use. For my hallway project, I wanted to hide stains, pencil marks, and old nail holes, and drywall knicks I recently covered up with spackle.   

Thanks to the guide on the KILZ website, I determined the best primer for my project was KILZ 3® Premium Primer. It’s perfect for hiding stains, imperfections, and quick-drying!

Five Reasons to Why It’s Important to Use Primer 

  • Primer preps your surface for your painting projects 

  • Primer helps hide existing stains 

  • Priming before painting helps with adhesion, allowing the paint to adhere better to the primer and creating a professional after

Primer also helps when painting on new surfaces such as new drywall and can even hide odors
I used a roller to apply the KILZ 3 Premium primer, its low VOC, and went on fast, I used a brush to cut in on the baseboards, door trim, and ceilings. I love that the primer dries in about an hour, letting me tackle this project in one day.

While visiting my local Ace Hardware to pick up my primer, I also picked up one gallon of paint from the Magnolia Home by Joanna Gaines® paint line. I’ve been wanting to try this paint for a while and see all the beautiful color options in person, the colors didn’t disappoint! The range of colors is beautiful and sophisticated and I love that Magnolia Home paint is in collaboration with KILZ, ensuring value and durability.

After looking at the color and keeping my medium grey linen cabinet in mind, I decided to paint my hallway Earl Grey, it's a beautiful grey color that’s deeper than the old color and looks better with the current lighting. I should also mention that the color names of the paint all feel special and spot on!

The paint went on nice and smooth, I used a roll and again used my brush to cut in. The paint is pretty and dried the exact color as the swatch! Painting my hallway took about one and a half coats of paint, the additional coat of paint was mostly needed because I used a roller. Because I used KILZ primer for my painting project, the paint was smooth and there was no bleed-through of old stains, pencil marks, and handprints. I’ve learned in my early days of DIY projects not to skip the important step of primer.

I love how my projects turned out and I’m excited to get some artwork or family photos on the wall! For now, I hung up some artwork I had laying around because I just had to! Finally seeing my hallway clean and freshly painted feels so good!

Whatever it is, the way you tell your story online can make all the difference.

Whatever it is, the way you tell your story online can make all the difference.

One last DIY Painting Pro tip I’ve learned over the years, after spackling a hole with paint, instead of grabbing your paint for touching up, prime the area you just fixed. Then paint over the spackled, primed area! It makes a huge difference making sure the paint will adhere properly and you won’t see any obvious signs of an old nail hole. I love how this project my hallway painting project turned out, my hallway now feels fresh and open!